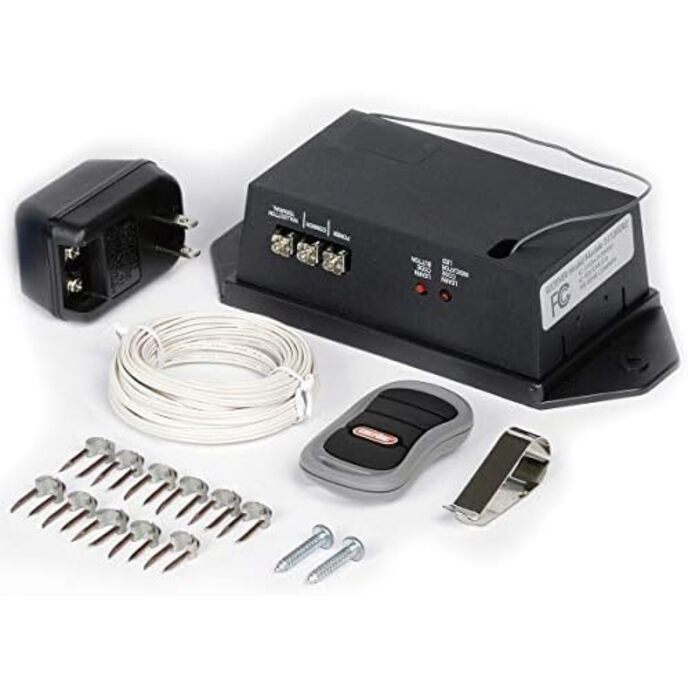
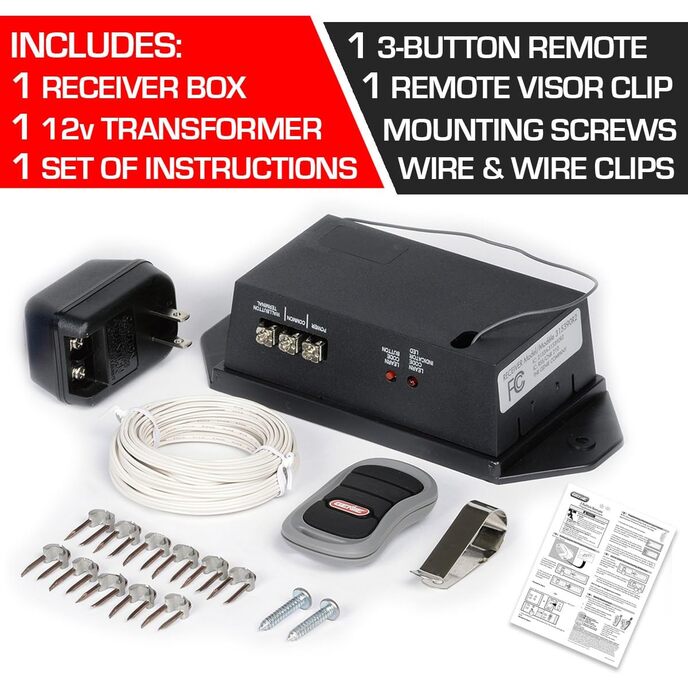
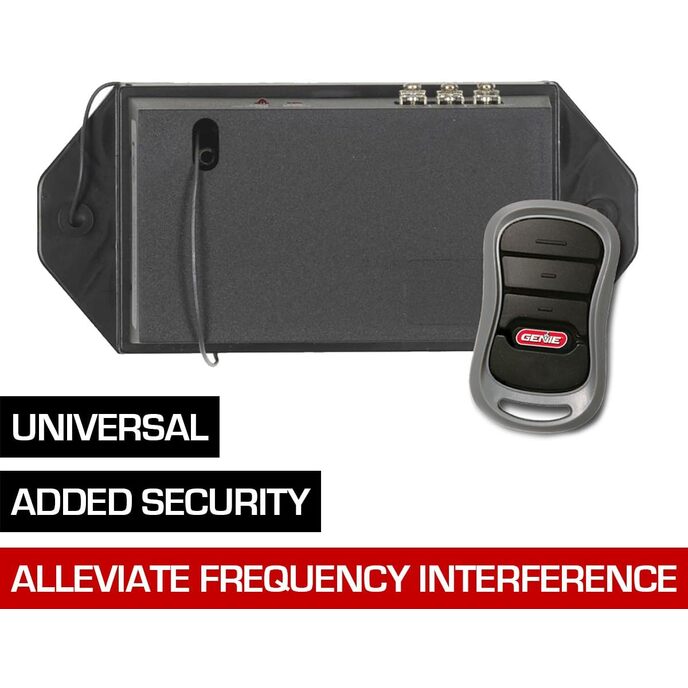

DESCRIZIONE DEL PRODOTTO I sistemi Land Mobile Radio (LMR) sono utilizzati dalle basi militari negli Stati Uniti e sono stati implementati come parte degli sforzi della nazione per la sicurezza nazionale. Se si dispone di un apriporta da garage che opera su frequenze di 380-400 MHz e si vive entro 50 miglia da una base militare, l'apriporta del garage potrebbe risentirne e sembra avere un raggio corto. In questo caso, il kit di conversione universale Genie GIRUD-1T può essere d'aiuto. Funziona sulla tecnologia a doppia frequenza di ricerca automatica che cercherà automaticamente la frequenza 315 o 390 MHz prodotta da un telecomando, contribuendo a garantire che l'apri risponda in caso di interferenza di frequenza. Il Genie Universal Conversion Kit può essere utilizzato anche per aggiornare versioni precedenti di apriporta per garage (prodotti dal 1993 al 1995) che potrebbero avere una tecnologia meno sicura. Questo kit aggiunge la tecnologia di sicurezza Intellicode, che cambia automaticamente il codice di accesso a ogni utilizzo, al tuo vecchio apriporta, contribuendo a prevenire l'accesso non autorizzato al tuo garage. Il kit GIRUD-1T viene fornito con tutto il necessario per una facile installazione e configurazione. Le istruzioni di installazione guidano l'utente attraverso il processo di assemblaggio del ricevitore universale a doppia frequenza, del trasformatore plug-in da 12 V e del trasmettitore del telecomando G3T-R. Il kit include cavi e fermacavi e viti di montaggio. Genie GIRUD-1T Kit di conversione universale a doppia frequenza per l'apriporta del tuo garage. DAL PRODUTTORE Kit di conversione radio a doppia frequenza universale Genie #GIRUD-1T
EAN: 0050049015640
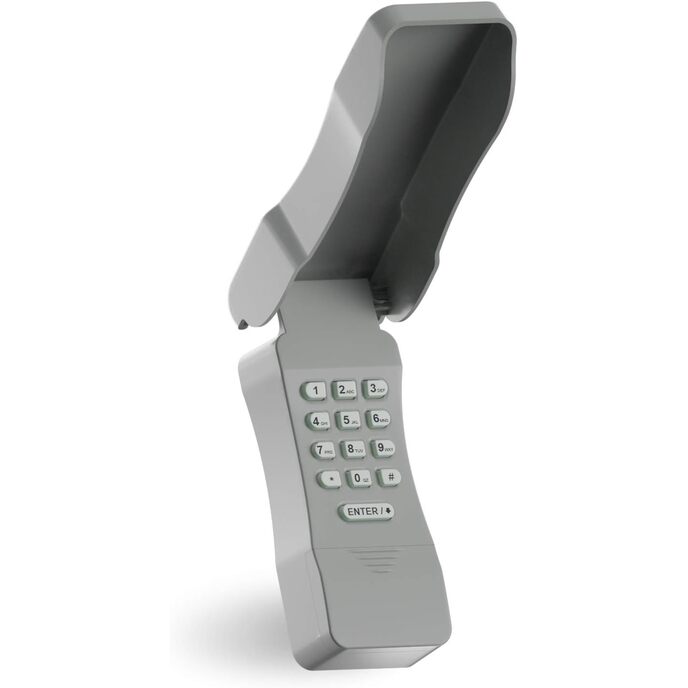
Categories: Strumenti e miglioramento della casa, Materiali da costruzione, Materiali da costruzione, Porte, Porte da garage, apriporta e parti, Tastiere e telecomandi,
| Batteries Included? | Yes |
| Batteries Required? | No |
| Brand | Genie |
| Color | Black |
| Color | Black |
| Country of Origin | China |
| Customer Reviews | 4.5 4.5 out of 5 stars 1,086 ratings 4.5 out of 5 stars |
| Description Pile | Lithium |
| Domestic Shipping | Item can be shipped within U.S. |
| Included Components | Receiver box, plug adapter, wiring |
| Included Components | Receiver box, plug adapter, wiring |
| International Shipping | This item can be shipped to select countries outside of the U.S. Learn More |
| Is Discontinued By Manufacturer | No |
| Item Dimensions LxWxH | 2.75 x 7 x 8.5 inches |
| Item model number | Model GIRUD-1T |
| Item Package Quantity | 1 |
| Item Weight | 1.26 Pounds |
| Item Weight | 1.26 pounds |
| Manufacturer | Genie |
| Part Number | 36359R |
| Power Source | Battery-powered |
| Product Dimensions | 2.75 x 7 x 8.5 inches |
| Warranty Description | Limited 1 Year Warranty |