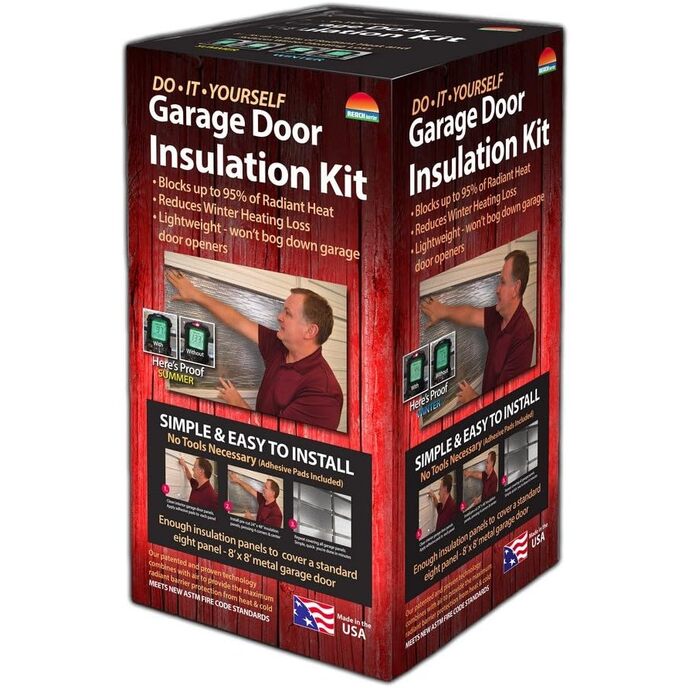
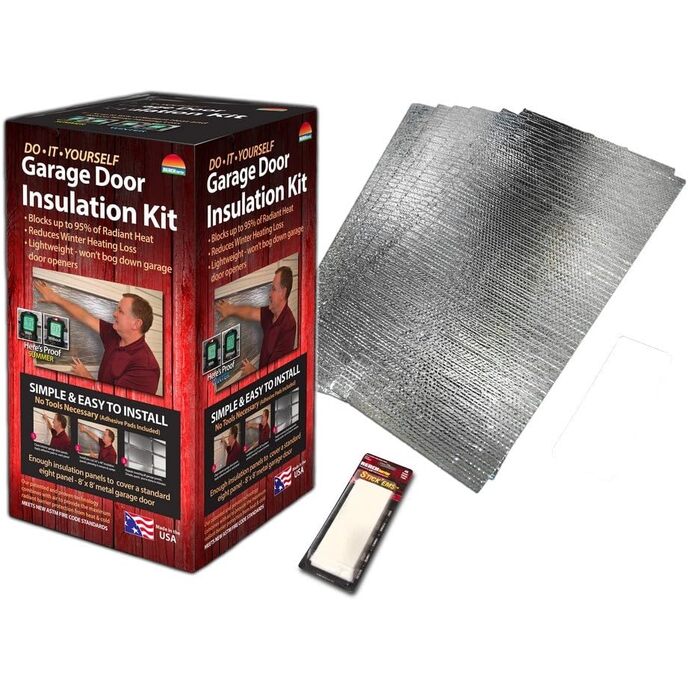


DESCRIZIONE PRODOTTO Reach Barrier 3009 Kit isolamento porta garage. DAL PRODUTTORE Reach Barrier 3009 Kit isolamento porta garage.
EAN: 0853455003009
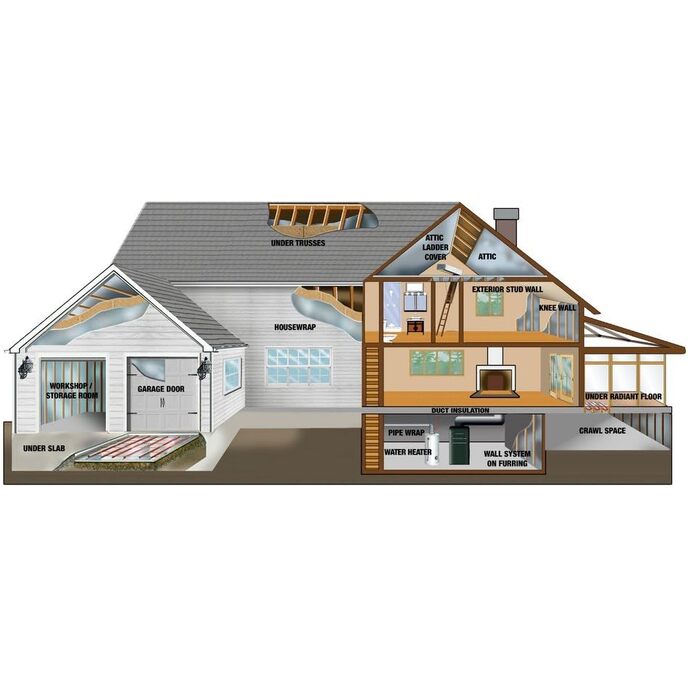
Categories: Strumenti e miglioramento della casa, Materiali da costruzione, HVAC, Resistente alle intemperie, Guarnizioni per porte da garage,
| Batteries Included? | No |
| Batteries Required? | No |
| Color | Silver |
| Country of Origin | USA |
| Customer Reviews | 4.3 4.3 out of 5 stars 3,343 ratings 4.3 out of 5 stars |
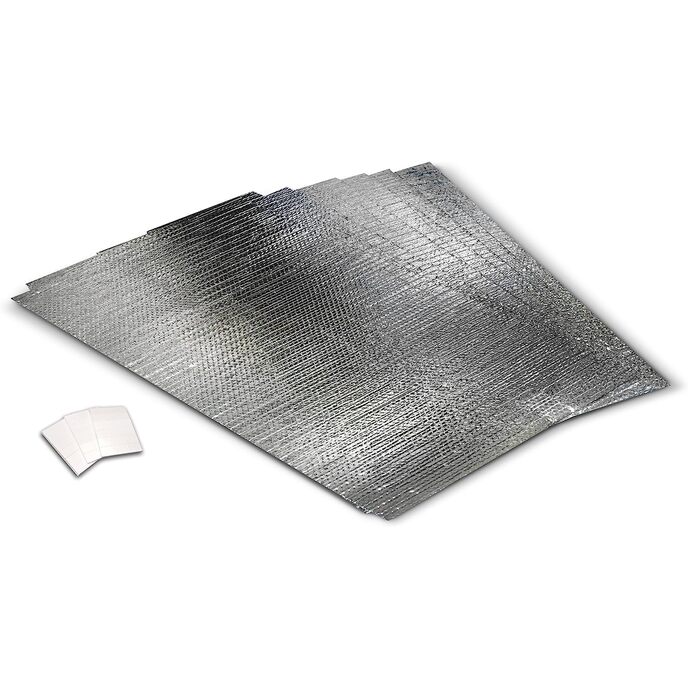
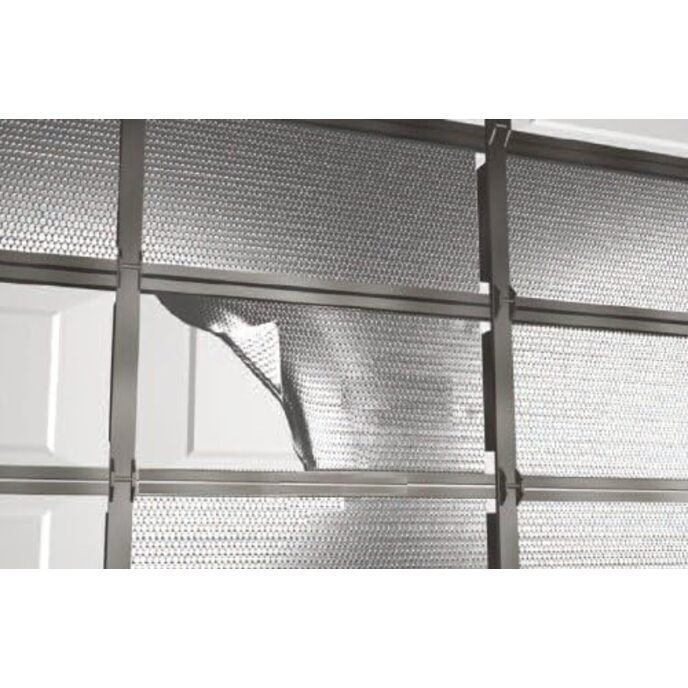
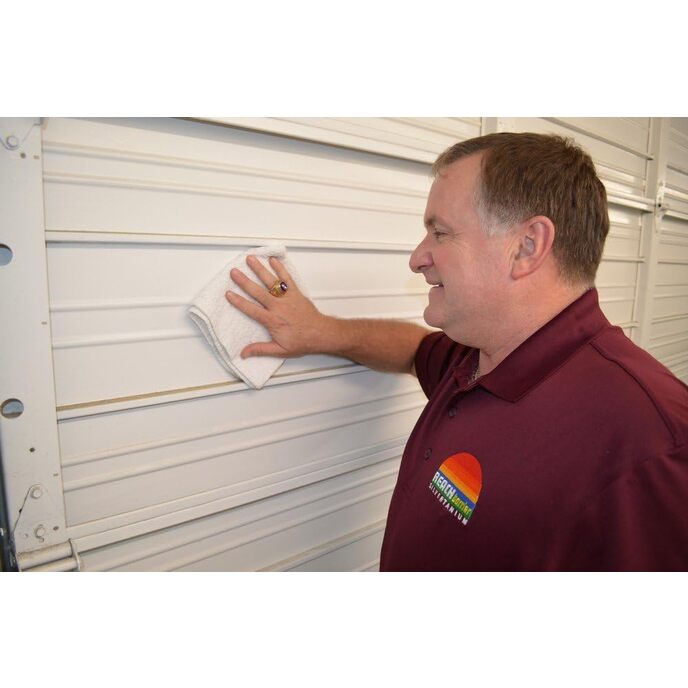
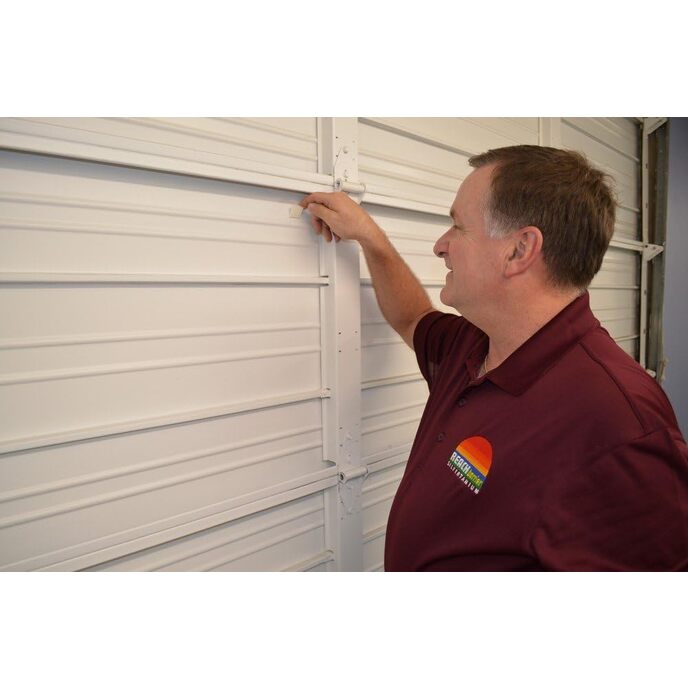
| Included Components | 8 panels, 1 pack of Stickems and instruction sheet |
| Is Discontinued By Manufacturer | No |
| Item model number | 3009 |
| Item Package Quantity | 1 |
| Item Weight | 3.32 pounds |
| Manufacturer | Reach Barrier |
| Material | Polyethylene |
| Part Number | 3009 |
| Product Dimensions | 25 x 13.4 x 13.2 inches |