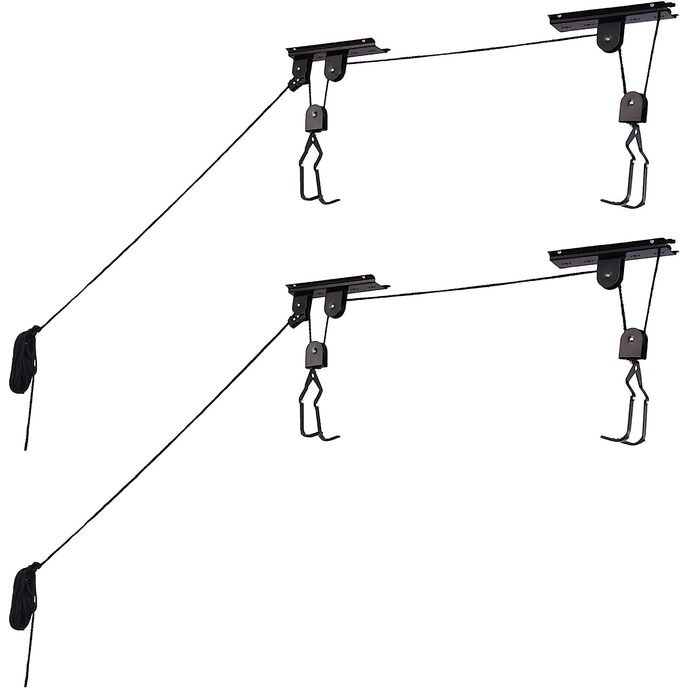
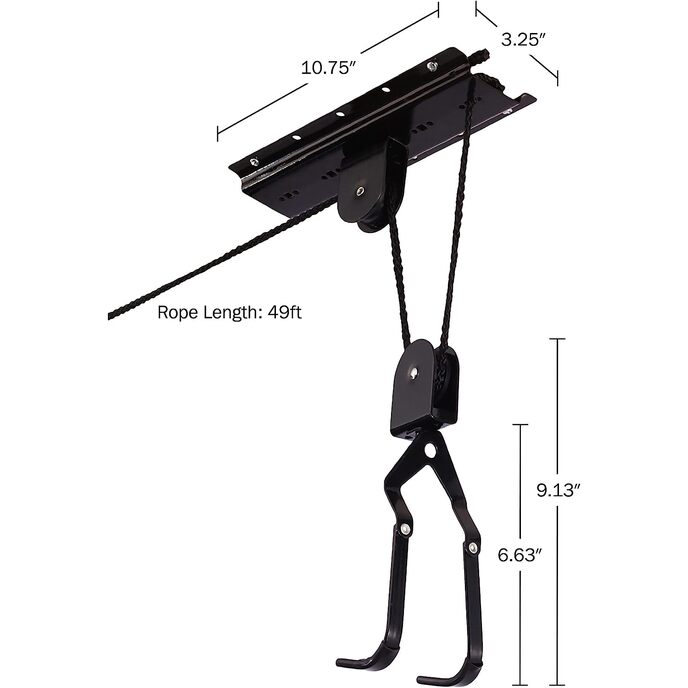


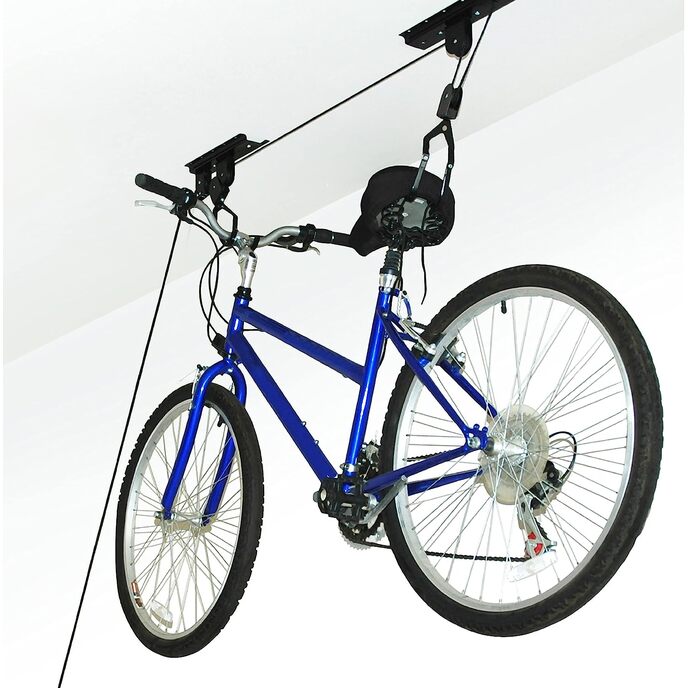
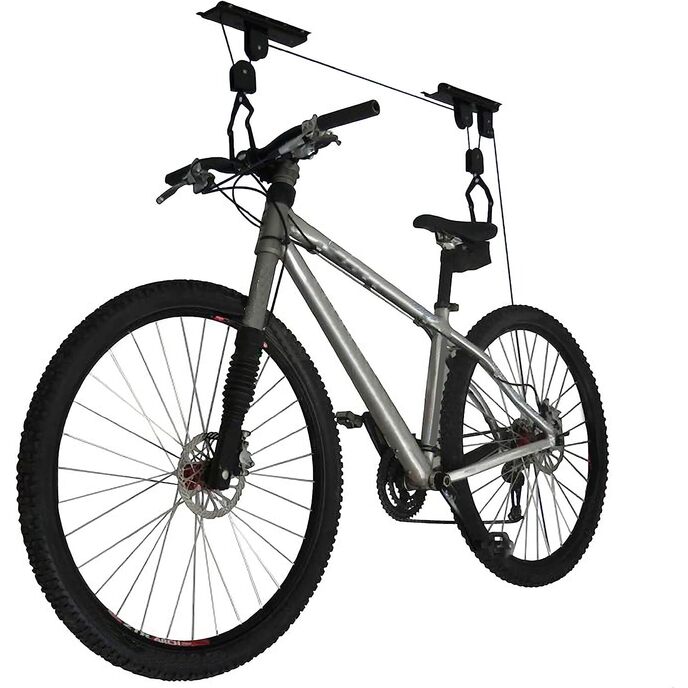
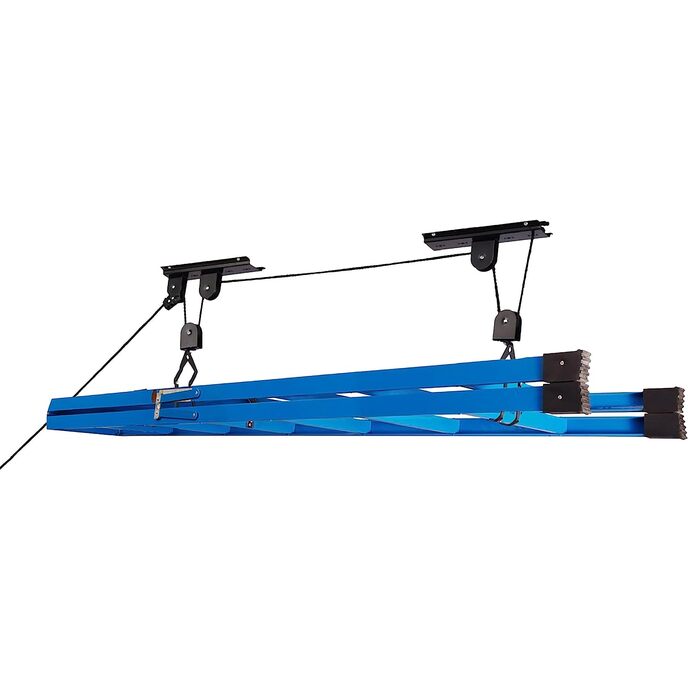
► BLOCCHI DI SICUREZZA - Il meccanismo di blocco sicuro impedisce il rilascio accidentale. Nessuno vuole tornare a casa e scoprire che la bicicletta è caduta a terra. ►USO INTERNO - Per soffitti interni alti fino a 12 piedi. Una volta che la bici è fuori mano, libererai così tanto spazio sul pavimento che non saprai cosa farne. ► INGEGNERIA ROBUSTA - Consente di sollevare prodotti pesanti, fino a 100 libbre. Capacità. Questo è il sollevatore per biciclette che tutti gli altri stanno cercando di copiare. Non prendiamo scorciatoie. Questo è il paranco RAD Bike originale di cui hai sentito parlare. ► FACILE DA INSTALLARE - Montare sul travetto o sul travetto del soffitto e quindi facile da usare. Con solo il minimo di strumenti puoi avere il tuo kayak appeso nel tuo garage in pochissimo tempo. ► GANCI RIVESTITI IN GOMMA - I ganci sono progettati con un rivestimento protettivo in gomma per proteggere la tua bici dai graffi.
EAN: 885333131429
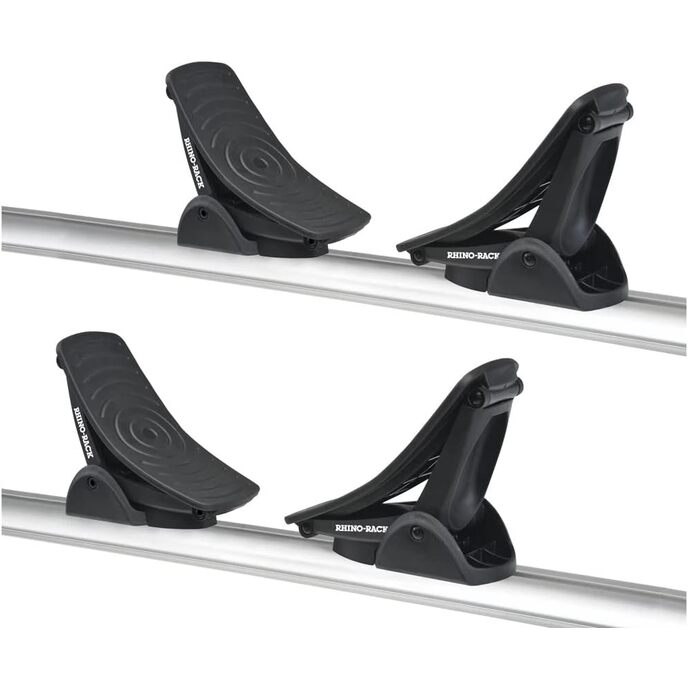
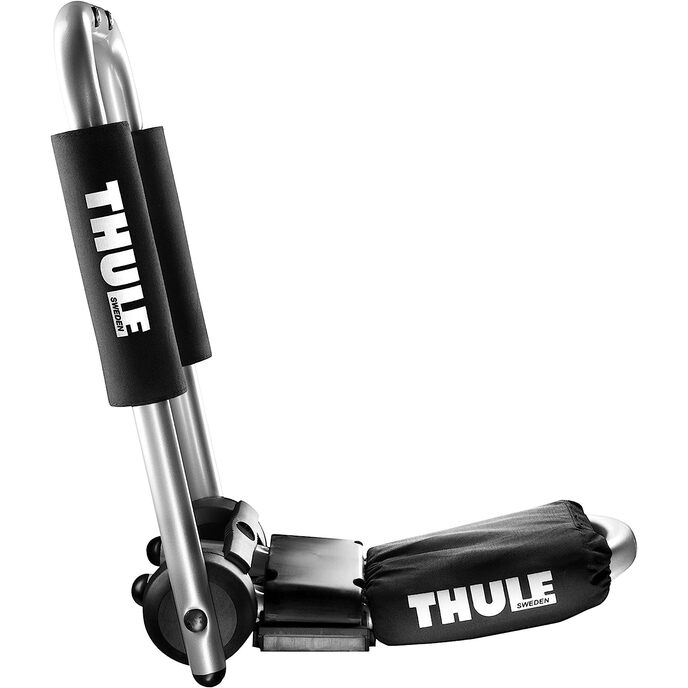
Categories: Sport e tempo libero, Attività all'aperto, Accessori, Portapacchi e trasportini per auto, Porta kayak, canoa e SUP, Portabici per canoa,
| Brand Name | RAD Cycle Products |
| Color | Black |
| Country of Origin | United States |
| Customer Reviews | 4.4 4.4 out of 5 stars 10,451 ratings 4.4 out of 5 stars |
| Included Components | Hoists |
| Item Dimensions LxWxH | 12 x 12 x 6 inches |
| Item Package Dimensions L x W x H | 10.41 x 10.31 x 4.58 inches |
| Item Weight | 8 Pounds |
| Manufacturer | Trademark GLB |
| Material | Metallic-Fiber |
| Model Name | Bike Hoists - Overhead Pulley System with 100 lb Capacity for Bicycles or Ladders - Secure Garage Ceiling Storage by Rad Cycle |
| Number of Items | 2 |
| Package Weight | 3.64 Kilograms |
| Part Number | 2004 RAD Bike Hoist 2 Pack |
| Size | 2 Pack |
| Style | 2-pack |
| Suggested Users | unisex-adult |