DESCRIZIONE DEL PRODOTTO Durevole, affidabile, ingegneria e costruzione di qualità. I prodotti standard americani sono progettati per il tuo stile di vita frenetico. Parti, hardware e componenti sono progettati per migliorare l'utilizzo dei prodotti standard americani. A proposito di marchi standard americani, grandi prestazioni e un bell'aspetto si incontrano nella nostra linea completa di accessori e rubinetti per il bagno e la cucina. Prestazioni e affidabilità. Collezioni coordinate. Funzioni ingegnose. Lo standard americano è lo stile che funziona meglio ogni giorno. DAL PRODUTTORE Durevole, affidabile, ingegneria e costruzione di qualità. I prodotti American Standard sono progettati per il tuo stile di vita frenetico. Parti, hardware e componenti sono progettati per migliorare l'utilizzo dei prodotti American Standard. Informazioni sui marchi standard americani Grandi prestazioni e un bell'aspetto si incontrano nella nostra linea completa di accessori e rubinetti per bagno e cucina. Prestazioni e affidabilità. Collezioni coordinate. Funzioni ingegnose. Lo standard americano è lo stile che funziona meglio ogni giorno.
EAN: 0705020193960
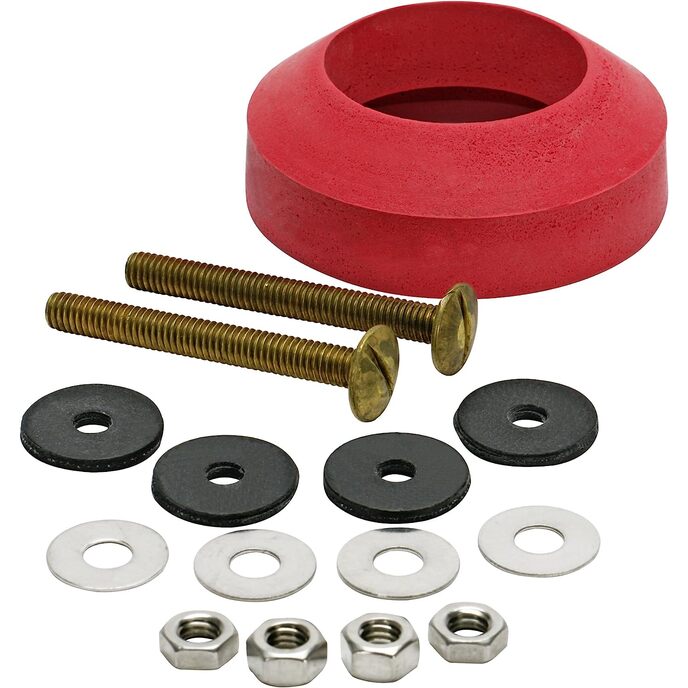
Categories: Strumenti e miglioramento della casa, Impianto idraulico grezzo, Parti della toilette, Kit di riparazione per WC,
| Batteries Included? | No |
| Batteries Required? | No |
| Color | Multicolor |
| Country of Origin | USA |
| Customer Reviews | 4.6 4.6 out of 5 stars 1,054 ratings 4.6 out of 5 stars |
| Is Discontinued By Manufacturer | No |
| Item model number | 7301021-0070A |
| Item Package Quantity | 1 |
| Item Weight | 6.2 ounces |
| Manufacturer | American Standard |
| Material | Brass |
| Part Number | 7301021-0070A |
| Product Dimensions | 2 x 2 x 0.75 inches |
| Warranty Description | Limited One Year |