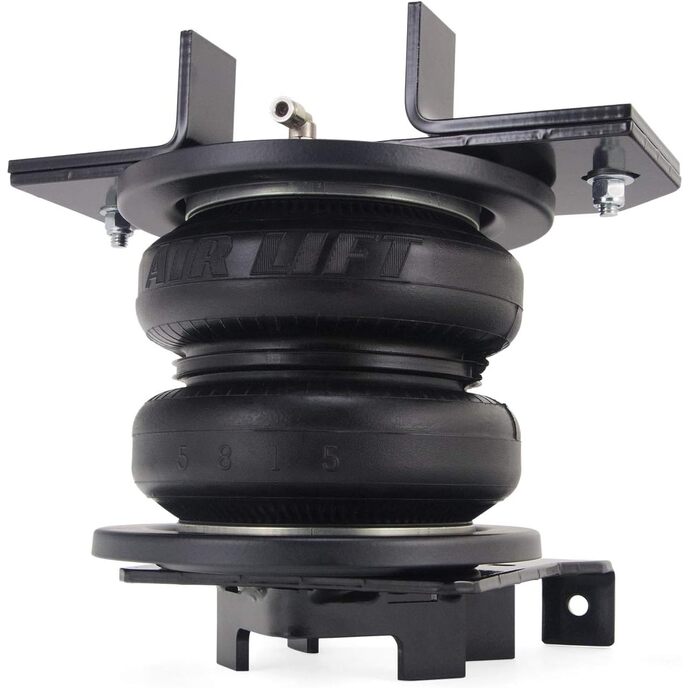
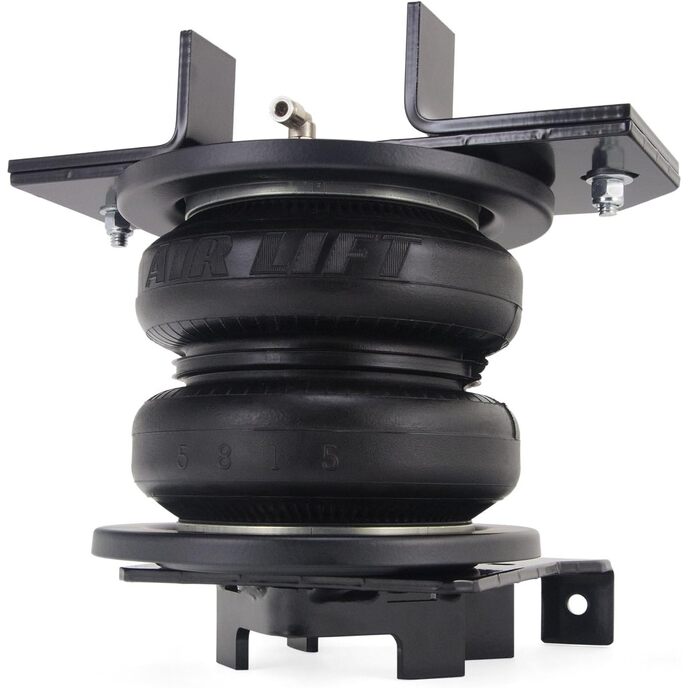
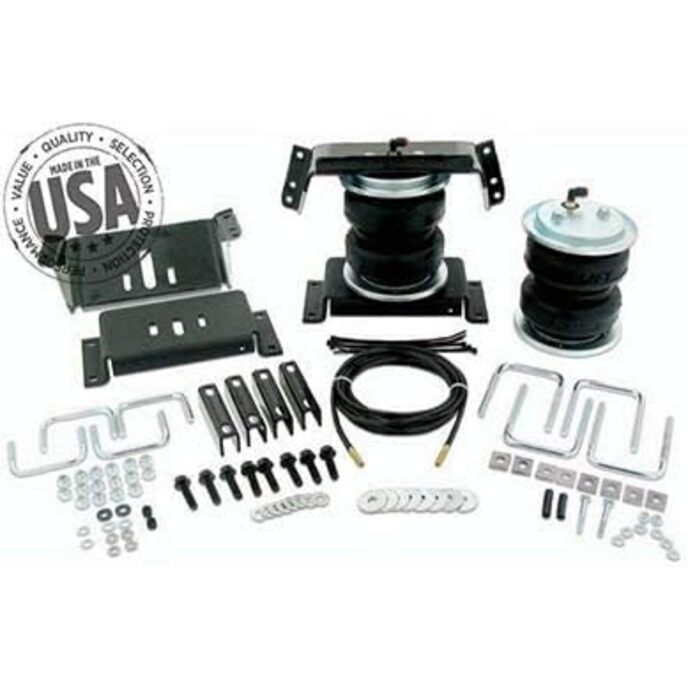
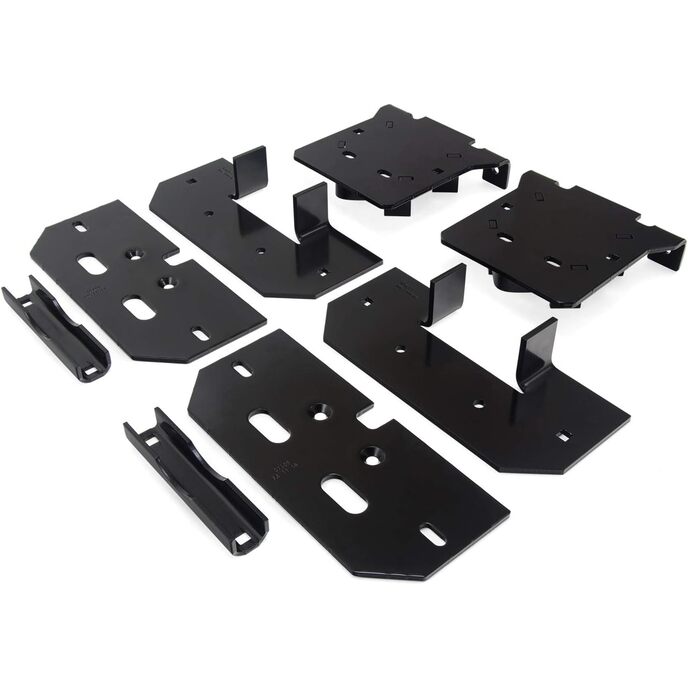
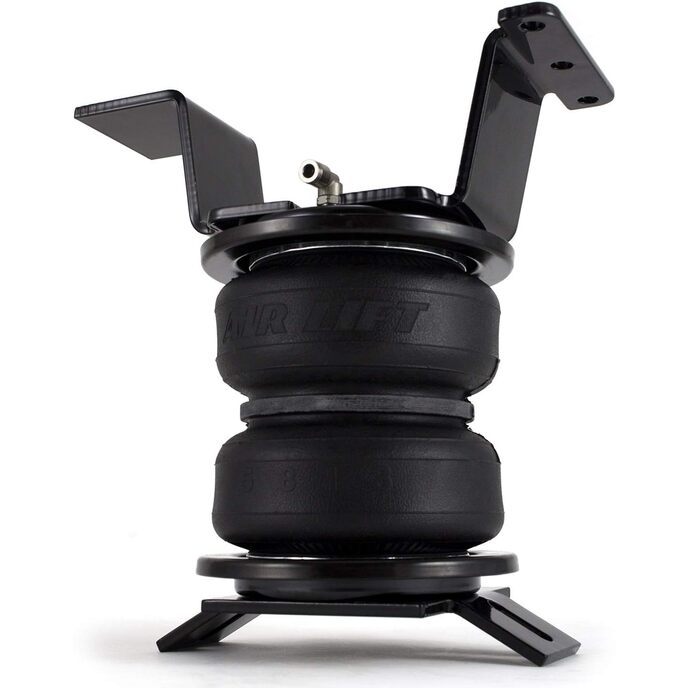
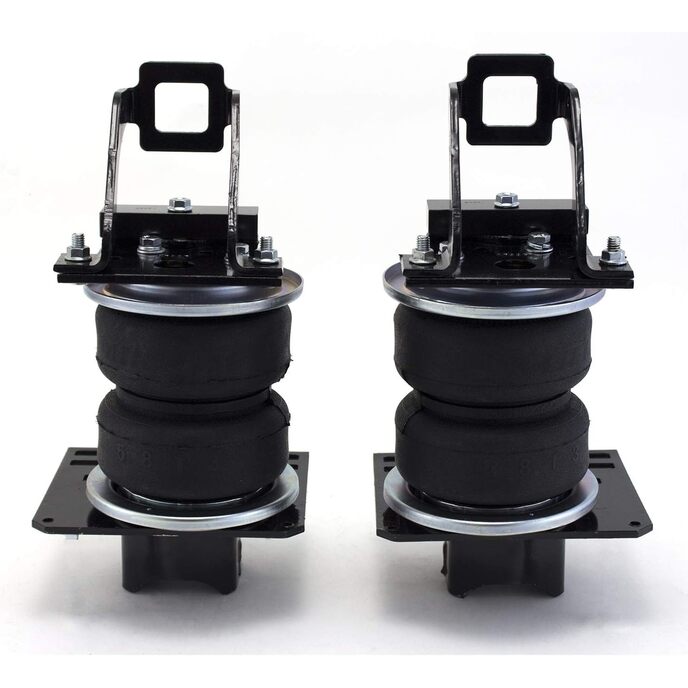
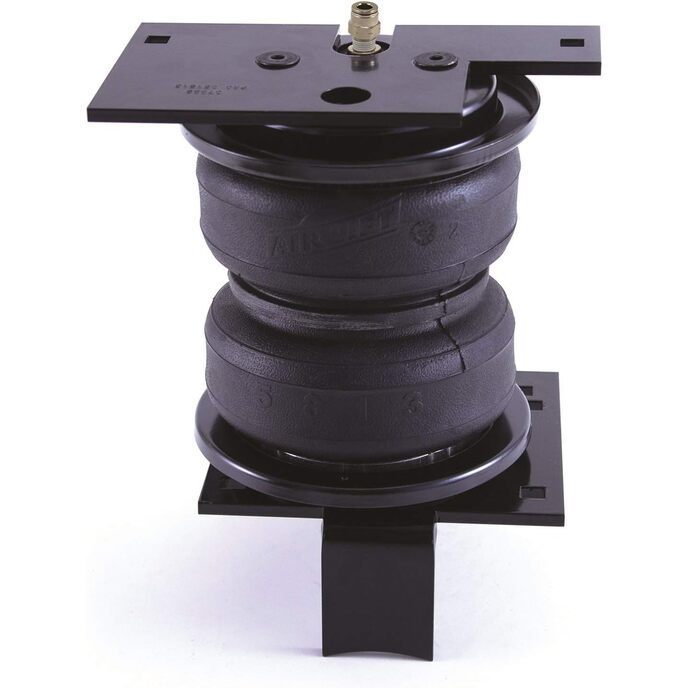
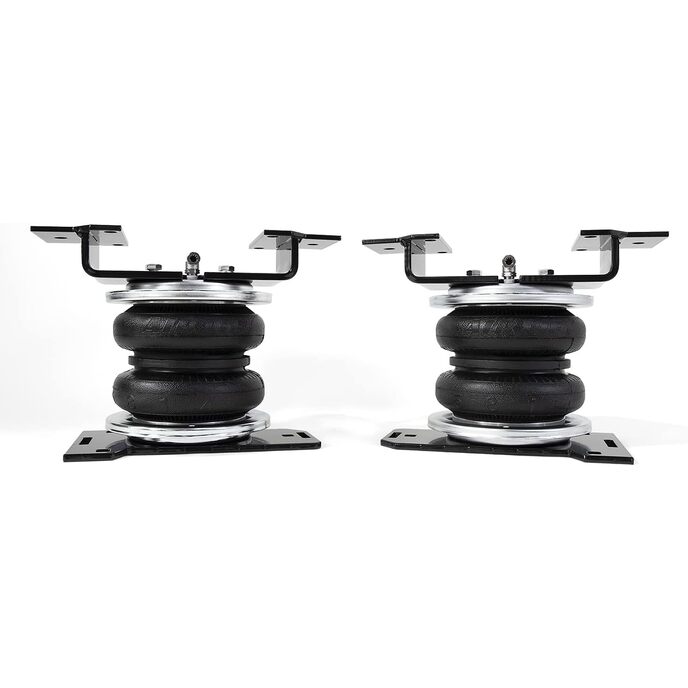
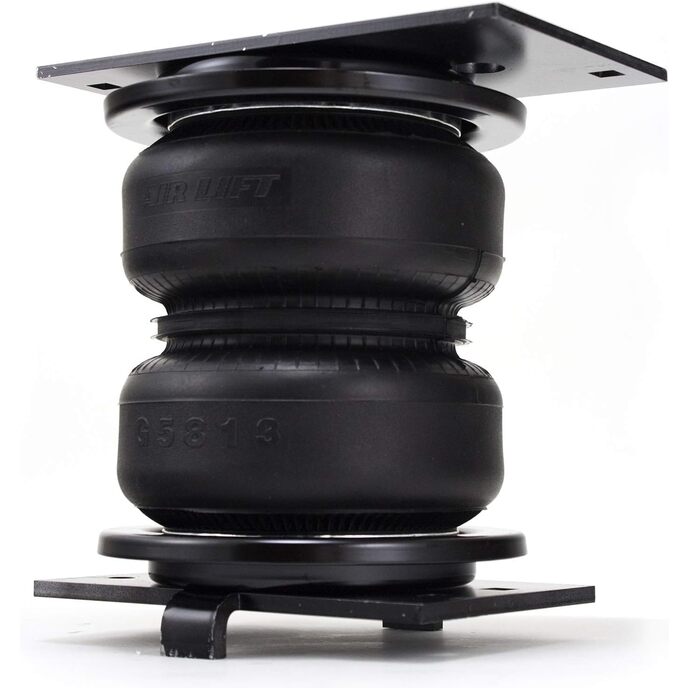
First off, once installed the bags do an amazing job at supporting my over 4,000 LBS pin weight of my toy hauler. But getting them installed is a totally different story. My 2012 Ram 3500 dually had a set of brackets already installed from the previous owner, so the first major complication was removing those. I had to drill and extract every bolt with heat and an extractor tool, but you don't care about that. That is not a load lifter problem. If a product is going to advertise they are a direct fit, than cutting, grinding, painting and trimming should not be necessary. I had to do all of the above. Word of advice; remove the spare tire first, shocks not worth removing (in my opinion) DRIVER SIDE INSTALL: Fit as described in the directions....assemble bag and bracket assembly, set on axle tube, and then trim the bottom air bag bezel to fit around axel vent tube...Wait...Trim a direct fit product? If you know that is going to need trimming (because you put it in the installation instructions) then WHY DON'T YOU TRIM IT AT THE FACTORY!!?? After test fitting, marking where to trim, removing bag, trimming plate on work bench, sanding burrs, putting a thin coat of paint or plasti dip, then reinstalling, I could then bolt the hardware on and snug fit it all. Do a couple clearance checks, make sure it is seated well on the axle and the leaf spring stack and then torque everything down as directed.... Now it’s time for the Passenger side PASSENGER SIDE INSTALL: Started the same as the drivers’ side by assembling the bag and bracket assembly and then going under to test fit on axle. I crawled under I tried to install the bracket that went where the bump stop used to be. It doesn’t fit, not even close…The entire back corner of the bracket strikes the exhaust pipe. It wouldn’t matter how I rotated it or adjusted it. In order to get the bracket installed on the frame I would have to get out the trusty cut-off wheel and modify the back portion of the bracket. I trimmed the bracket, cleaned up the edge, and then placed 3 coats of plasti-dip to cover the exposed metal. I crawled back under the truck and was able to attach it to the bump stop frame mount without further incident. Now it was time to test fit the airbag assembly. I put on all the hardware snugged everything up and was getting ready to torque everything down when it dawned on me…If I modified the top bracket to fit around the exhaust, I will probably have problems with the bracket that mates up to that surface….Sure enough..It also strikes the exhaust. So at this point I had to take off the hardware and pull the airbag assembly out and back on to the workbench to trim the another bracket. I had to be a bit more careful with this one however because I did not want to take apart the airbag assembly. I wrapped the bag with a thick moving blanket to shield it from sparks, a slip, or debris. After trimming that bracket, I filed the edge, and gave it a quick shot of plasti-dip. Now I was able to slide the assembly back into place, put the hardware back on, snug it up, check for placement and fit, and finally torque everything down. The remainder of the process was as expected. I lifted the rear axle until the brackets touched, I lined up the bolt holes, and installed the carriage bolts from the top of the bag to the frame bracket. I then ran the air hose, installed the exhaust heat shield and lowered the truck down. I followed the airbag test instructions and lowered the pressure to about 10 psi. I have included some pictures of the bags fully installed, aired to ~30 psi and under a heavy load (At least 4,000 lbs.)