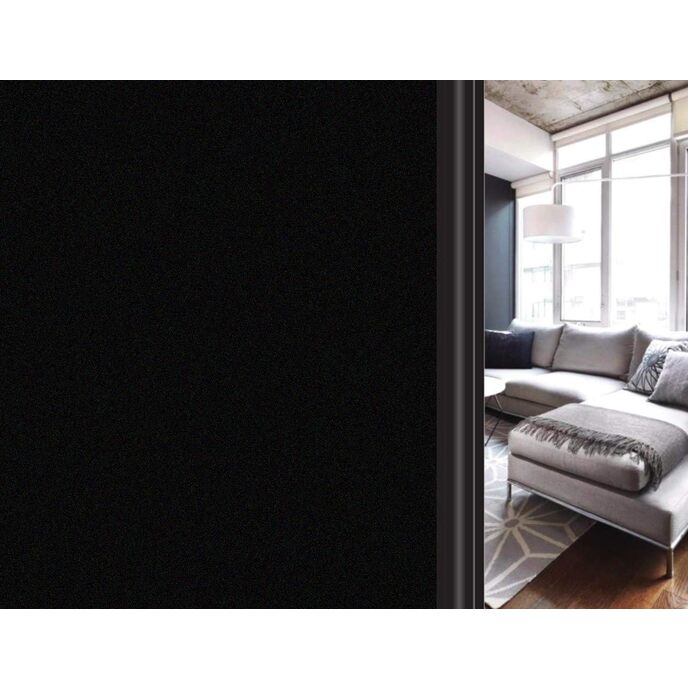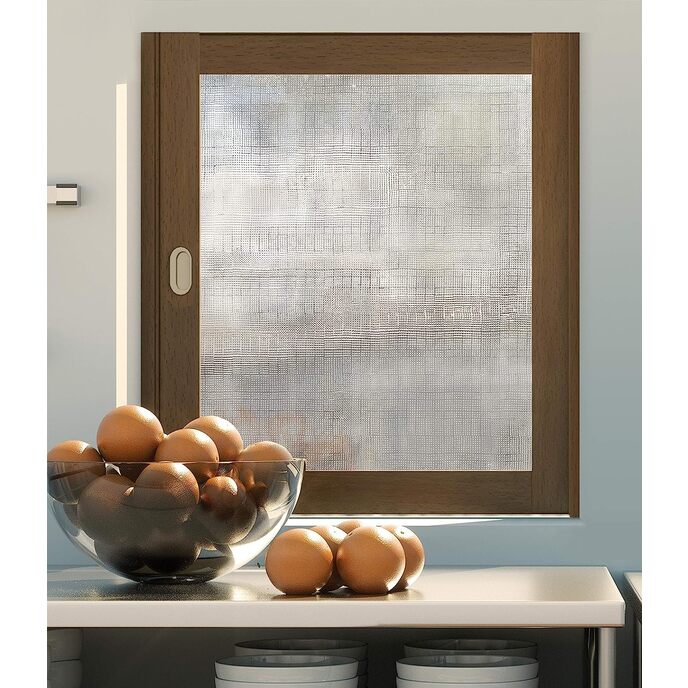
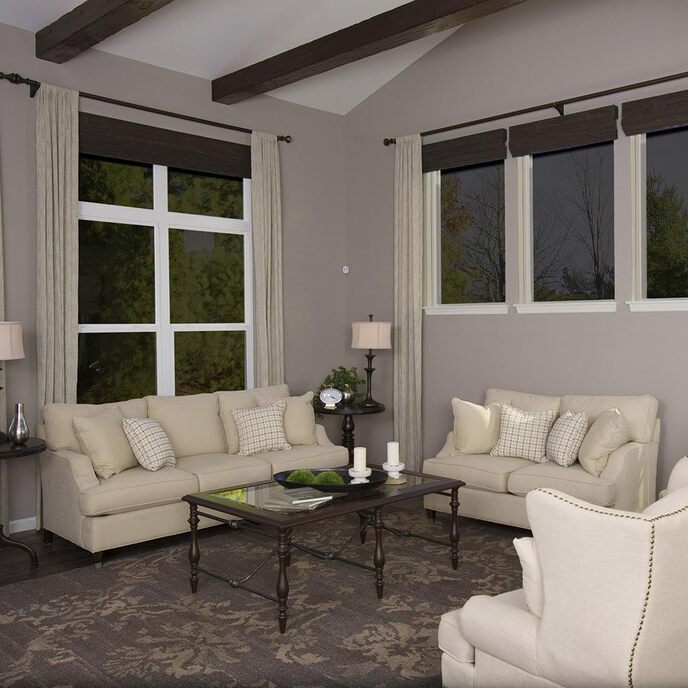

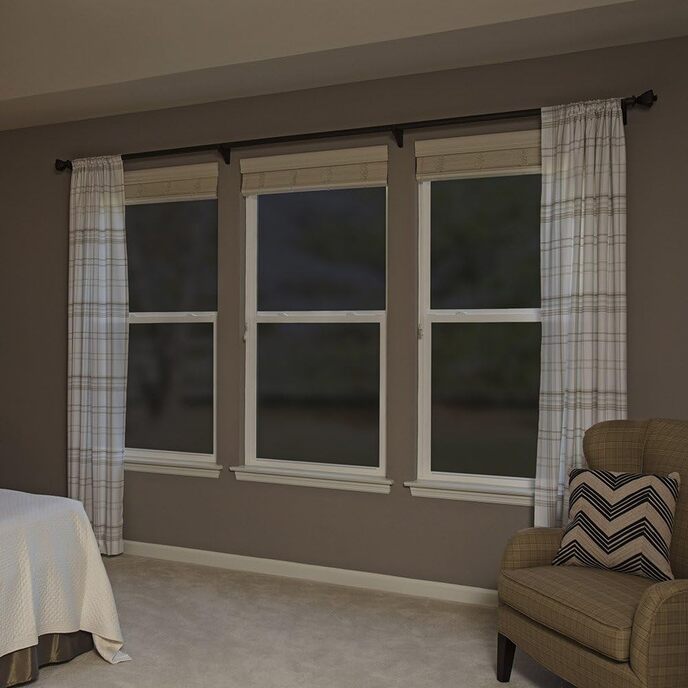
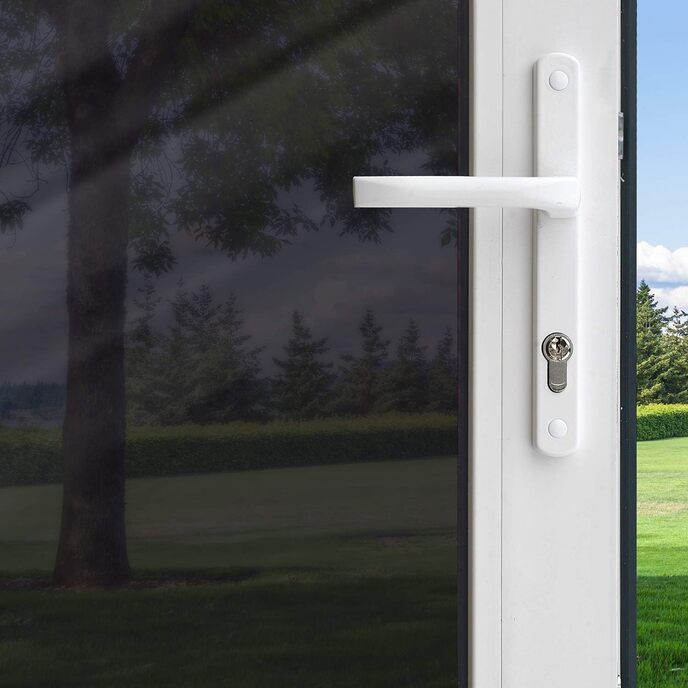
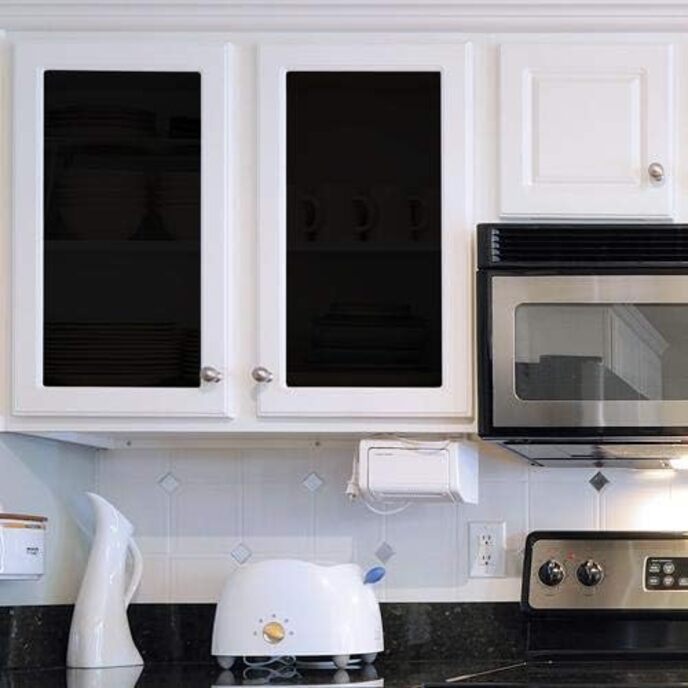
copre 1 finestra standard. Riduce l'abbagliamento. Aiuta a ridurre lo sbiadimento degli arredi interni respingendo fino al 99% dei raggi UV. FACILE INSTALLAZIONE FAI DA TE: Basta tagliare su misura e applicare utilizzando Gila Complete Application Kit, non è necessario alcun installatore professionale. STRUMENTI DI INSTALLAZIONE VENDUTI SEPARATAMENTE: Si consiglia il kit completo per l'installazione di pellicole per vetri Gila (articolo RTK500) per completare le esigenze del progetto di pellicole per finestre fai-da-te. COMFORT AUMENTATO: Riduce l'abbagliamento fino al 93%, rendendo gli interni più confortevoli. PROTEGGE GLI INTERNI: blocca fino al 99% dei raggi UV, contribuendo a evitare che i tuoi interni sbiadiscano. EFFICIENZA ENERGETICA: Rifiuta fino al 58% dell'energia solare totale. PRIVACY DIURNO: la pellicola oscura le finestre per fornire privacy e blocco della luce superiori.
EAN: 045162487559
Categories: Casa e cucina, Home decor, Trattamenti per finestre, Vetrofanie e pellicole, Pellicole per finestre,
| Batteries Included? | No |
| Batteries Required? | No |
| Brand | Gila |
| Brand | Gila |
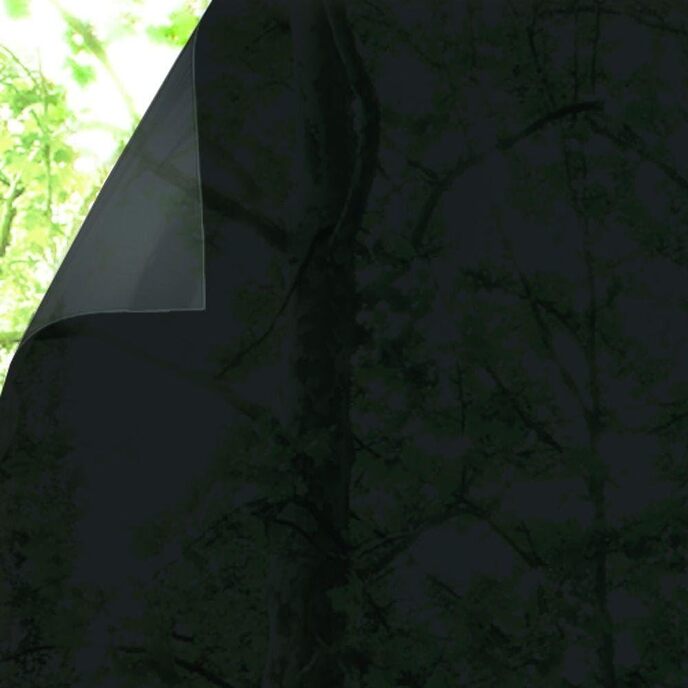
| Color | Black |
| Color | Black |
| Country of Origin | China |
| Customer Reviews | 4.4 4.4 out of 5 stars 9,384 ratings 4.4 out of 5 stars |
| Domestic Shipping | Item can be shipped within U.S. |
| Included Components | Installation Instructions, Window Film |
| Installation Method | Static Cling |
| Installation Method | Static Cling |
| International Shipping | This item can be shipped to select countries outside of the U.S. Learn More |
| Is Discontinued By Manufacturer | No |
| Item model number | PB78 |
| Item Package Quantity | 1 |
| Item Weight | 1.55 pounds |
| Manufacturer | Gila |
| Material | Polyethylene Teraphthalate |
| Material | Polyethylene Teraphthalate |
| Number Of Pieces | 1 |
| Part Number | PB78 |
| Pattern | Window Film |
| Product Dimensions | 78"L x 36"W |
| Product Dimensions | 36.75 x 5.25 x 2 inches |
| Product Dimensions | 78"L x 36"W |
| Size | 36" x 6.5' |
| Size | 36" x 6.5' |
| UV Protection | UV Protection |
| UV Protection | UV Protection |
| Warranty Description | Limited warranty against manufacturing defects. Replacement at no charge with submission of valid warranty claim. |