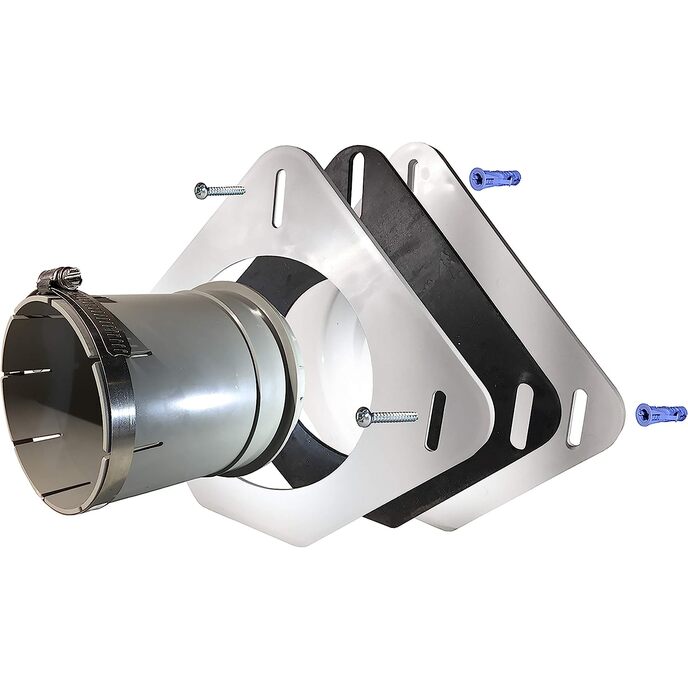
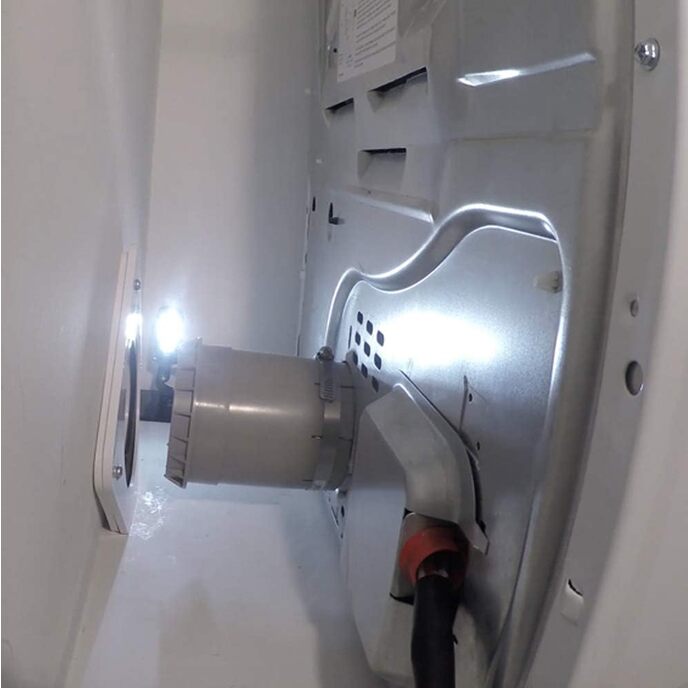
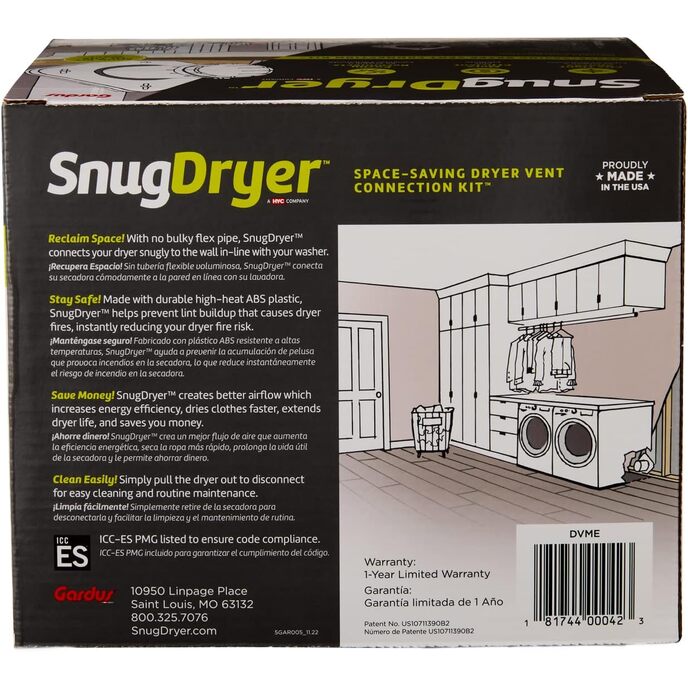
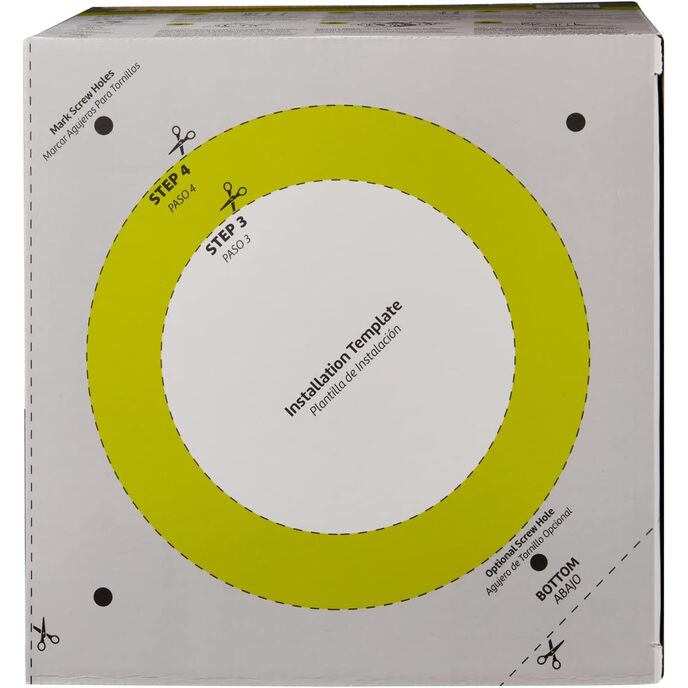
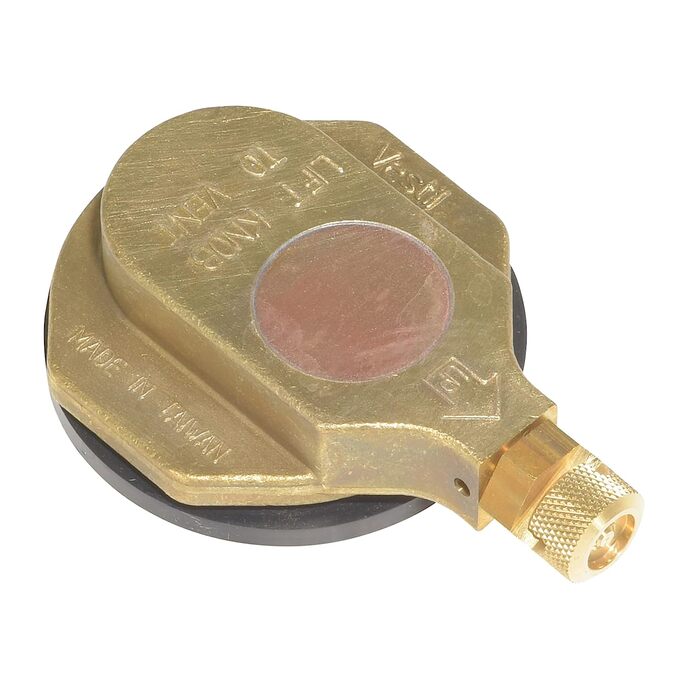
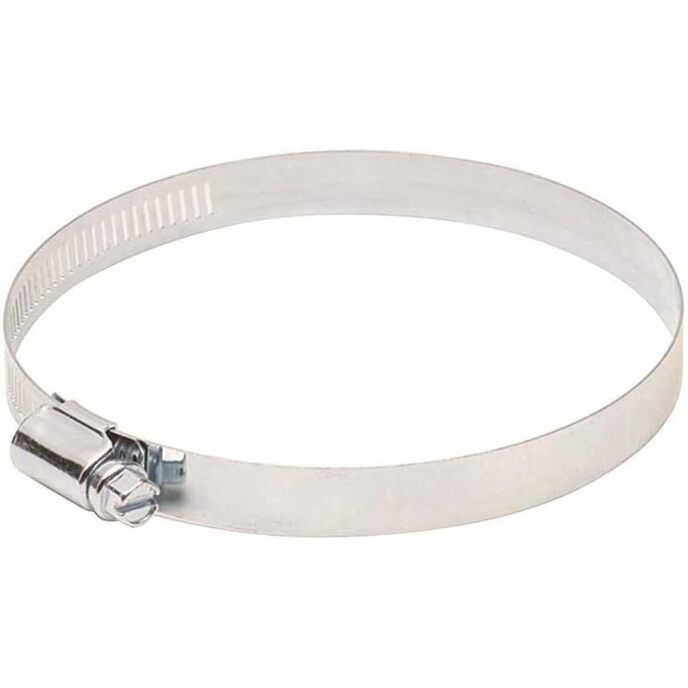
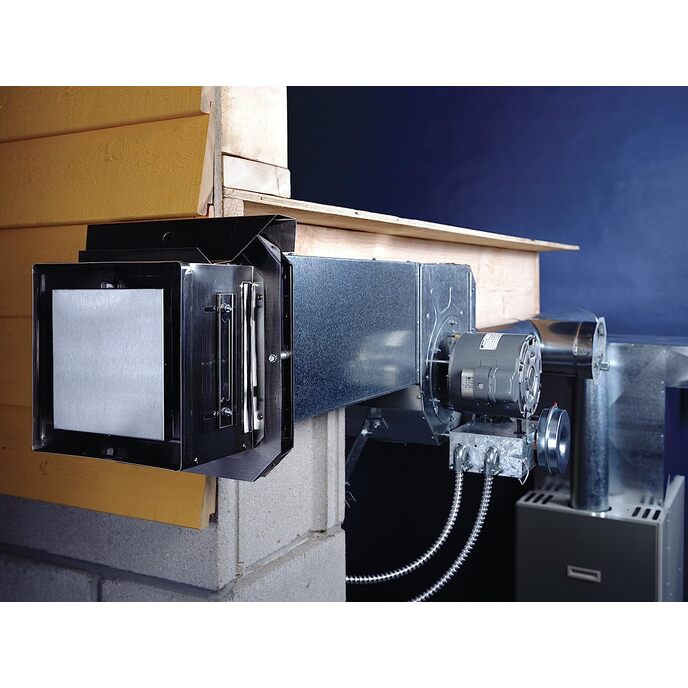
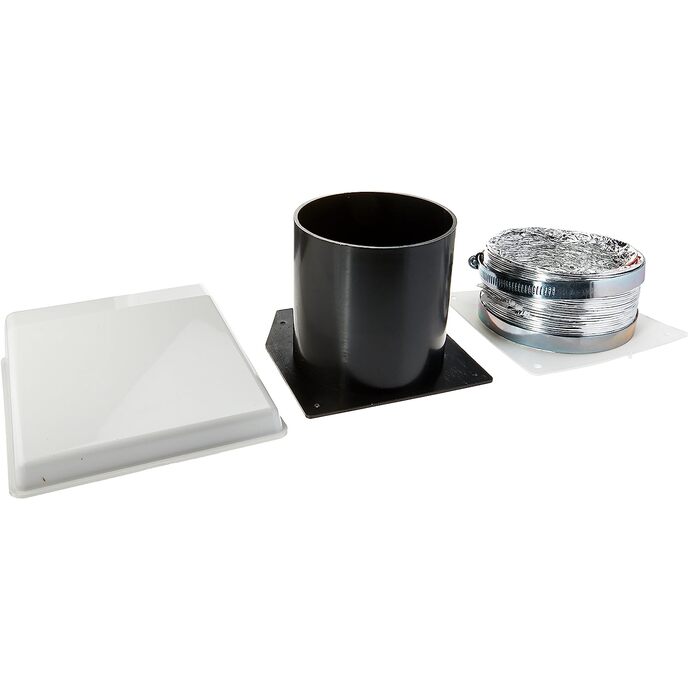
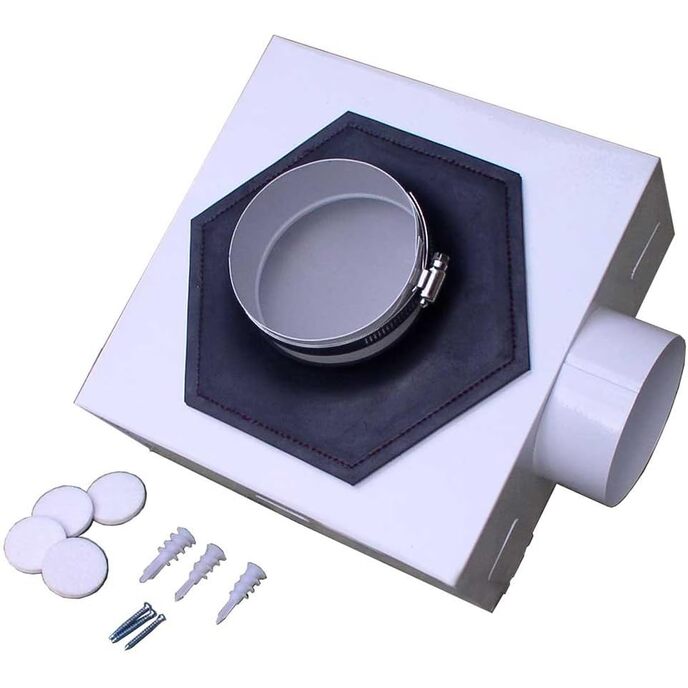
My wife's dryer stopped heating. I called a repairman who misdiagnosed the problem, told me the parts were no longer available, and charged me $104.62 for the service call. I figured it was probably something simple, so I opened the dryer up myself, and tested some components with a multi-meter – turned out the thermal fuse was blown. While waiting for parts, I decided to install the Gardus Dryer Vent. Since this was a retrofit, I suspected it would be a difficult job, and it was. But I also suspected poor venting was why the thermal fuse blew in the first place. As I noted in the title, this is no job for amateurs. I've been in construction most of my life, and it took me several hours to get this device installed. Most of the work had to be done on my knees or my belly. The first requirement is getting this device aligned more or less perfectly with the exhaust vent on your dryer. The rubber seal on the female part of the device has a tolerance of only about an 1/8 or at best 3/16 of an inch in any direction when mating with the exhaust vent. If you have room to move your dryer from side to side, that's less of a problem. I didn't; the closet is just wide enough to squeeze in the washer and dryer, so I measured three times before cutting (always a good rule). Once you are sure you have things laid-out correctly, I recommend drilling a 1/8” pilot hole from the dead center of the layout through to the outside of your house. Make sure to use a drill bit long enough to reach to the outside in one pass (typically 6” or so). If you have one available, use a device to keep the drill-bit level. Drilling that pilot hole will make things a lot easier, when it's time to locate and drill a 4 1/4” hole on your outside wall. I recommend using a hole saw for that job. WARNING: When drilling blind through a wall, check first to make sure there is no plumbing or electrical wiring in the path of the hole. Failure to do so could have very bad consequences. Nothing ever goes easy on a retrofit, and there was a 2x4 stud dead in the center of where I needed to install the device. I knew that was going to be the case before I cut the hole; but once I set my mind to do something, I'm determined to see it through. Rather than cut a large piece of drywall and frame for the device, I chose to cut a hole the size required to fit the device and cut off the part of the stud blocking the hole. WARNING: Never cut-off a stud, unless you know for certain that will not effect the structural integrity of the wall; this could have very bad consequences in a bearing wall, and dryers are usually vented through a bearing wall. Next comes what I call the Goldilocks problem. The gray plastic extension that comes with the device – what you might call the male part of the device – must be fitted to dryer vent at the correct length. If it doesn't protrude far enough, it will not mate with the part attached to wall, and hot, wet air will be exhausted into your laundry room or closet. If the male part protrudes too far, the flange on the end of it will seat inside the rubber seal. If the latter happens, you'll have to jerk very hard on the dryer to free the connection and could possibly damage the device or your drywall. In my case, I had to cut a notch in the gray plastic fitting to accommodate an L-bracket that attached the dryer vent to the dryer. Then I test-fitted three times (always a good rule) before attaching the gray plastic extension to the dryer vent with the adjustable gear clamp provided. That is best done with the dryer at least partially disassembled. If all that sounds like a lot of work, it was. Was it worth it? On new construction, definitely – absolutely. On a retrofit, only if you're handy with tools and have lots of patience. Now for the good news: The Gardus device can save you money now and down the road. It'll save you money now because your dryer will work much more efficiently. With the old flex-tube connector, a batch of heavy towels normally required at least 1½ hours to dry, now that takes an hour or less. Down the road, you'll be less likely to have a thermostat or a thermal fuse or a heating element blow out. And since your dryer will be operating more efficiently, it will likely last longer, too. All in all, the Gardus dryer vent is a pretty good return on the investment of forty dollars and a half-day's work.