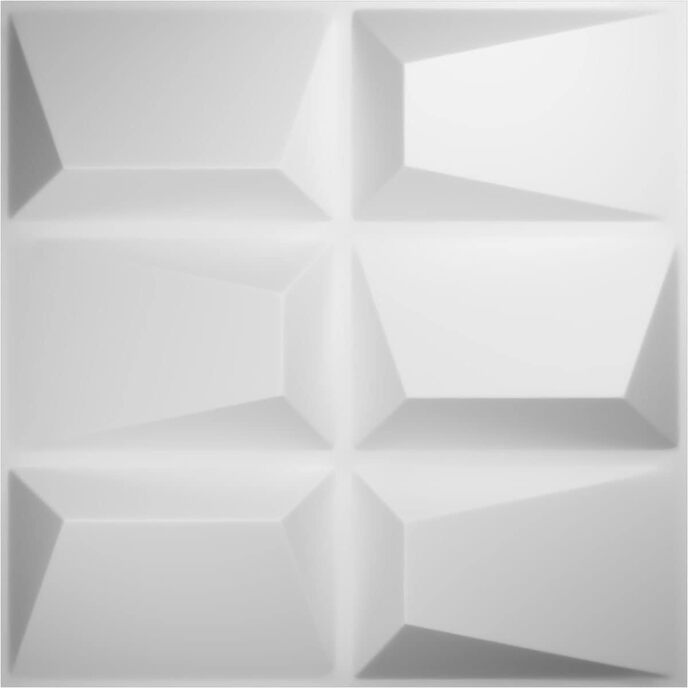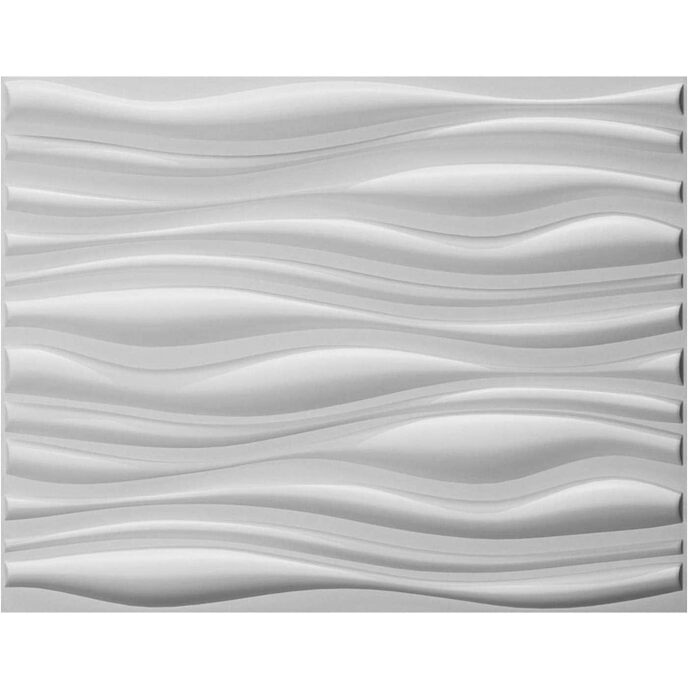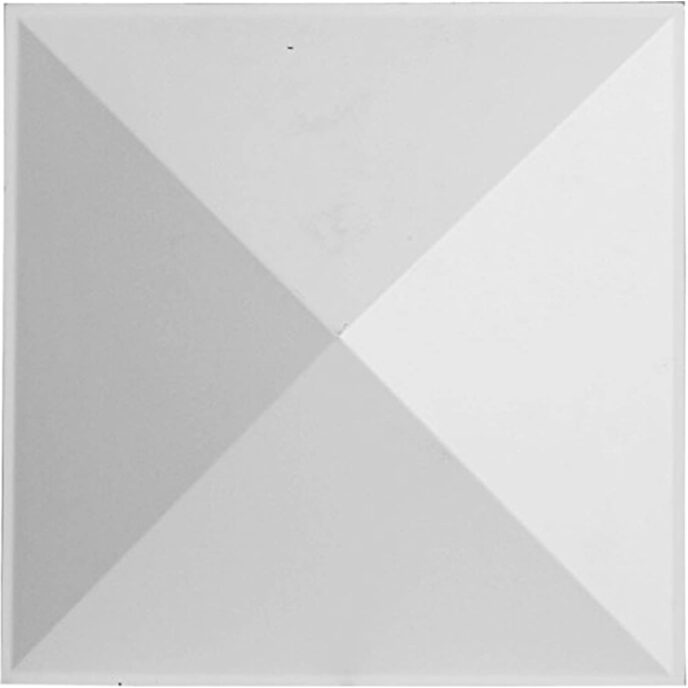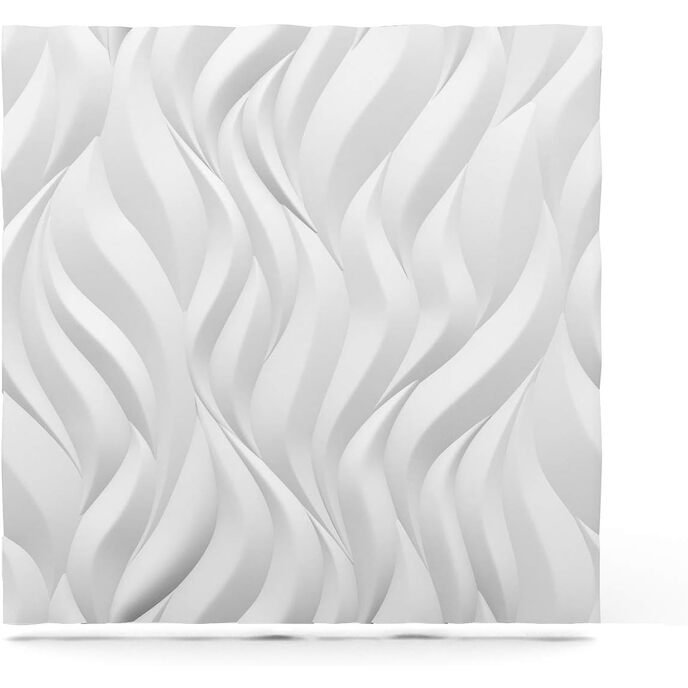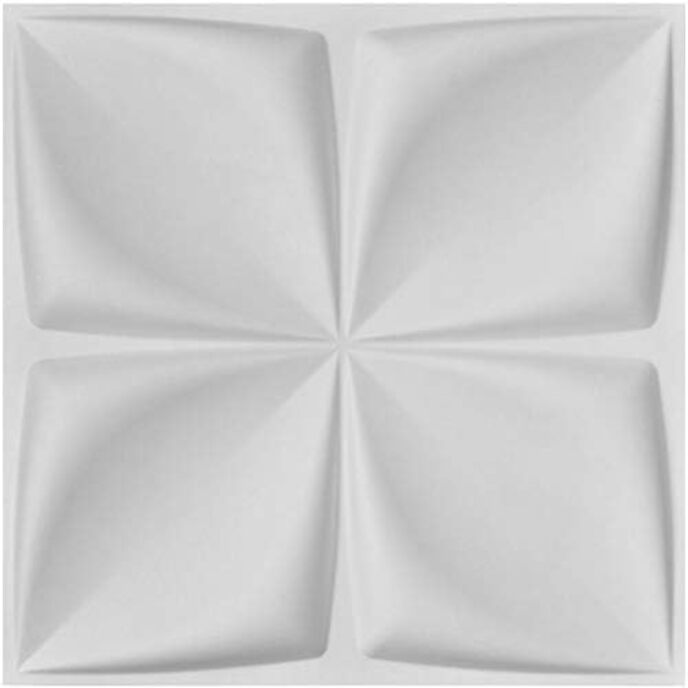
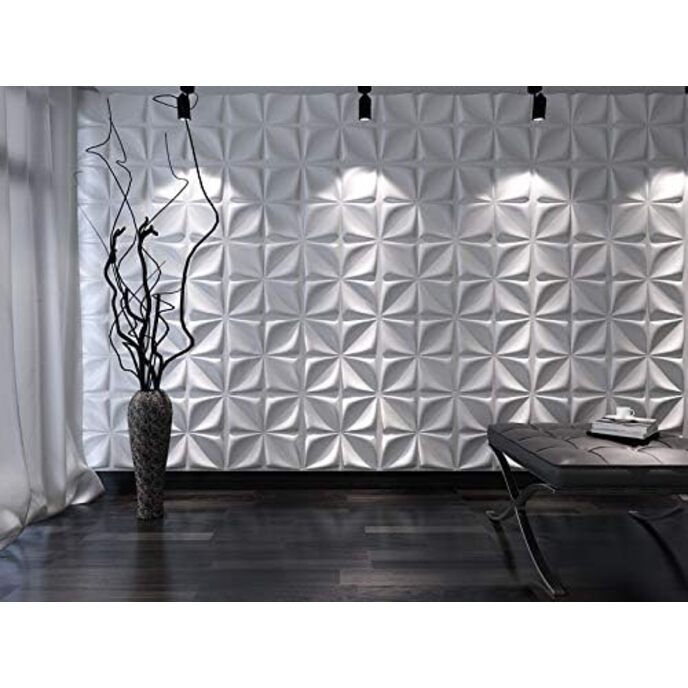
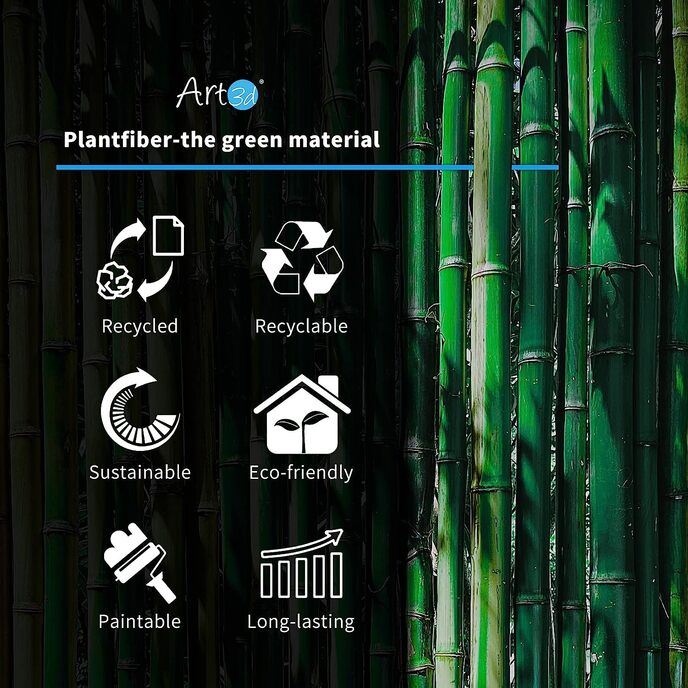
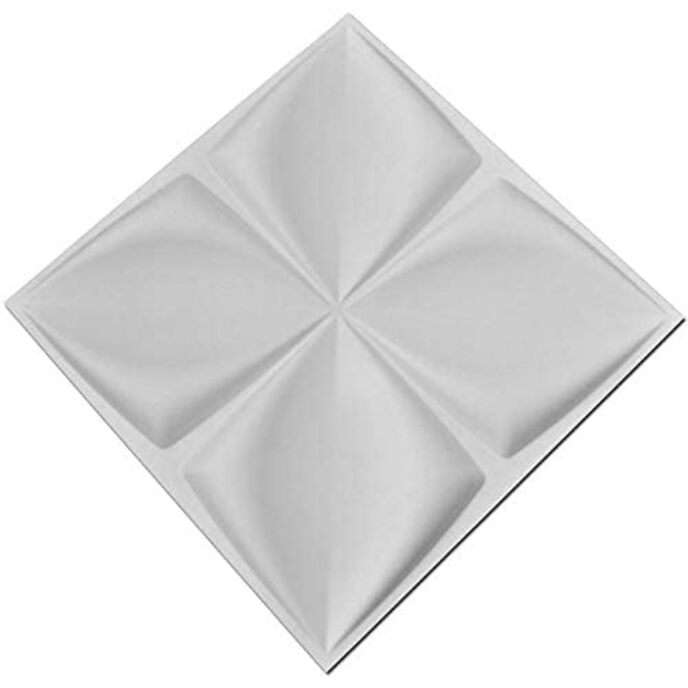
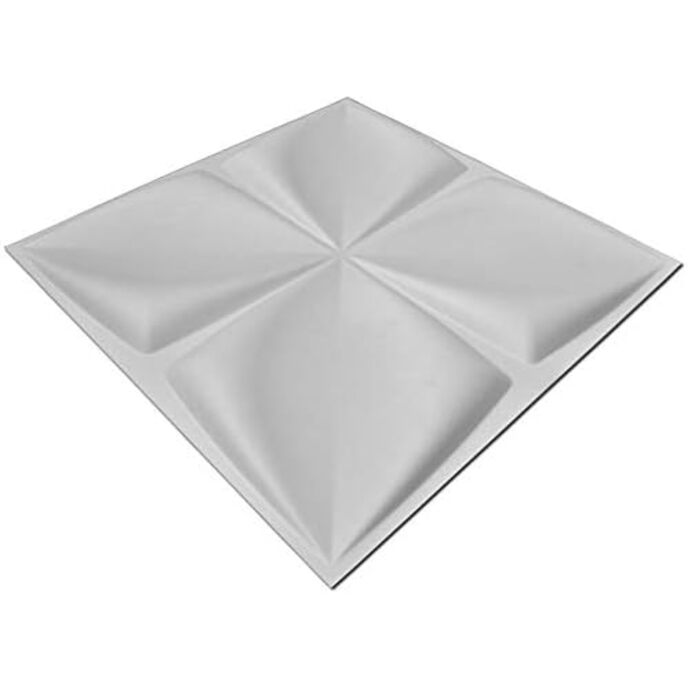
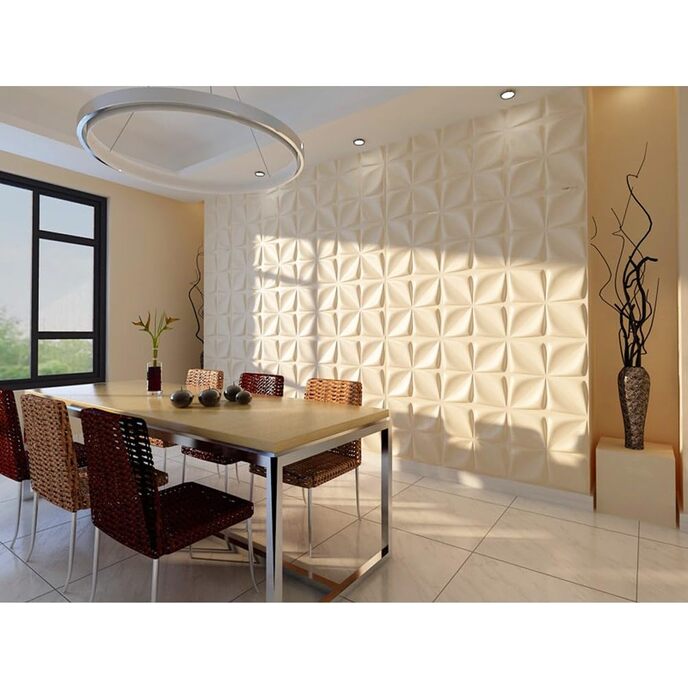
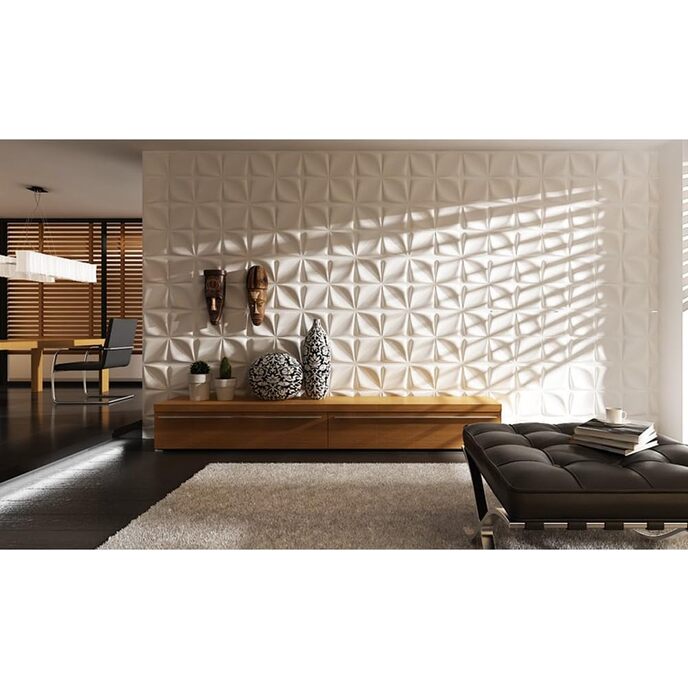
Uso consigliato: soggiorno/camera da letto/cucina/sfondo TV/pareti caratteristiche/soffitto ecc. Fornito in una scatola da 12 pannelli, copre 32 piedi quadrati. Dimensioni: 19,7 x 19,7 pollici. (500*500mm). Realizzato in fibra vegetale naturale (fibra di bambù), 100% riciclato. Superficie e trama verniciabili, quindi puoi applicare tutti i colori che ti piacciono.
EAN: 0712809587353
Categories: Strumenti e miglioramento della casa, Vernici, trattamenti per pareti e forniture, Forniture per carta da parati e tappezzeria, Pannelli murali 3D,
| Age Range (Description) | Adult |
| Batteries Included? | No |
| Batteries Required? | No |
| Brand | Art3d |
| Color | Plant Fiber - White Matt Cornus Angustata |
| Color | Plant Fiber - White Matt Cornus Angustata |
| Country of Origin | China |
| Coverage | 32.00 Square Feet |
| Customer Reviews | 4.3 4.3 out of 5 stars 80 ratings 4.3 out of 5 stars |
| Finish | Polished |
| Finish Type | Polished |
| Frame Type | Unframed |
| Included Components | No |
| Installation Method | Glue Down |
| Is Discontinued By Manufacturer | No |
| Item model number | A21030 |
| Item Package Quantity | 1 |
| Item Weight | 0.6 Pounds |
| Item Weight | 9.6 ounces |
| Manufacturer | Art3d |
| Material | Plant fiber |
| Material | Plant fiber |
| Mounting Type | Wall Mount |
| Number of Items | 12 |
| Number Of Pieces | 12 |
| Orientation | Landscape |
| Part Number | A21030 |
| Pattern | Cornus Angustata Design |
| Product Dimensions | 19.7 x 19.7 x 0.6 inches |
| Product Dimensions | 19.7"L x 19.7"W |
| Room Type | Kitchen, Bedroom, Living Room |
| Room Type | Kitchen, Bedroom, Living Room |
| Shape | Petal |
| Size | 19.7"x19.7" |
| Style | Art Deco |
| Style | Art Deco |
| Theme | Wall panel |
| Theme | Wall panel |
| Warranty Description | 2 year manufacturer |