A la Maison Ceilings FM-SWP-PW Flames Wall Panel, bianco

Brand:A La Maison Ceilings

2.7/5

752.43

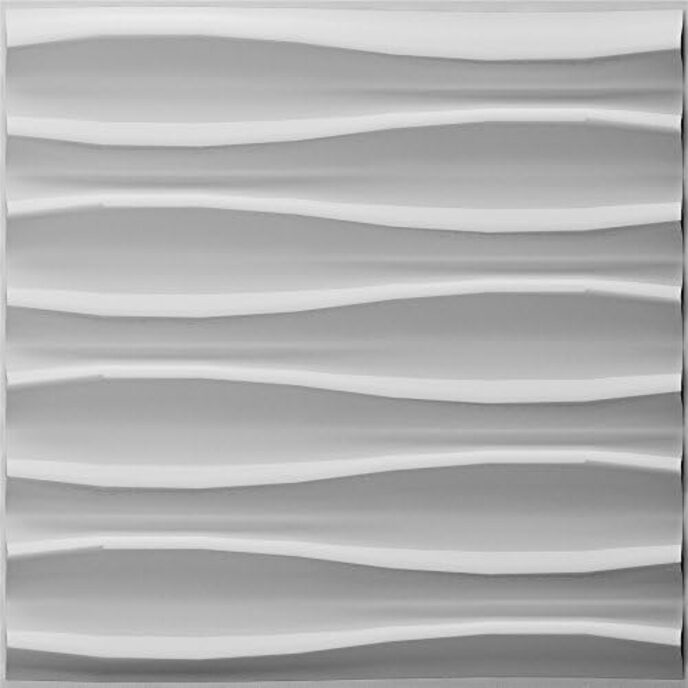
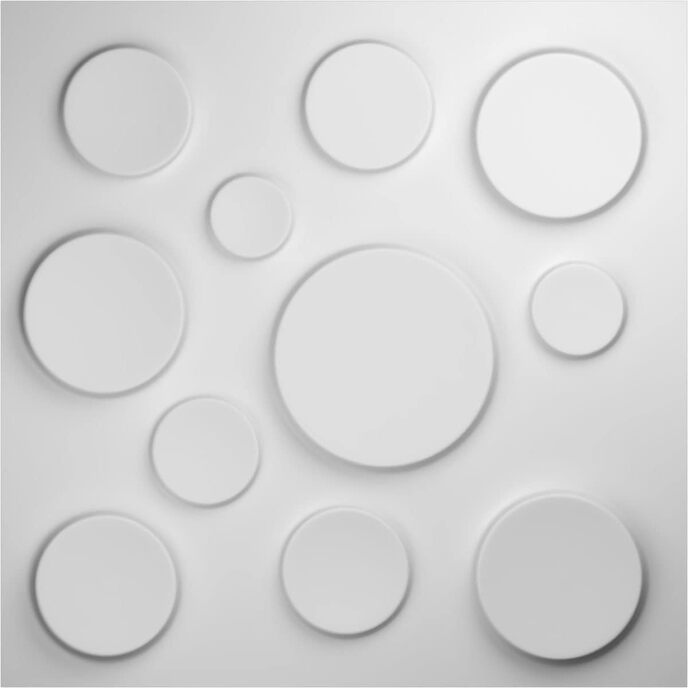
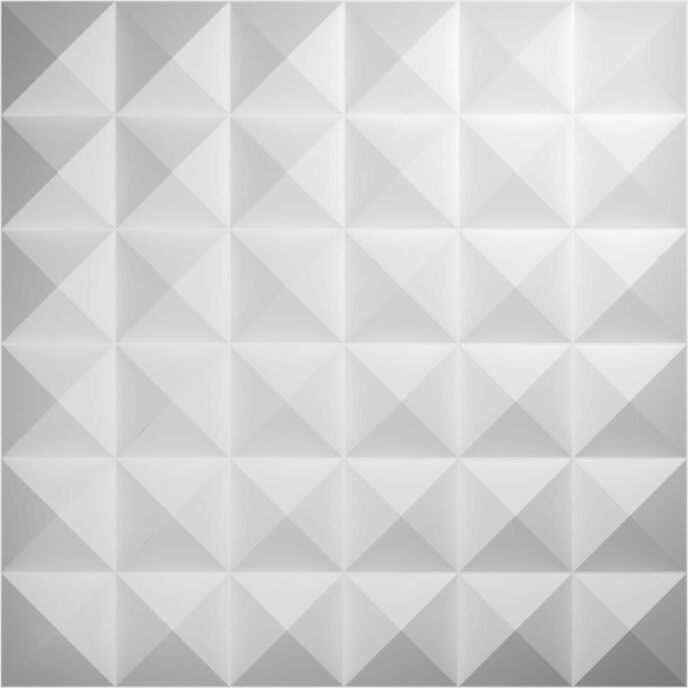
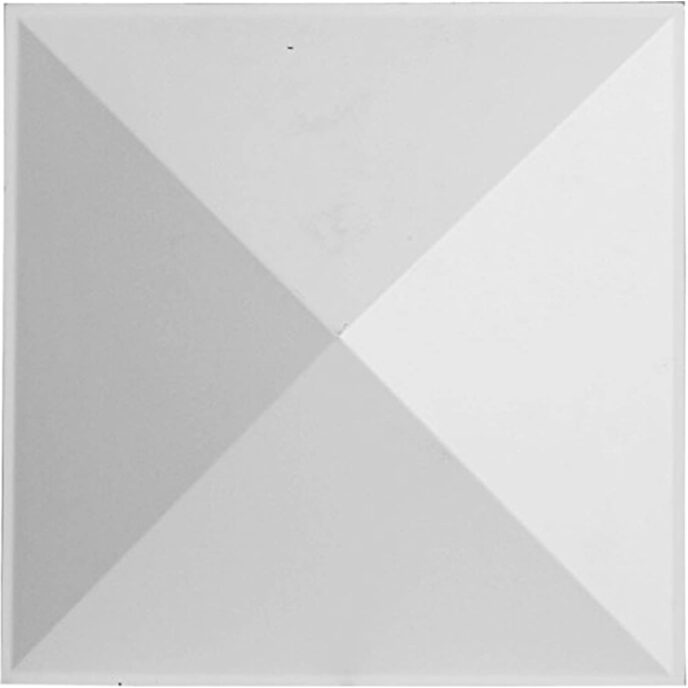
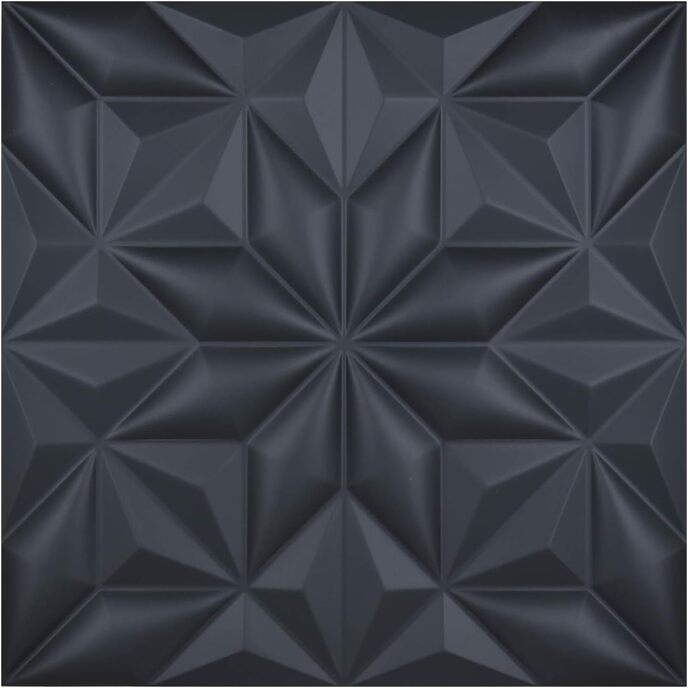
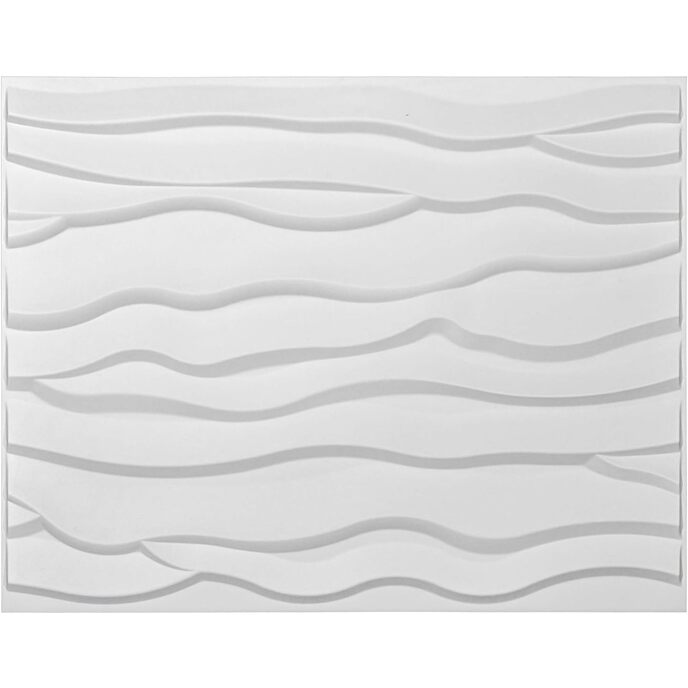
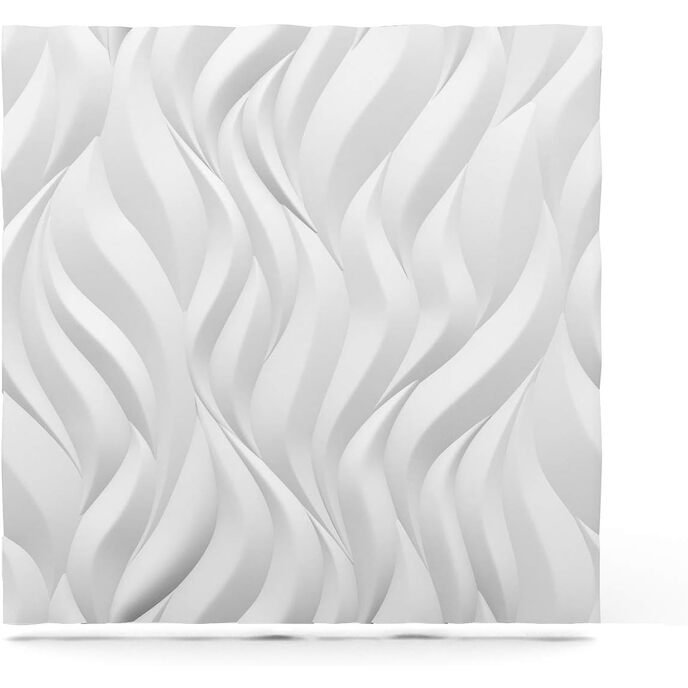
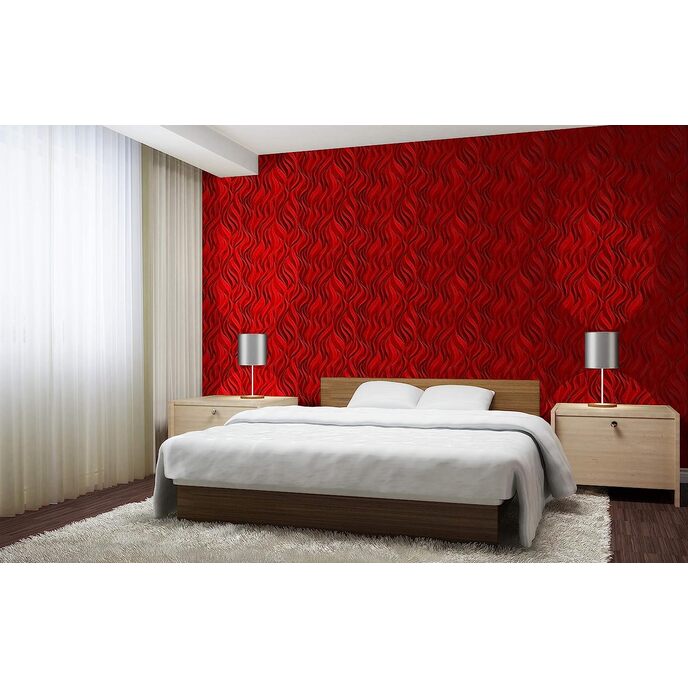
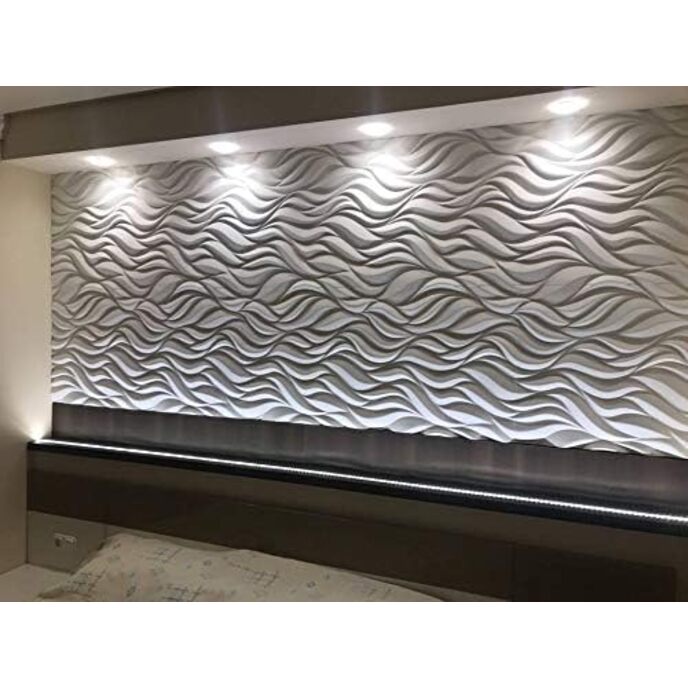
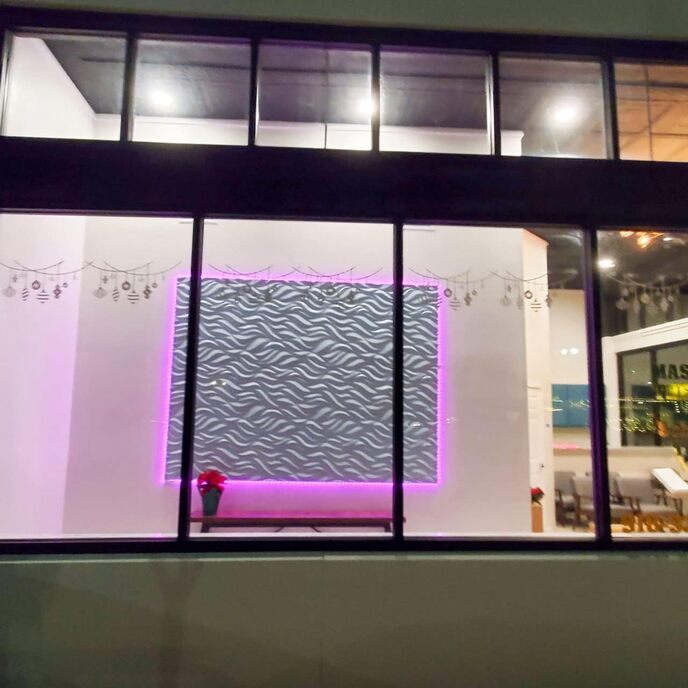
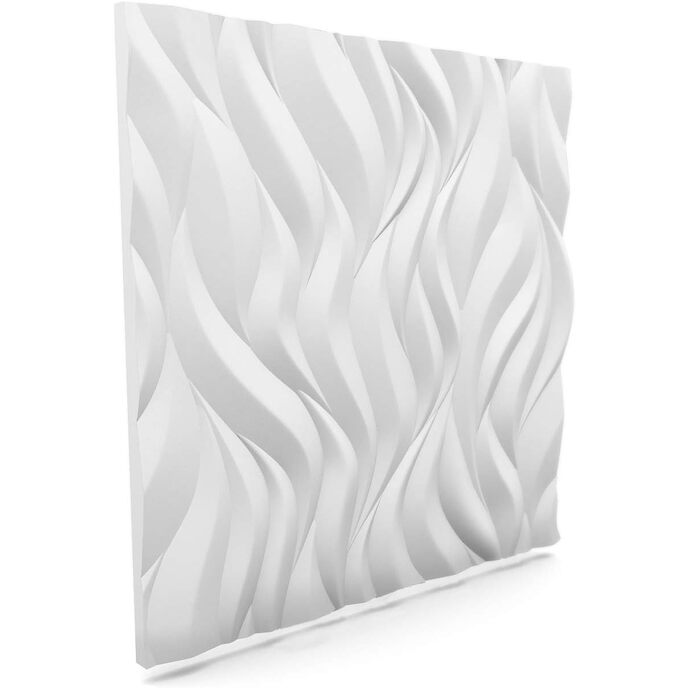
I pannelli a parete senza cuciture realizzati in EPS ad alta densità sono eccellenti per creare pareti d'accento tridimensionali e possono essere utilizzati anche sui soffitti. Queste pareti non solo aggiungono bellezza e dimensione, ma hanno qualità di smorzamento del suono. Crea il tuo look personalizzato aggiungendo una finitura in vernice acrilica a tua scelta. La facile installazione con colla è un vantaggio per la comunità del fai-da-te.

Eccellente per pareti d'accento, testiere e soffitti. Le pareti senza giunture non sono solo belle, sono anche funzionali e smorzano i suoni. 12 piastrelle per confezione che si tagliano a misura con un taglierino o una sega a denti fini. Personalizza l'aspetto della tua parete o soffitto senza soluzione di continuità dipingendo con colori acrilici. Crea pareti e soffitti 3D senza soluzione di continuità in pochissimo tempo utilizzando InstantGrab #310 di Akfix.
Batteries Required? ‎No
Color ‎White
Country of Origin ‎Poland
Coverage ‎48 Square Feet
Customer Reviews 3.6 3.6 out of 5 stars 24 ratings 3.6 out of 5 stars
Included Components ‎Wall Panels
Item model number ‎FM-SWP-PW
Item Package Quantity ‎1
Item Weight ‎6 pounds
Manufacturer ‎Decorative Ceiling Tiles, Inc.
Material ‎Polystyrene
Part Number ‎FM-SWP-PW
Product Dimensions ‎23.6 x 23.6 x 1 inches
Shape ‎Square
Style ‎Flames
Warranty Description ‎2 year manufacturer

2.7

8 Review
5 Star
56
4 Star
6
3 Star
11
2 Star
0
1 Star
27

Scrivi la tua recensione

La tua mail non sarà pubblicata. Tutti i campi obbligatori sono segnati con*

Scritto da: eric robbins
why 12?
i like them well enough although a bit challenging to adhere and line up as they kept slipping with liquid nails. used white caulk instead and it bonded great. Major downside: only neede four to complete job but they only come in packs of 12 so cost is ridiculous. SUGGESTION: SELL THEM IN 6 PACKS
Scritto da: Row
Highly disappointed
The material the panels are made from is not exactly as advertised. Its basically Styrofoam and very delicate to the touch. Can easily see them getting damaged from normal wear and tear. I have used PVC panels in other rooms and was highly satisfied. These however, I returned without installing.
Scritto da: BryanV
Read this before buying
What I wished I had known before I bought it but couldn't find anywhere. TLDR: This is a product that's too expensive for the quality and amount of expertise required to install. This is NOT an easy, weekend DIY project if you expect it to look amazing and luxurious up close. You can do everything right and it will still look really cheap because of the material. -This is styrofoam. Want to know what it will likely look like painted? Paint a poorly made styrofoam coffee cup and you'll see -The styrofoam isn't perfectly smooth and there are variations from panel to panel. Some tiles are so badly pitted that there are small pin holes after 4 coats of high quality paint. -From a distance or on camera you won't be able to see these imperfections or the elephant skin texture of the styrofoam, but up close it looks very cheap even after being painted. -Once painted every imperfection is visible (there will be many) including the nearly impossible to hide seams, inevitable slightly rounded corner from shipping (they are just styrofoam), and accidental fingernail or putty knife bump. -It's very, very unforgiving and every blemish will show once it's well lighted and painted. It's impossible to install these without blemishes. -Making it seamless will require you to caulk or otherwise fill the tiny gap between the panels. However, remember the elephant skin texture of the panel? Smoothing the joint with caulk, joint compound, or spackle creates a smooth line which is just as visible as the original gap because of the contrast in textures. The bumps also compress when pressing with a putty knife (because it's styroam) so smoothing things out on the panels requires the hands of a surgeon. Watch an installation video before installing and make sure the arrows on the back of the panels are all facing the same direction. -I live in an apartment and couldn't adhere it to the wall. I also wanted them to be reusable when I move. Instead I used 9 command adhesive poster strips (3 top, 3 middle, and 3 bottom) to attach each panel to the wall. They are super secure, won't damage the wall or the panel, and cost about the same as InstantGrab. You won't be able to reach the command adhesive strips after the panel is attached so to remove them work a length of dental floss behind the panel and saw through each strip. Then just roll the strip off the wall. If you don't leave a gap around the edge of the wall, use only 4 strips on each panel in the top row. Otherwise, you won't be able to cleanly remove the panels. It's still plenty strong enough. I used 9 for stability so the panels were supported in more places. -Almost forgot. Don't assume the walls and ceilings will be square because they won't be. If you don't want to cut the panels, tape the top row of panels together, place them on the wall at the top, use a level to make sure they're straight (or split the difference between level and ceiling gap), and mark the bottom of the panel line so you know where the top row has to be. I left a gap around the edges of the wall because I needed to be able to remove the command adhesive strips. -Don't use anything oil based or with solvents on the panels because solvents melt styrofoam. There are SOME spray paints you can use but they're very, very limited. Plan on using a quality interior latex paint. I used Behr Dynasty and was super pleased with the quality of the paint. If there weren't so many imperfections one coat would have been enough. -I installed 16 panels and needed about a half gallon of high quality paint. -I chose eggshell but if I did it again I'd go with flat. The sheen of the eggshell makes the blemishes and texture even more obvious and the sheen isn't needed. Flat would have been much better. -Caulk is messy and I had those pesky random blemishes to hide so I used lightweight spackle (Patch and Paint from Home Depot). I used a 1 inch putty knife to spread it. When it was fully cured 24 hours later I went over it with a wet sponge to smooth out any imperfections and when needed used a fine grit sanding block. -Plan on painting this multiple times. It took 4 coats of a premium paint before it looked okay. Cheaper paints will likely require more coats. I used a 2" synthetic bristle brush and made long even strokes to apply thin layers of paint. Thick layers will only look bad and be exacerbated by light. FYI If I was adhering it to the wall in a traditional installation, I would have painted the panels first with a HVLP sprayer. I then would have applied the InstantGrab AND a thin bead of caulk on the edge of the panel. I'd press the panel onto the wall, move it in place against the adjacent panel squeezing a small bead of caulk out, and then cleaned the bead off with a razor blade to avoid smoothing the texture of the panel with the caulk. I'd then touch up the seams and hope for the best.
Scritto da: happygirl
wall panels
these really are beautiful. I never could get them to a seamless look but it's me I'm sure since I've never really caulked anything, but they still look pretty good. I've painted them a couple of times and that's easy. Take care when you have to cut them since the 'picture' side will dent pretty easily and show somewhat. When you have that many 'waves' it would probably be hard to find but just letting you know. I really like their adding texture to a room. Thank you!
Scritto da: Kyle
A great look.
Hard to make the gaps disappear.
Scritto da: keri stengel
Don’t buy
This is not only the hardest thing to cut ever but doesn’t blend together well because there is still a line. If you spray paint them it they disintegrate. If you bump barely it puts a dent in them because they’re super soft. I truly cannot say enough about how awful they are. I have used wall coverings before that were way easier because they were plastic and not foam.
Scritto da: Brittney Ladson
Seamless wall panels
Beware. Do not bump it with anything and I mean WITH ANYTHING or else you'll have a dent in the design worse a hole. Treat it like a picture frame.
Scritto da: Mike S.
Seams and texture of styrofoam visible even with several coats of paint
Easy to install but poor design

Prodotti correlati

Scopri il nostro network internazionale

Spediamo in 28 paesi, oltre 200.000 prodotti. Resta aggiornato, iscriviti alla newsletter.

Shopping Cart