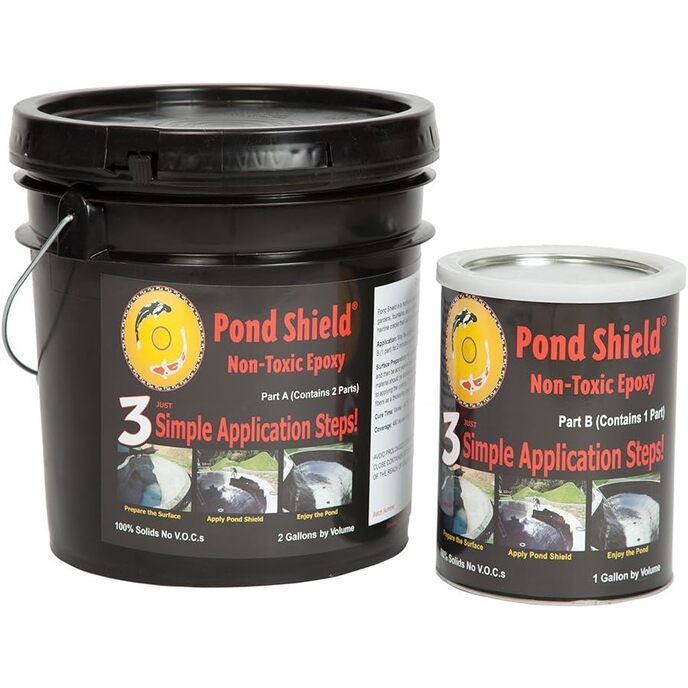
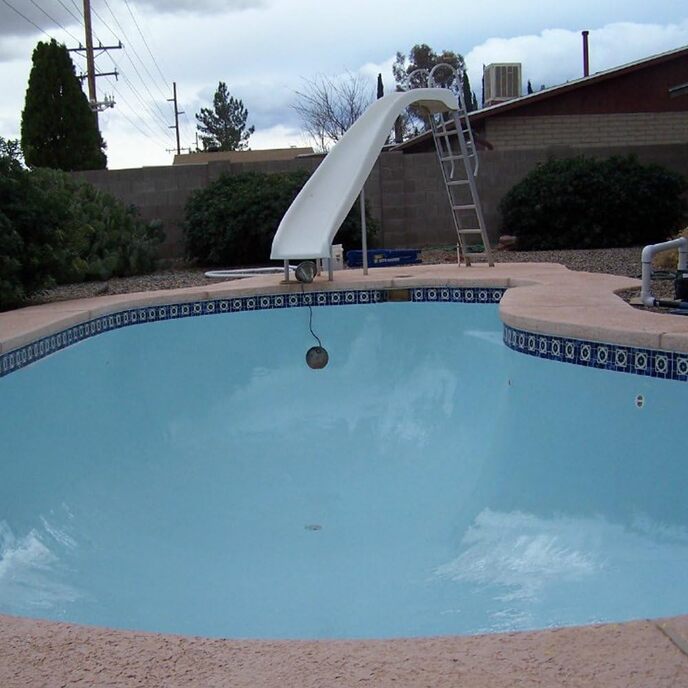
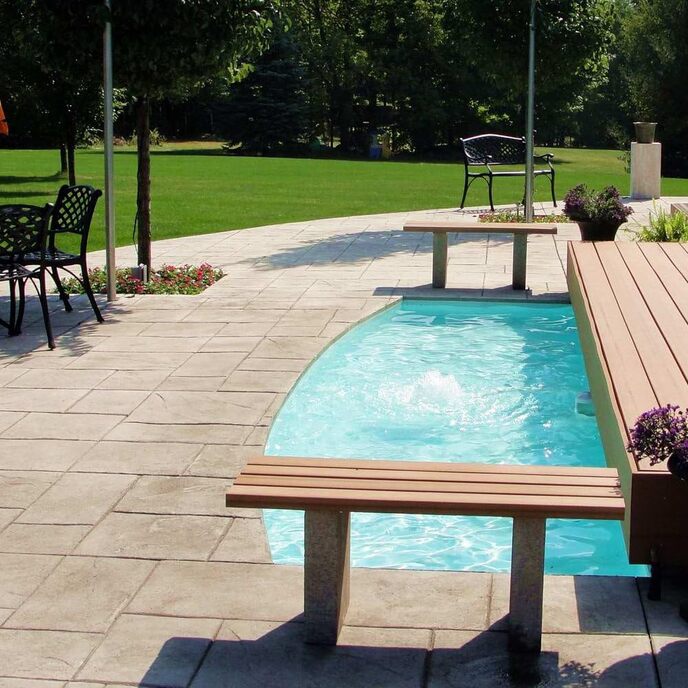
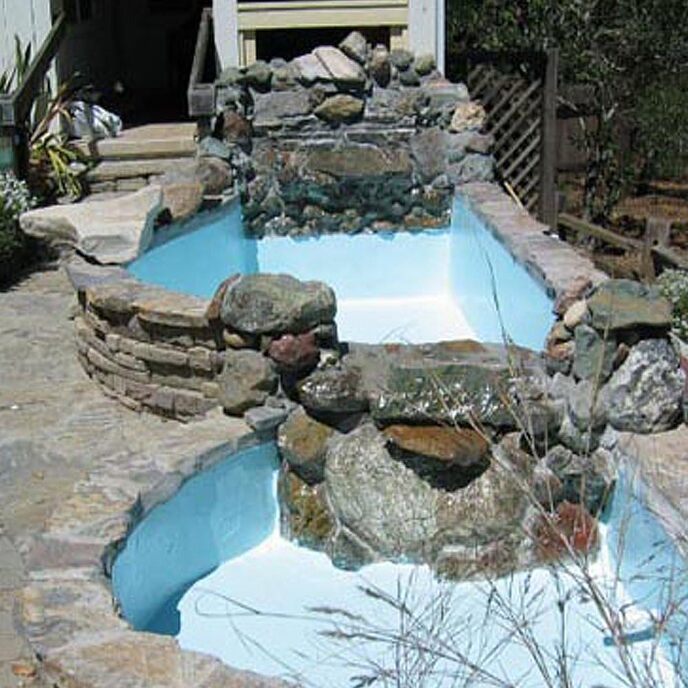
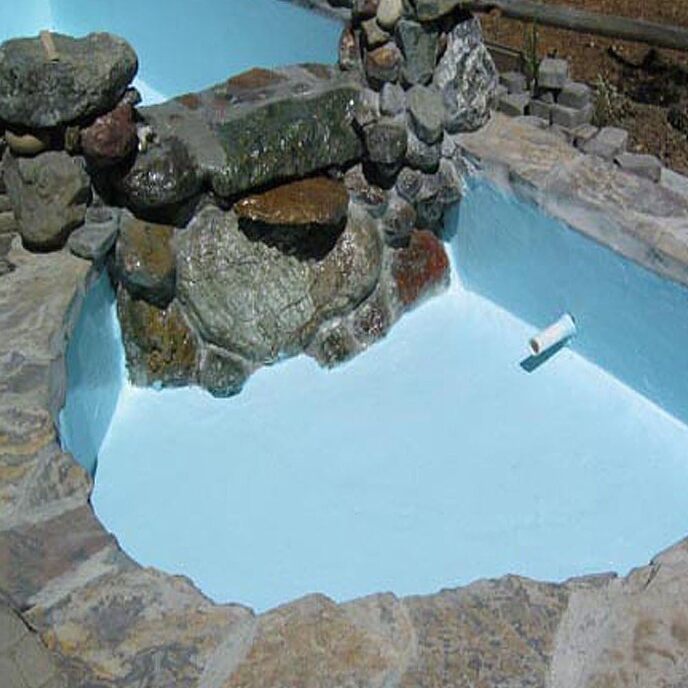
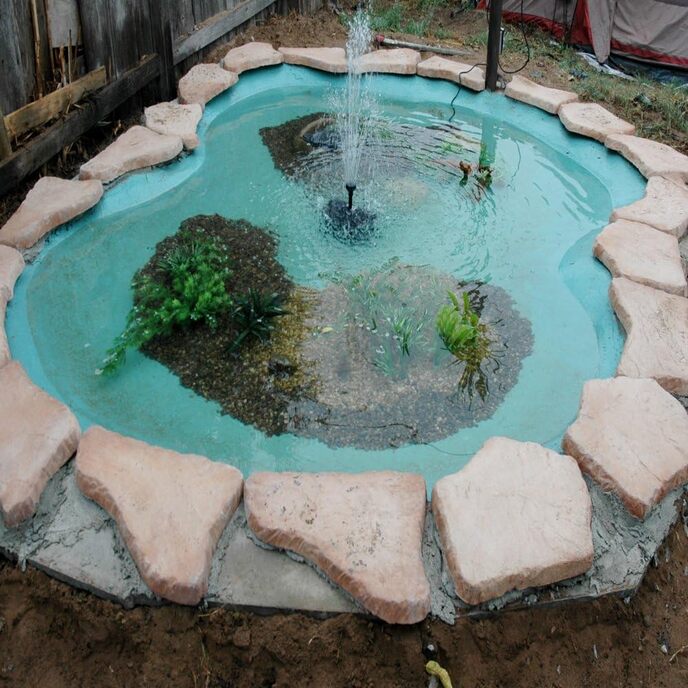
Può essere applicato su qualsiasi superficie costruita in legno, metallo o pietra, nonché sulla maggior parte delle materie plastiche e altri rivestimenti. Può essere messo in servizio in sole 24 ore. Il kit produce 60 piedi quadrati con uno spessore di 10 mil su una superficie liscia. La formula autoadescante consente un'adesione affidabile per una superficie finita di facile manutenzione. Specificamente progettato per l'uso subacqueo e per essere atossico e sicuro per pesci e piante. Formula impermeabile adatta per l'uso in un'ampia gamma di ambienti climatici, dal caldo al gelo/disgelo.
EAN: 0896772001235
Categories: Patio, prato e giardino, Decorazioni per esterni, Giardini acquatici e stagni, Fodere e guarnizioni per laghetto,
| Age Range (Description) | Adult |
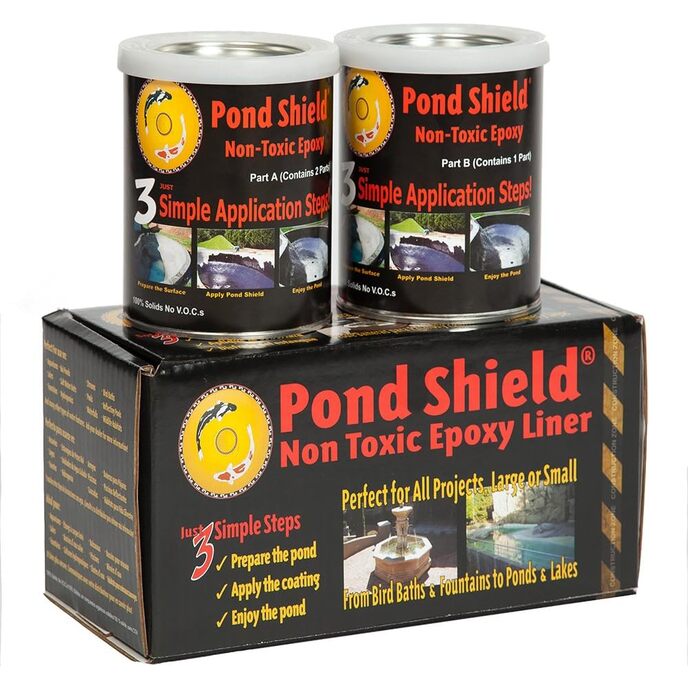
| Brand | Pond Armor |
| Color | Sky Blue |
| Color Code | #cce5ec |
| Country of Origin | USA |
| Coverage | up to 60 square feet |
| Customer Reviews | 4.4 4.4 out of 5 stars 322 ratings 4.4 out of 5 stars |
| Domestic Shipping | Item can be shipped within U.S. |
| Finish Type | Gloss |
| Full Cure Time | 24 Hours |
| Indoor/Outdoor Usage | Outdoor |
| International Shipping | This item can be shipped to select countries outside of the U.S. Learn More |
| Is Waterproof | True |
| Item Form | Liquid |
| Item model number | SKU-SKYBLUE-QT-R |
| Item Volume | 1.5 Quarts |
| Item Weight | 5.02 pounds |
| Manufacturer | Pond Armor |
| Package Information | Can |
| Product Dimensions | 11.5 x 5.5 x 5.5 inches |
| Size | 48 Fl Oz |
| Size | 48 Fl Oz (Pack of 1) |
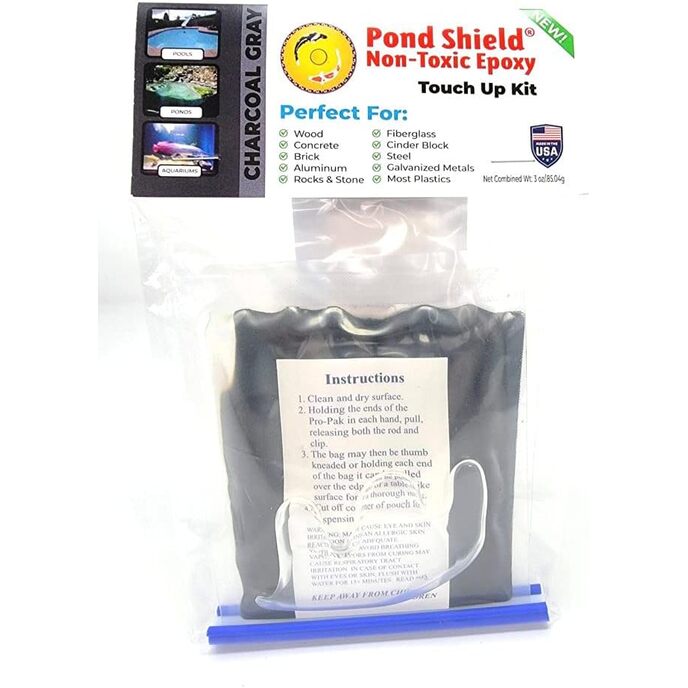
| Special Feature | Non Toxic |
| Specific Uses For Product | Interior/Exterior |
| Surface Recommendation | concrete |
| Unit Count | 48.0 Fl Oz |