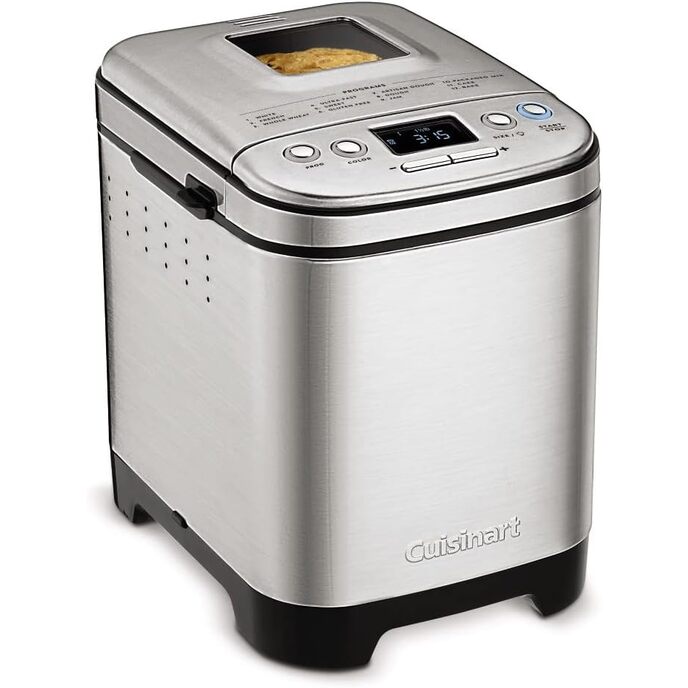
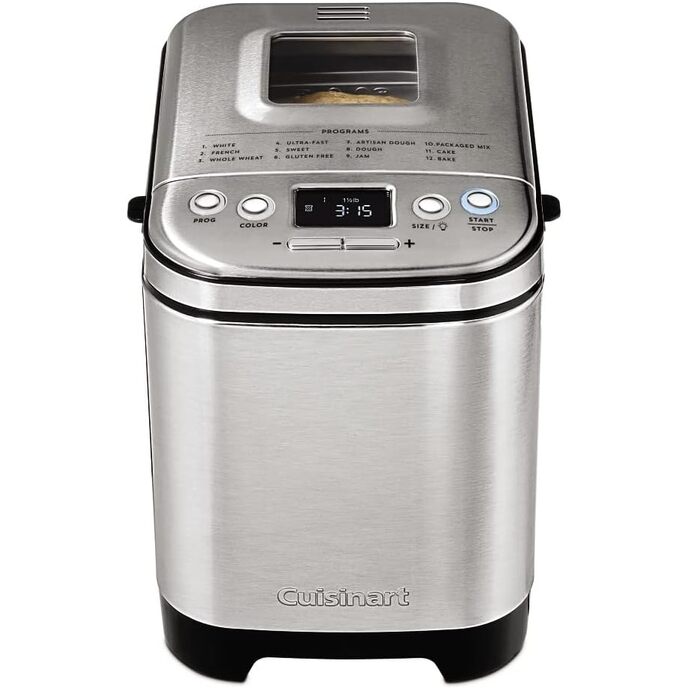
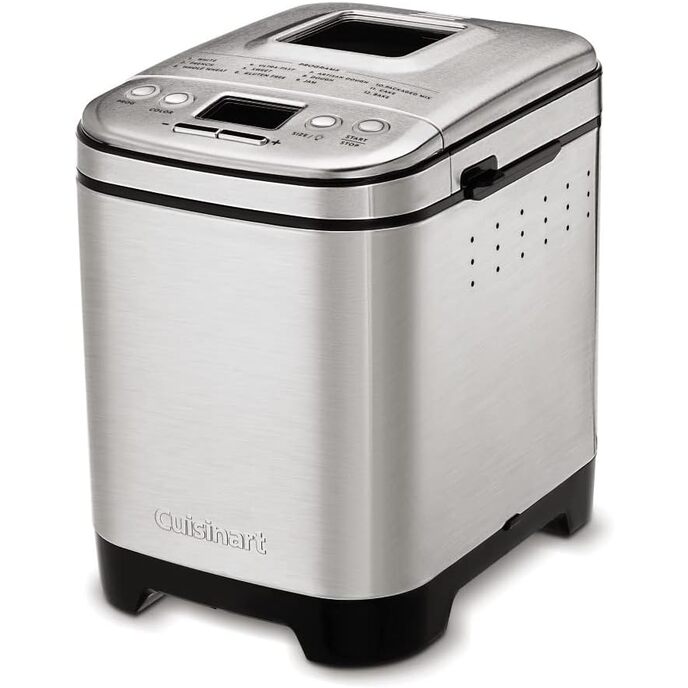
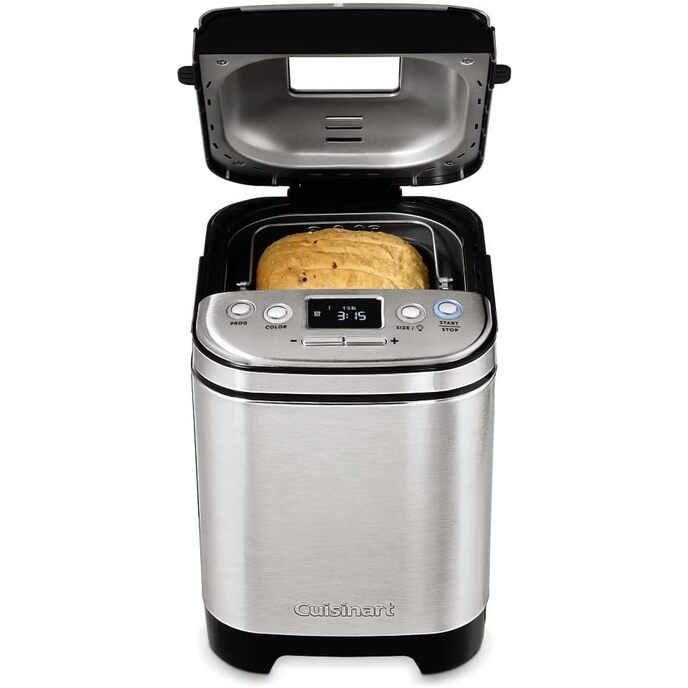
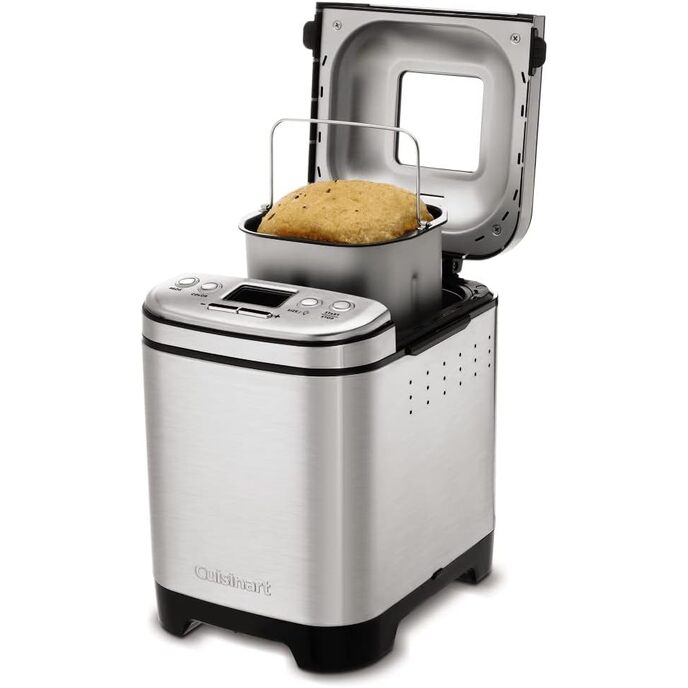
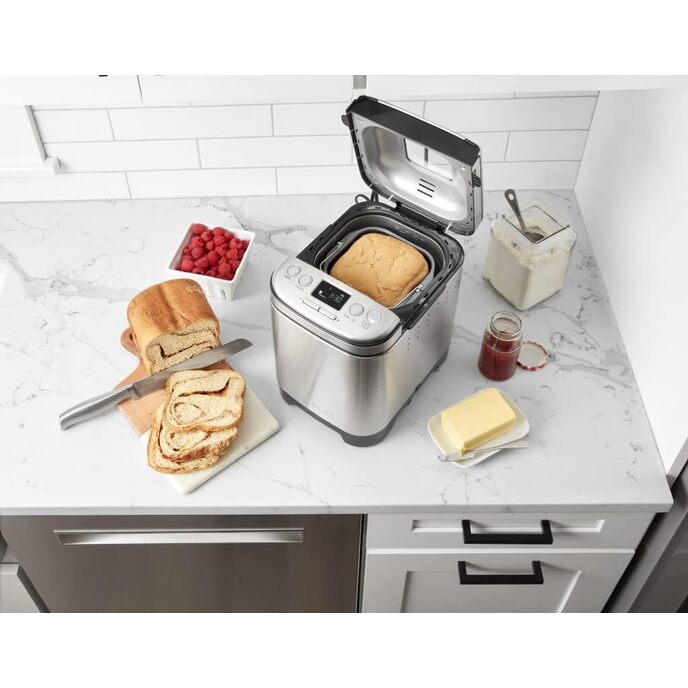
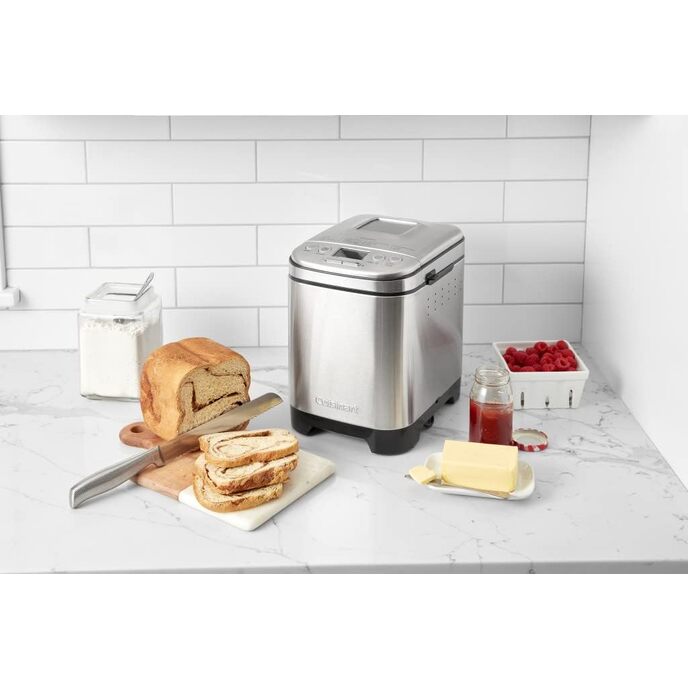
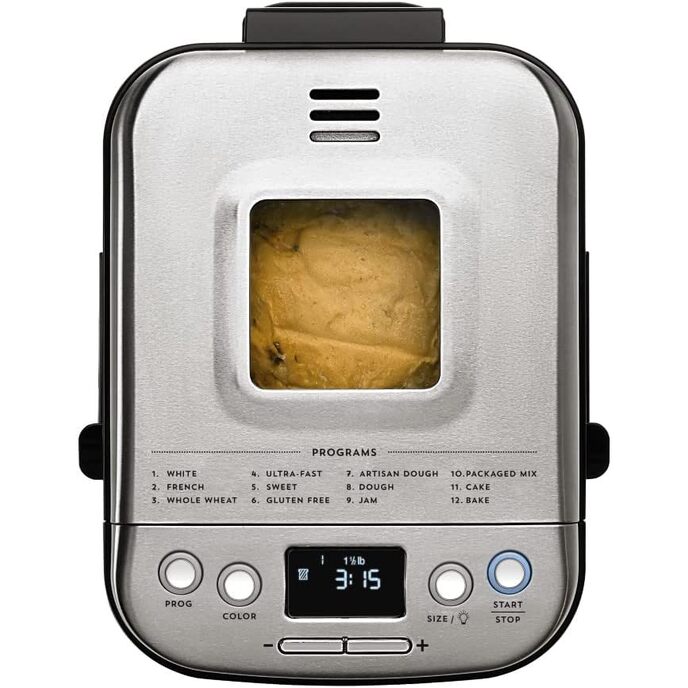
QUESTION.... 1.IS THERE 2 VERSIONS OF THIS MACHINE? I THINK THERE IS A STAINLESS STEEL MODEL & A BLACK AND STAINLESS MODEL...ONE BEING MORE ELECTRONIC WITHOUT BUTTONS, WHICH I OWNED AND TRYING TO FIND AGAIN 2. HOW tO USE THE BAKE ONLY FUNCTION....DOES IT BAKE FOR ONLY 10 MINUES! I have owned both machines but the black and STAINLESS seems to be different, especially the BAKE function Convection baking has a crisper crust. I did not know this....drier climates may want to consider this for your recipe to bake on a lighter setting. Buttermilk whole-wheat bread, needs to have some oil put in it. Look on page 11 and you will see the difference between these two recipes; an omission of 2 tablespoons of oil or butter should be added . Every time I've made this piecrust is so hard and the bread is dry. I really like the honey whole wheat recipe though. Here are bread machine helps from King Arthur. Hope these help: We hope you enjoy this beginners' exploration of bread machines, and feel confident that you can produce a good loaf of bread in your machine. Once you feel comfortable with how your machine works, begin to think about using it for all kinds of yeast baking: it's an incredibly versatile tool, if you use your imagination. We've used our bread machine to make the dough for wonderful pizza, sticky buns, kolache, bread sticks, baguettes, focaccia, doughnuts, coffee cakes...you get the picture. Helpful Hints: Hint #1: Don't be afraid to open your machine to look at and poke the dough as it kneads. This is the only way you'll be able to tell if the combination of ingredients you've used has made a good dough. We don't recommend poking the dough as it rises, and you shouldn't open the top when your machine is in its second rise or baking cycle, but before that, feel free to get familiar with your dough, and how your machine works with it; that's how you'll learn. Hint #2: If you're using your machine's delayed cycle, where the machine won't start for several hours, don't use fresh ingredients such as milk, eggs, cheese, etc. Bacteria likes to grow in these ingredients, and there's a risk of food poisoning in keeping them at room temperature. Hint #3: Too little yeast, your bread won't rise sufficiently; too much, and it will rise and collapse. It's important to watch your dough as it rises and bakes; dough that has risen and collapsed may look just like dough that never rose at all, once it's baked. In order to correct the problem, you need to know what went wrong. Hint #4: Bread that is undercooked and gummy inside is bread that didn't rise sufficiently Hint #5: We've found that one or more of the following will increase the chances of your getting a successful loaf of sweet bread: doubling the amount of yeast; cutting back the amount of salt; using 1/8 teaspoon of ascorbic acid; using the longest cycle on your machine (the one with the longest rising period); or taking the dough out of the machine, and forming and baking it by hand. Hint #6: Match the flour to the desired result. A high-protein all-purpose or bread flour will yield high-rising bread. Whole-grain flours will yield denser, heavier, more substantial breads. A combination of flours will yield something in between. Hint #7: The basic ratio of salt to flour in bread is 1/2 teaspoon salt per cup of flour. Recipes that call for less salt than this may seem “blah”; try increasing the amount of salt to the recommended ratio. Hint #8: The basic all-purpose flour/liquid ratio is 2 1/2 to 3 cups flour to 1 1/4 cups liquid, depending on the time of year -- more flour in the summer, less in the winter. Hint #9: Bread that rises, then collapses in the middle as it bakes -- the infamous “crater bread” -- contains too much liquid. Adjust your formula. Hint #10: Adding a couple of teaspoons of flour along with the raisins/nuts helps the dough in the machine to “open up” and accept whatever you're adding more easily. If “additives” haven't kneaded into the dough by the time it goes into its first rise, simply remove the dough from the machine, scoop out the raisins/nuts, knead them in by hand, and return the dough to the machine. Hint #11: We often recommend letting the dough rest for 20 minutes between mixing and kneading, especially if the dough feels especially sticky. This gives the flour a chance to absorb the water and lose its stickiness. Most Frequently Asked Questions: We continue to receive inquiries regarding modifying “regular” bread recipes to work in the bread machine, and using bread machine recipes to make a “regular” loaf of bread. A 1-pound bread machine, in general, can handle 2 to 3 cups of flour, while a 1 1/2-lb. machine can handle 3 to 4 cups of flour. Many recipes ask for a range of flour. For example, if a recipe asks for 3 to 4 cups of flour, it is because flour changes with the weather, absorbing moisture when the humidity is high (generally, in the summer), and becoming dry when the humidity is low (usually during the winter months). To put it simply, you'll need to use more flour in the summer and less in the winter. Q. Can I use regular bread recipes in my new bread machine? A. Yes, you can probably use many of the same recipes you've always used. Just be sure to use a flour with a high protein content. King Arthur Unbleached All-Purpose Flour, with its high gluten, is an excellent flour for bread machines. Numerous people have told us that their recipes worked in the bread machine using King Arthur, when they didn't work with other all-purpose flours. Another tip: don't try to make whole-grain breads, such as rye or whole wheat, using only whole-grain flours. Their minimal gluten content will produce loaves which are flat and hard. Mix them with unbleached all-purpose flour for best results. As we continue to work with the bread machines, we find that they're extremely versatile and flexible, as long as you use the manual or dough setting. It's convenient (and tempting) to take a regular 3-cup-of-flour bread recipe, throw it all in the machine, press Start, and hope you have a nicely risen loaf of baked bread 4 hours later. Well, usually this won't work; the dough is too stiff, too slack, the rising time in the machine is too short (or too long), etc. etc. etc. Save yourself the hassle of trying to modify recipes by simply placing all of the ingredients into the machine, programming for manual or dough, then taking the dough out at the end of the cycle and proceeding with the recipe from the point where it tells you to “punch down the dough”. What the machine's dough cycle gives you is a thorough knead and initial rise. From then on, you're on your own. But, hey; the mixing and kneading is the only part that takes even a modicum of effort. From then on you're just shaping the dough, putting it in a pan, and putting it in a hot oven to bake. You can do that -- honest! We find our 1 1/2-pound Zojirushi will handle up to 5 cups of flour in the dough mode. In some respects, bread machine dough is better than hand-kneaded. Very slack doughs, those with a lot of liquid, are virtually unkneadable by hand; you always have to add more flour. In the bread machine, however, slack doughs knead very nicely, and the resulting loaf is full of coarse holes and light as a feather. Sometimes you can take a regular bread recipe, reduce the flour to 3 cups and amend all the remaining ingredients correspondingly, make it in the bread machine, and get a good loaf on the very first attempt. But most often, you'll have several failures while you're in the trial and error process. A more fail-safe method is to just make dough, and go from there. Q. Can I make a bread machine recipe by hand? A. You can easily convert bread machine recipes to “manual” recipes by reading the ingredients, then combining them the way you usually do. Dissolve the yeast in the liquid, add other “wet” ingredients (e.g., eggs, honey, butter), add the flour and other dry ingredients, knead, then kn