LH Dottie WPI25 Guarnizione isolante per piastra a parete, confezione da 25 1

Brand:L.H. Dottie

3.5/5

25.52

La guarnizione isolante per piastra a parete LH Dottie WPI25 è ignifuga. Realizzato con schiuma isolante in polietilene. Risparmio energetico. Taglia unica. Questo elenco è per un pacchetto standard contenente 25 unità.

Questo elenco è per un pacchetto standard contenente 25 unità. Taglia unica. Risparmio energetico. Ritardante di fiamma. Schiuma isolante in polietilene.
Batteries Included? ‎No
Batteries Required? ‎No
Country of Origin ‎China
Customer Reviews 4.4 4.4 out of 5 stars 625 ratings 4.4 out of 5 stars
Domestic Shipping Item can be shipped within U.S.
International Shipping This item can be shipped to select countries outside of the U.S. Learn More
Is Discontinued By Manufacturer ‎No
Item model number ‎WPI25
Item Package Quantity ‎1
Item Weight ‎0.32 ounces
Manufacturer ‎L.H. Dottie
Material ‎Polyethylene
Part Number ‎OMER-OPN-873603
Product Dimensions ‎13.5 x 0.3 x 3.5 inches
Warranty Description ‎L.H. Dottie Company warrants to wholesale purchasers

3.5

7 Review
5 Star
68
4 Star
18
3 Star
7
2 Star
4
1 Star
4

Scrivi la tua recensione

La tua mail non sarà pubblicata. Tutti i campi obbligatori sono segnati con*

Scritto da: G. Farnsworth
They work, but the dedicated kind are better
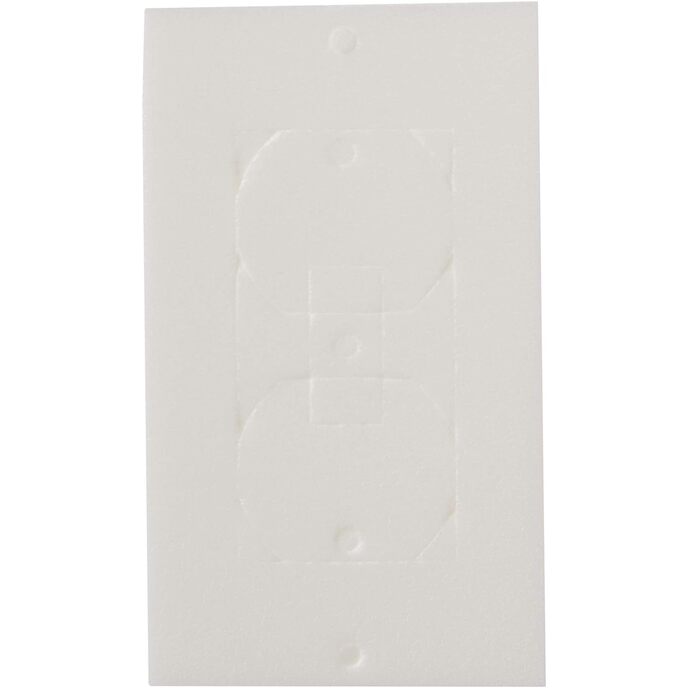
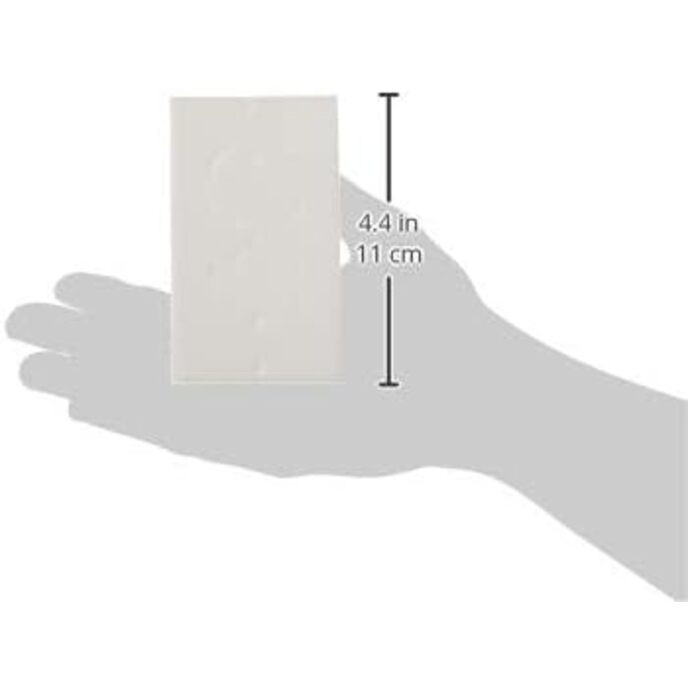
By giving it three stars you might think I'm saying I'm really unhappy with this product. I guess I am, but not because it doesn't work or there are manufacturing or material problems. The problem is the concept. I really like the concept of not having to get just the right number of outlet, GFCI, and light bulb gaskets, but in practice I think it's better to get the product that's actually made for your application. Punching out the part you need out without disturbing the rest is a little bit of a pain. You can do it, but sometimes you end up with little bits of foam hanging off and it's definitely not as airtight as a regular gasket would be. I was thinking it would be good to use this for other boxes, like ethernet, phone, cable, or empty plates (over access boxes). Yeah, it kind of works, but not great. The holes are not in the right places for the screws in those cases and the punch-outs aren't the right size/shape. This really is just for outlets, GFCI, and switches. Someone mentioned that these are thicker than some other gaskets. That is true, by just a little bit. However, that's not a good thing. You'd think thicker means more insulation or a better seal, but the opposite happens, I think. They don't allow you to screw the plate in as close as you want and then the edges of the plate don't come down and seal all that well. This is especially a problem for outlets, which have only one screw in the middle rather than one on top and one on bottom. I actually think thinner and maybe a little larger would work better. If you want to be really anal about insulating outlets, in particular, you can take the punch out part and stick it onto a babyproofing plastic insert and plug those in. Well, you can do that with the regular brands. This one, the punch out sections have a piece that tends to fall out (where you would have punched out for a switch). Again, you can make it work, but it's not as nice as the ones you get with a dedicated outlet gasket. These work, I guess (I have now done my whole house with gaskets like this and the duck brand ones and I'm not 100% sure it makes any difference), but if I had it to do over again I would just buy the outlet ones, the switch ones, and the GFCI ones and have a few extras around.
Scritto da: MargaretNC
Easy and effective for decorative GFI switch plate covers
Compared to other products that had the wrong shape and/or were not flame retardant, this brand was the best choice. All of the outlets in my new apartment are rectangular decorative GFI switch plate covers. This is the easiest shape to punch out of these socket sealers; in fact, you can stack 5 or more and punch the rectangle out of all of them with one push. The first picture shows the good fit of the sealer, but I didn't apply them that way. After the screws kept dropping on the floor when I missed the tiny hole in the socket, I put the screws into the outlet cover, fit the socket sealer onto the threads to hold the screws in place (which punched out the tiny discs in the process), then applied the whole thing to the socket and tightened the screws. These even worked in outlets in the baseboards of 2 rooms. They are easy to cut to size for double and triple outlets; for a triple, put an intact sealer in the middle and trim off the right and left columns of 2 additional sealers on the sides for a perfect fit without excessive bulk. The child-proof outlet covers in the second photo are NOT included; I use those to seal outlets I'm not using. I used all 25 sealers in a 750 sq ft apartment and ordered a second package for 4 remaining outlets.
Scritto da: Arlene Guenther
Heat and air won’t be blowing thru now!
A little time consuming to do entire house, snd on cold windy days the child proof caps still needed to block out the cold north wind
Scritto da: DIYDADDY
Seal up outlet covers with these
These are made of what seems to be a good quality fire stop foam. I have installed these on both switches and outlets. I did use four of these in one four-gang outlet and they work ok in that configuration. The edges of the foam overlapped in the multi gang setup but the faceplate still went. Like other reviewers these work best if you put them in the faceplate with all the cutouts in place and then screw the plate on. It will push out just the cutouts needed for your configuration. I also tried to burn one of the cutouts to test the flammability and they will burn but they do seem to be fire retardant in some capacity in that they dont seem to continue burning when the fire source is removed.
Scritto da: jutty
Easiest way to install. Read this!
Great product and price. Everyone is saying how tedious it is to manually pop out whatever piece you don't need. Here's a much more intelligent way to do these, (at least for standard electrical outlets). I figured this out after popping one by hand and getting annoyed immediately. 1. Place the untouched insulation piece inside the cover plate. 2. Line up the cover plate over the outlet. 3. Push the cover plate into position, flat against the wall and screw it in place. The screw will pierce right through the insulation no problem. 4. The tight fit between the outlet and cover plate will automatically pop out the piece you don't want. Just peel it off or use a flat head screwdriver. That's it. No pre-peeling nonsense. *Not sure why the photos are sideways. I certainly didn't take them that way.
Scritto da: DALW
Otherwise these worked out great and I had every shape I needed to do ...
They are a bit of an arts and craft project because you have some many combinations and the shapes are only partially die cut. You have to carefully pull or trim out with a pocket knife but that is what you want so the remaining gasket seals. Otherwise these worked out great and I had every shape I needed to do our house. I have not been through the winter with these yet to tell the difference. However we did have an home energy audit and the sealed outlets leaked less air. Tip: I didn't think to install these in outlet boxes on interior walls. I just installed them on boxes for exterior walls. The energy audit pointed out air leaks into the interior wall cavities too through switch and outlet boxes so do those. It will make you home less drafty feeling.
Scritto da: kim
Stops the air flow
I felt air coming in from my outlets. Using this product worked great for stopping it. I have different outlets throughout my house so the multi use insulation was a score. I would definitely buy this product again. It not only helped with the stoping of air, it is going to help with my electric bill!

Prodotti correlati

Scopri il nostro network internazionale

Spediamo in 28 paesi, oltre 200.000 prodotti. Resta aggiornato, iscriviti alla newsletter.

Shopping Cart