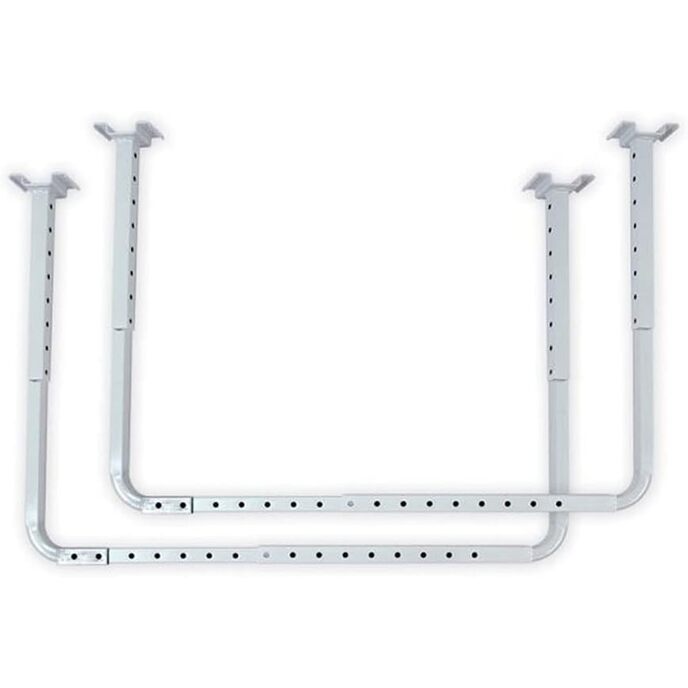
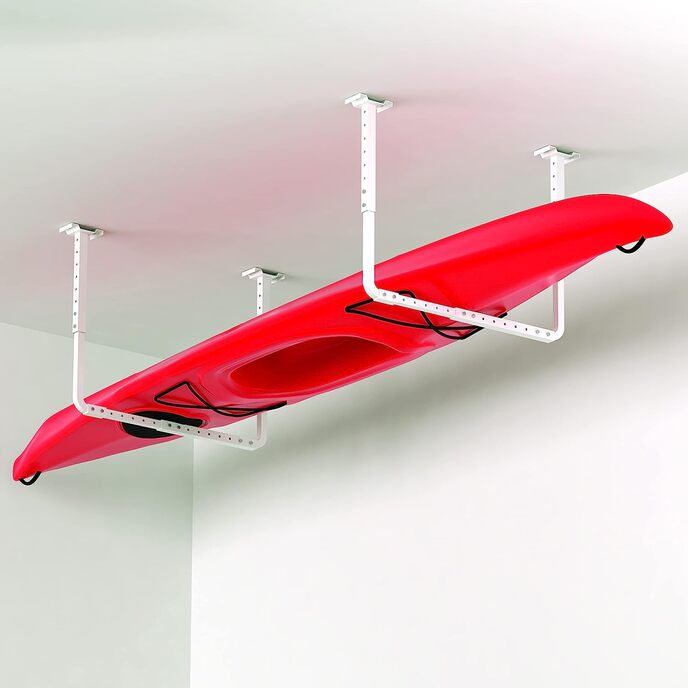
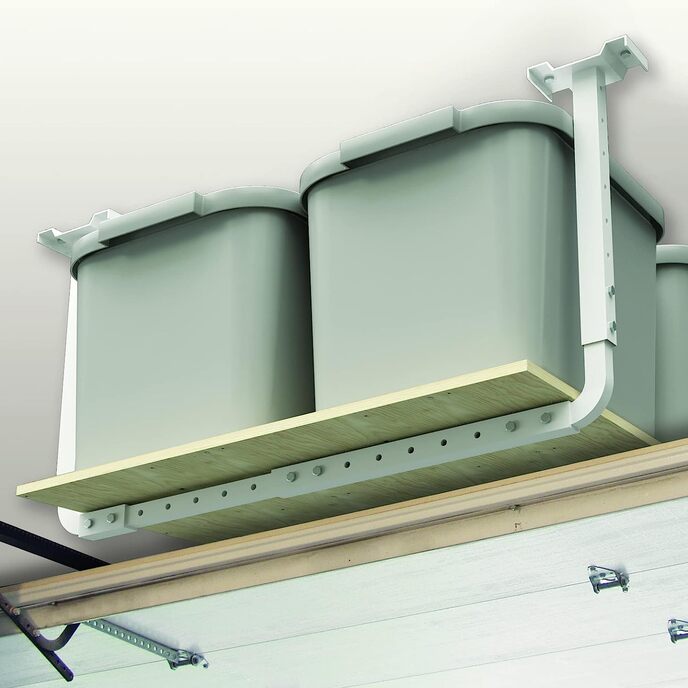
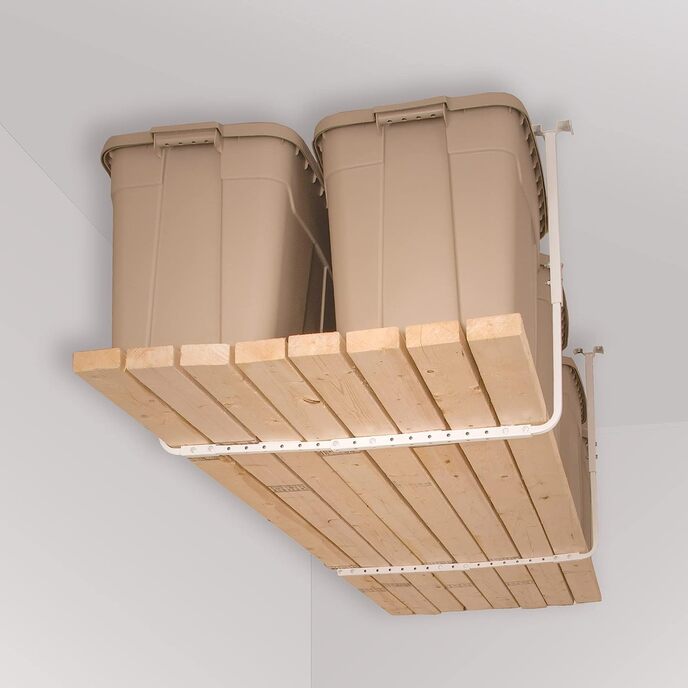
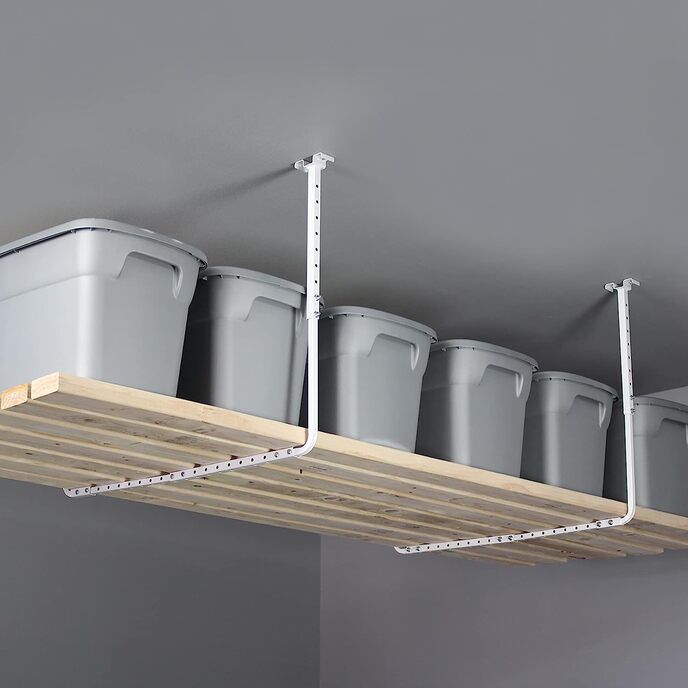
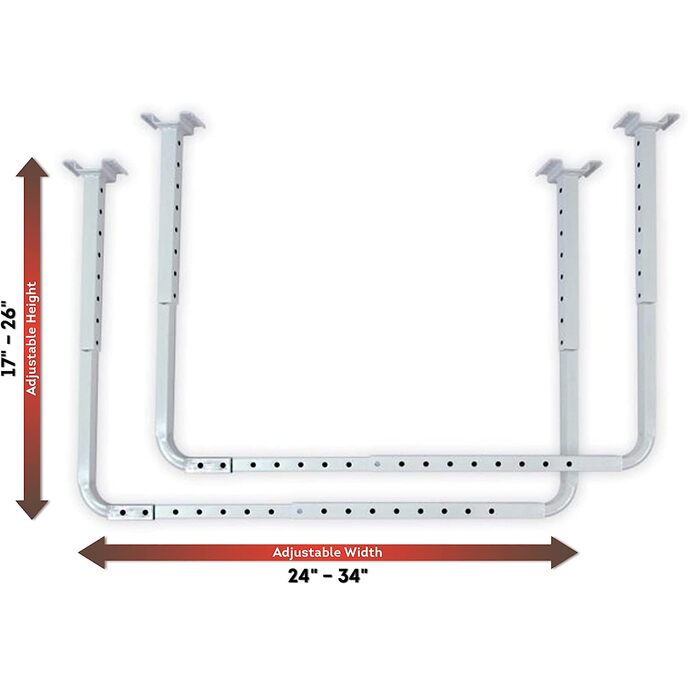
Hardware incluso. Contiene fino a 250 libbre. Ideale per esigenze di archiviazione personalizzate e può essere utilizzato in tandem con una piattaforma. Tutta la struttura in acciaio con finitura verniciata a polvere bianca antigraffio. Le staffe di stoccaggio si regolano con incrementi di 1,5 pollici da 22 pollici a 33 pollici di larghezza e da 17 pollici a 26 pollici di altezza.
EAN: 0817743080035
Categories: Strumenti e miglioramento della casa, Conservazione e organizzazione della casa, Deposito in garage, Armadi e sistemi di archiviazione,
| Assembly Required | No |
| Batteries Included? | No |
| Batteries Required? | No |
| Brand | HyLoft |
| Color | White |
| Color | White |
| Customer Reviews | 4.4 4.4 out of 5 stars 658 ratings 4.4 out of 5 stars |
| Finish | Powder Coated |
| Finish Type | Powder Coated |
| Is Discontinued By Manufacturer | No |
| Item model number | 01004 |
| Item Package Quantity | 1 |
| Item Weight | 6.5 Pounds |
| Manufacturer | Knape & Vogt |
| Material | Alloy Steel |
| Material | Alloy Steel |
| Mounting Type | Ceiling Mount |
| Part Number | 80842-10 |
| Product Dimensions | 17"D x 24"W x 5.5"H |
| Product Dimensions | 17 x 7.4 x 5.5 inches |
| Product Dimensions | 17"D x 24"W x 5.5"H |
| Room Type | Garage |
| Room Type | Garage |
| Shelf Type | Bracket Shelf |
| Shelf Type | Bracket Shelf |
| Size | One Pack |
| Style | adjustable |
| Warranty Description | Limited Lifetime |