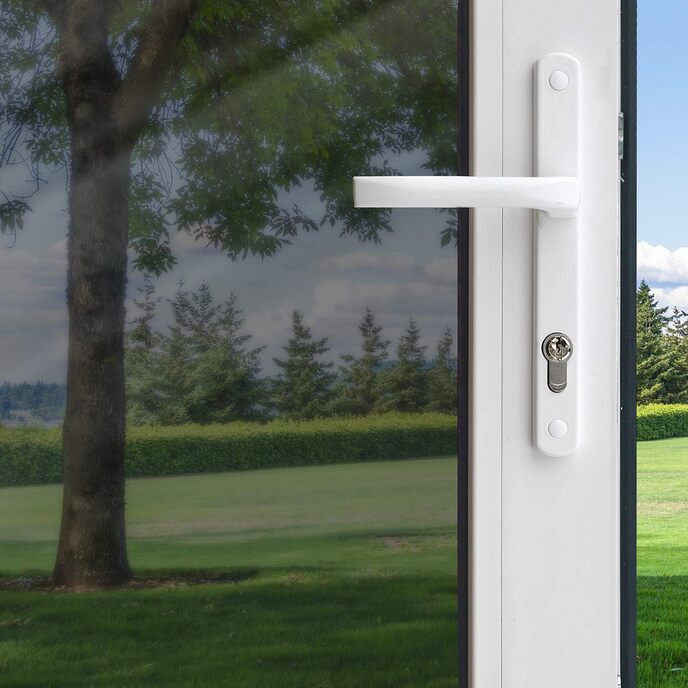

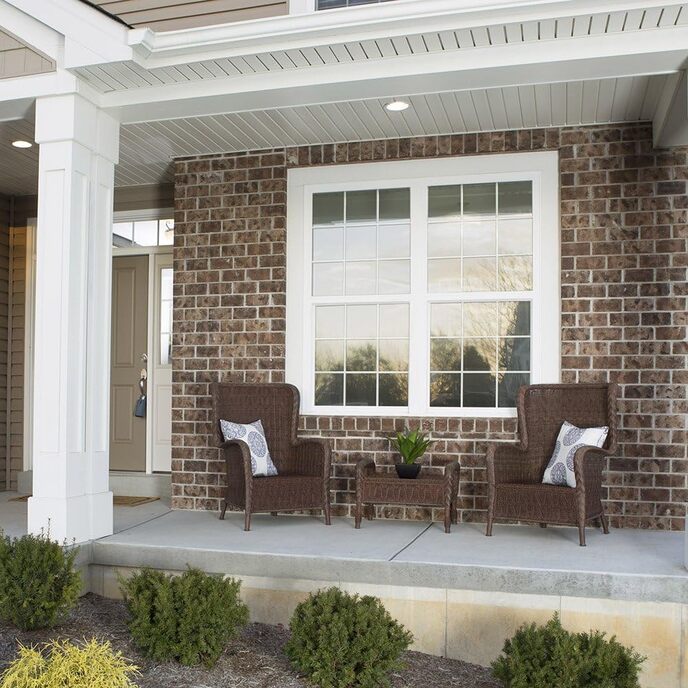

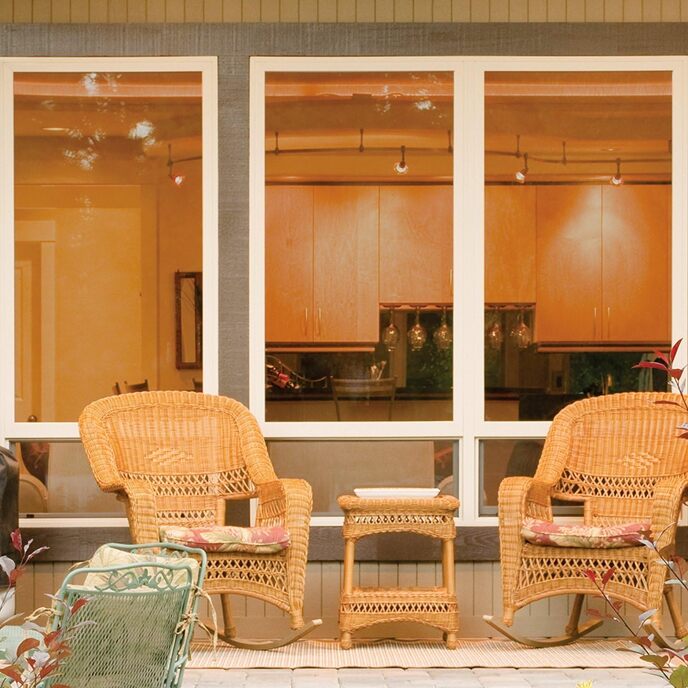


DESCRIZIONE DEL PRODOTTO La pellicola per vetri Gila Platinum Heat Control presenta una tecnologia avanzata che blocca il calore, riflette i raggi UV e riduce l'abbagliamento per un maggiore comfort interno. Il materiale altamente riflettente all'esterno offre una privacy diurna superiore pur mantenendo la visuale dell'esterno. Gila Platinum Heat Control Window Film non offre privacy notturna: quando fuori è buio e le luci sono accese all'interno, il film non nasconde più la vista. Con video dimostrativi e suggerimenti, il film è facile da installare ed è perfetto per i progetti fai-da-te del fine settimana. DAL PRODUTTORE Le pellicole Gila sono il marchio leader nelle pellicole per finestre fai-da-te (fai da te). Le nostre migliori tecnologie di tintura profonda, spalmatura e adesivi hanno aiutato a progettare pellicole più performanti e durature che sono tra le migliori sul mercato. Produciamo e confezioniamo le nostre pellicole presso il nostro impianto di produzione di livello mondiale situato a Martinsville, VA, USA, al fine di misurare e garantire standard di qualità e prestazioni rigorosi dall'inizio alla fine.
EAN: 756635831150
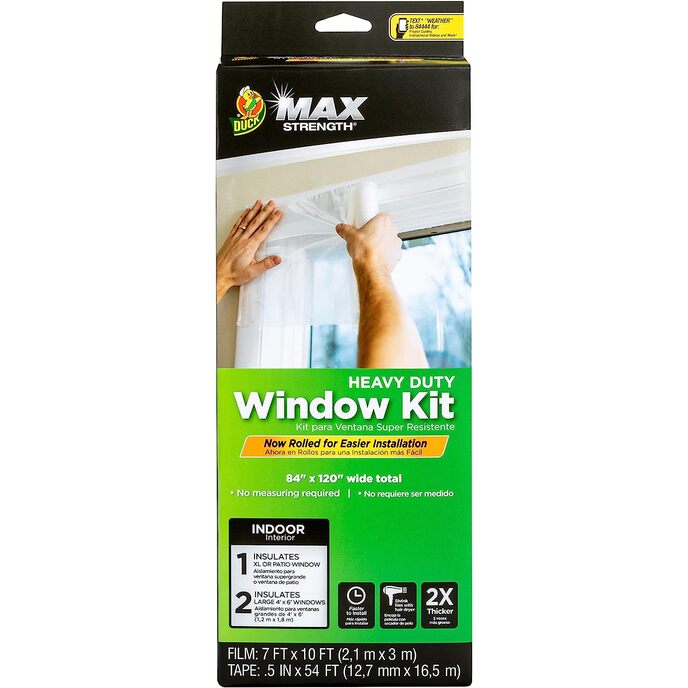
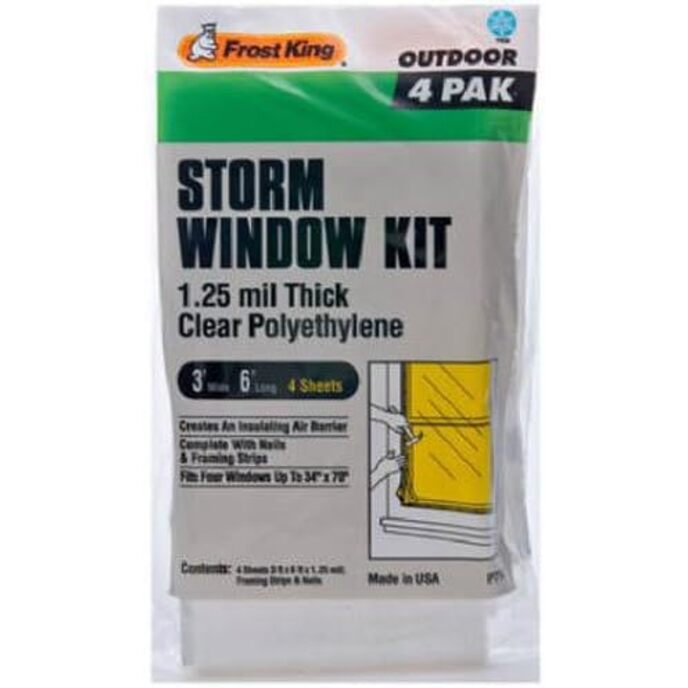
Categories: Strumenti e miglioramento della casa, Materiali da costruzione, HVAC, Resistente alle intemperie, Kit di isolamento per finestre,
| Batteries Included? | No |
| Batteries Required? | No |
| Brand | Gila |
| Color | Platinum |
| Color | Platinum |
| Coverage | 45 square feet |
| Customer Reviews | 4.2 4.2 out of 5 stars 4,230 ratings 4.2 out of 5 stars |
| Included Components | Hardware; Door, Gate & Window Hardware;weatherproofing-window-insulation-kits |
| Is Discontinued By Manufacturer | No |
| Item model number | 50146273 |
| Item Package Quantity | 1 |
| Item Weight | 15.8 ounces |
| Manufacturer | Gila |
| Number Of Pieces | 1 |
| Part Number | 50146273 |
| Product Dimensions | 180"L x 36"W |
| Product Dimensions | 36.75 x 2.38 x 2 inches |
| Size | 36" x 15' |
| Size | 36" x 15' |
| Style | Window Film |
| Warranty Description | Gila® window films are warranted against manufacturing defects for a period of two years from the date of original purchase. If any product fails to conform to the foregoing limited warranty, and the purchaser submits a valid warranty claim during the warranty period set forth above, the purchaser may be eligible for replacement product at no charge. Original proof of purchase and an explanation of the manufacturing defect will be required to substantiate any warranty claim. It is therefore recommended that the purchaser retain the sales receipt. In addition, we reserve the right to request samples of the defective window film to substantiate any warranty claim. |