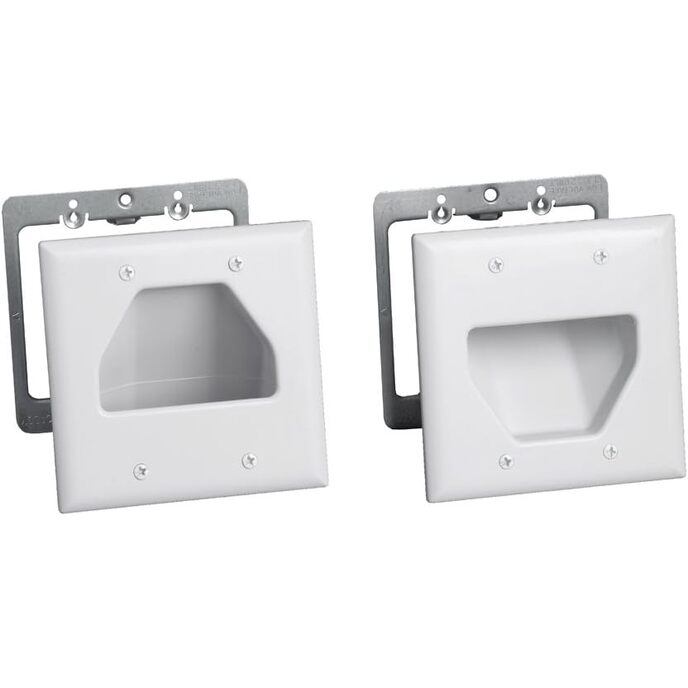
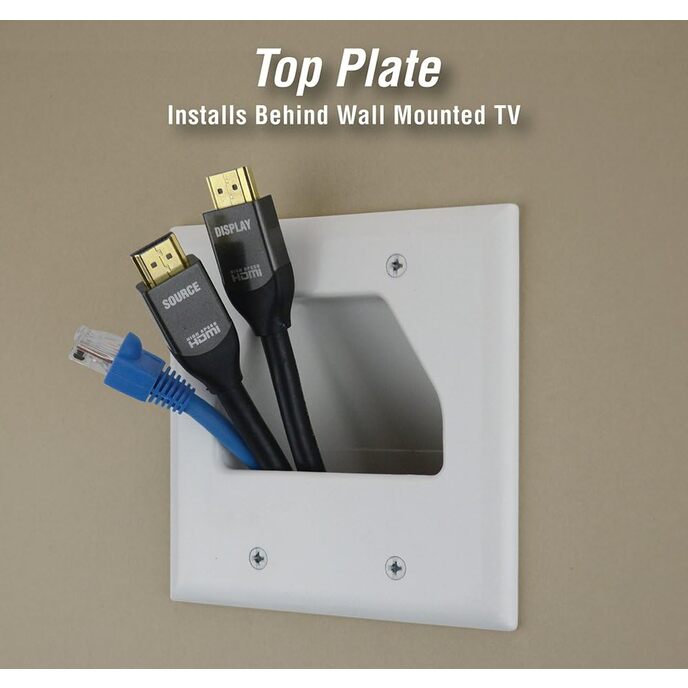

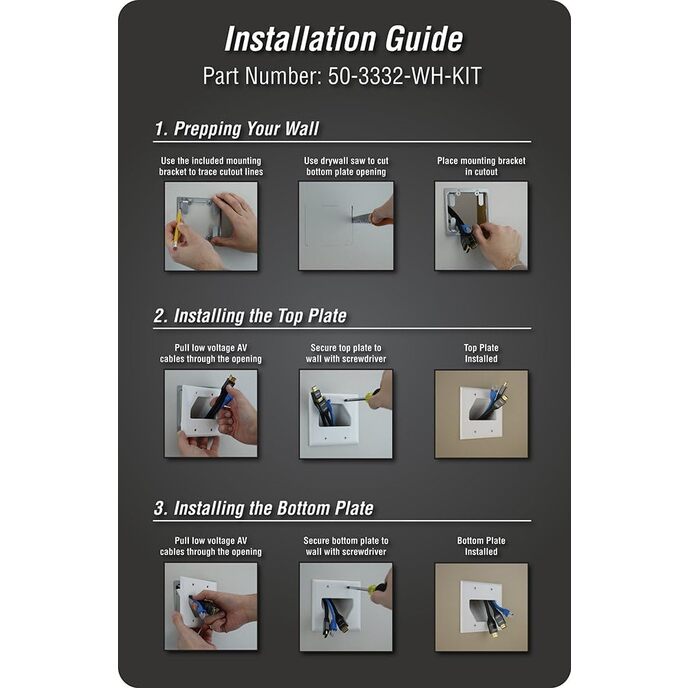
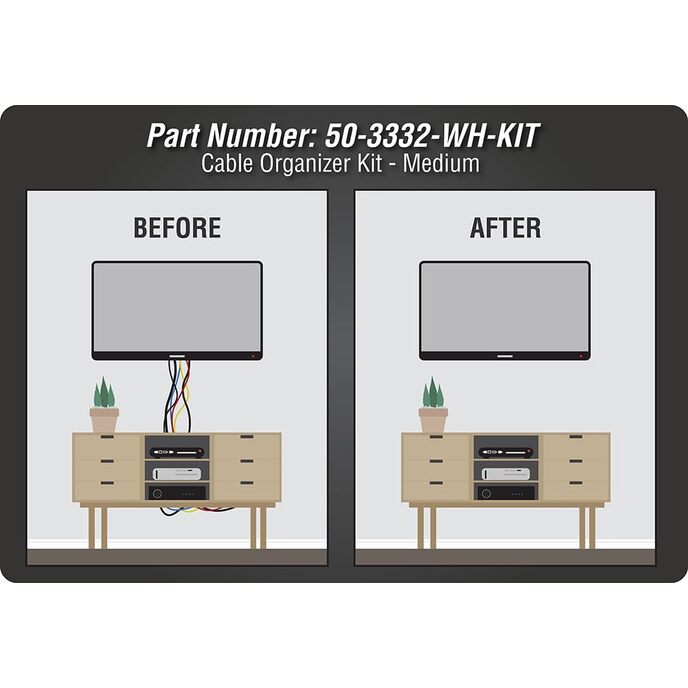
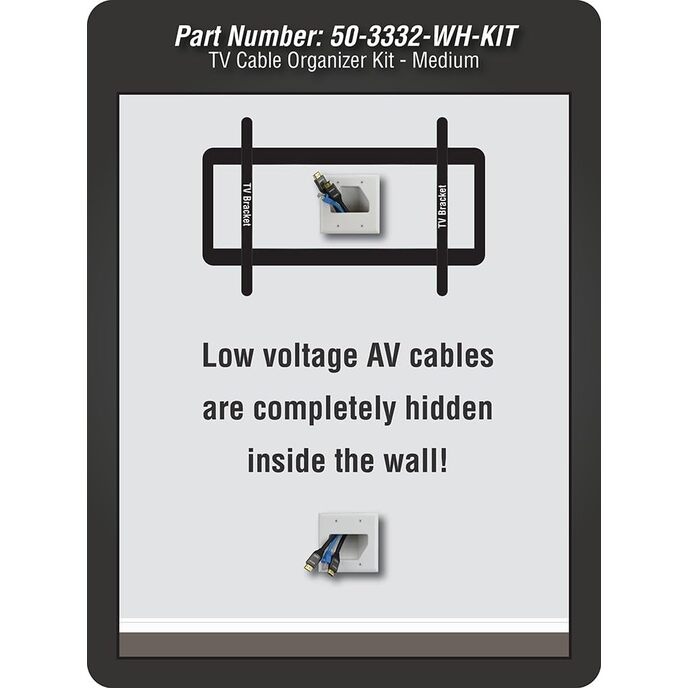

Installazione facile e veloce. Include 2 staffe di montaggio a bassa tensione. La piastra portacavi può essere installata con l'apertura rivolta verso l'alto o verso il basso. Nascondi più cavi AV dietro la tua TV montata a parete. Il design a basso profilo si adatta ai supporti e ai televisori più sottili del settore.
EAN: 0971482739538
Categories: Elettronica, Televisione e video, Accessori televisivi, Supporti TV da soffitto e da parete,
| Brand | DATA COMM |
| Color | White |
| Country of Origin | China |
| Customer Reviews | 4.5 4.5 out of 5 stars 2,414 ratings 4.5 out of 5 stars |
| Finish Type | Unfinished |
| Installation Type | Screw In |
| Is Discontinued By Manufacturer | No |
| Item Dimensions LxWxH | 4.51 x 5.26 x 2.48 inches |
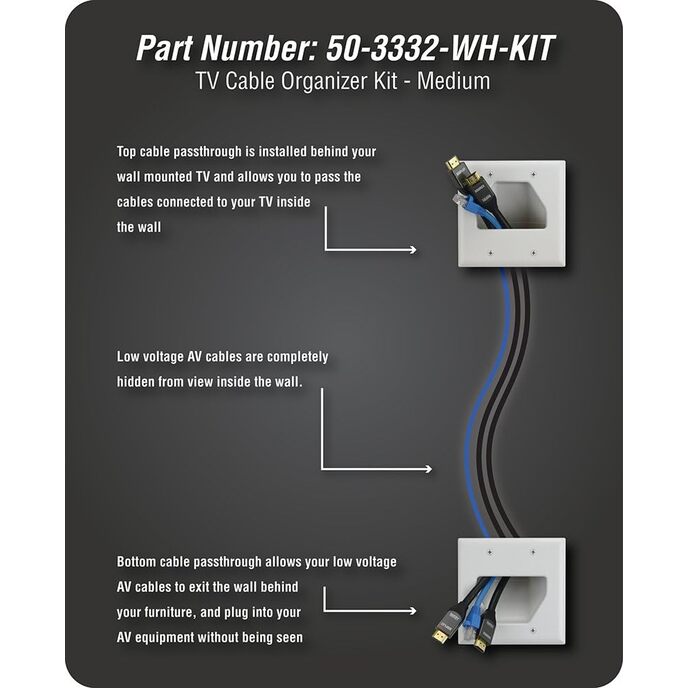
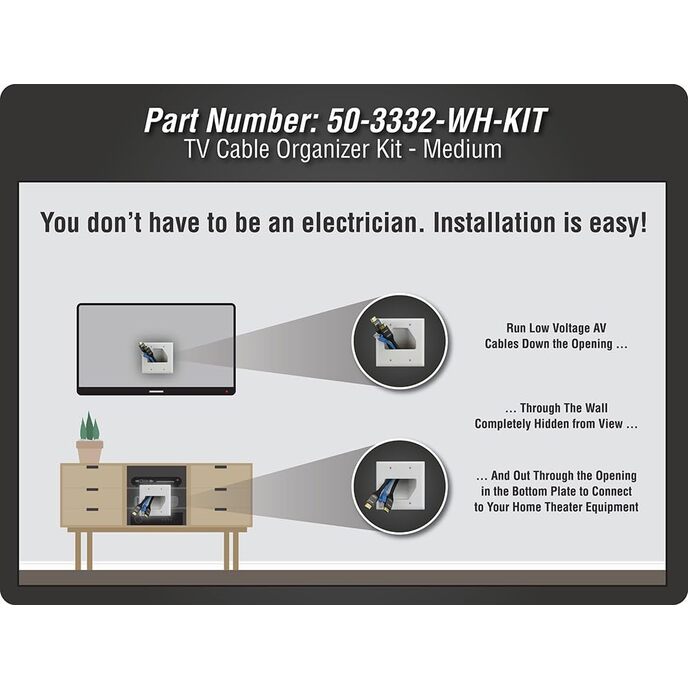
| Item model number | 50-3332-WH-KIT |
| Item Weight | 0.01 Pounds |
| Item Weight | 0.16 ounces |
| Manufacturer | DataComm Electronics, Inc. |
| Product Dimensions | 4.51 x 5.26 x 2.48 inches |
| Switch Type | Decorator |