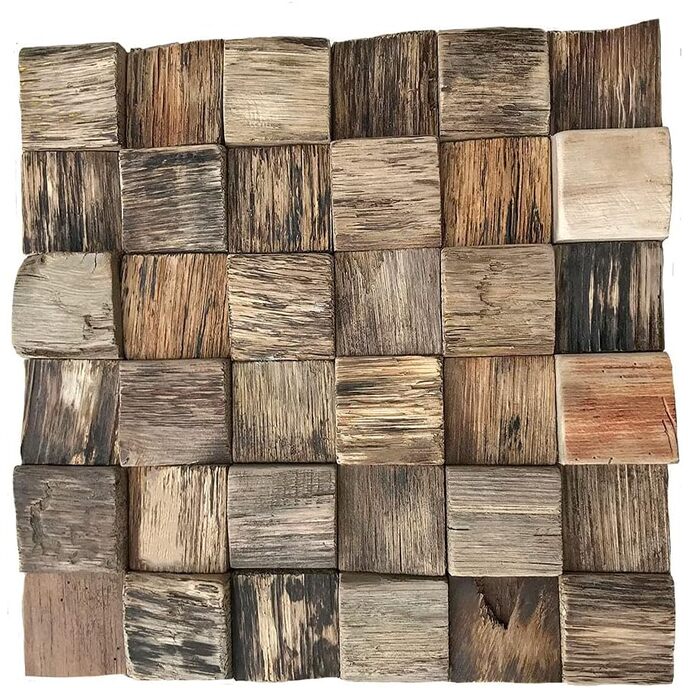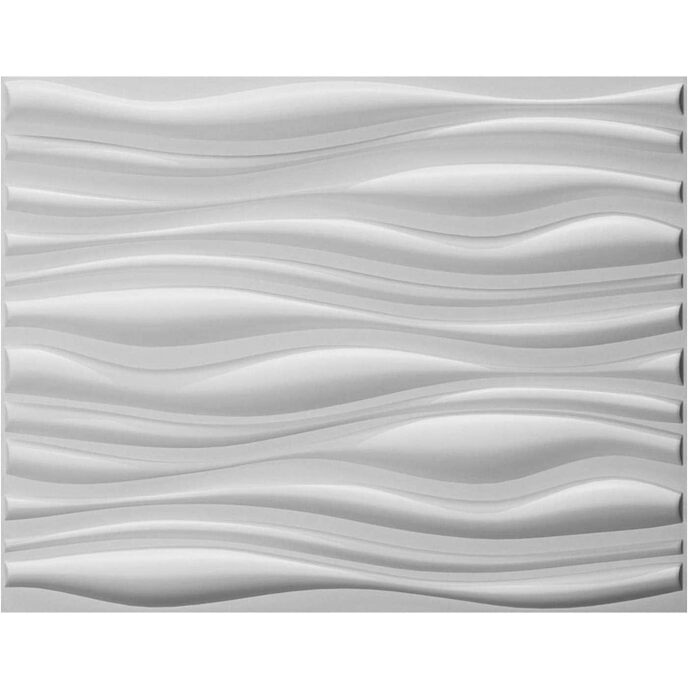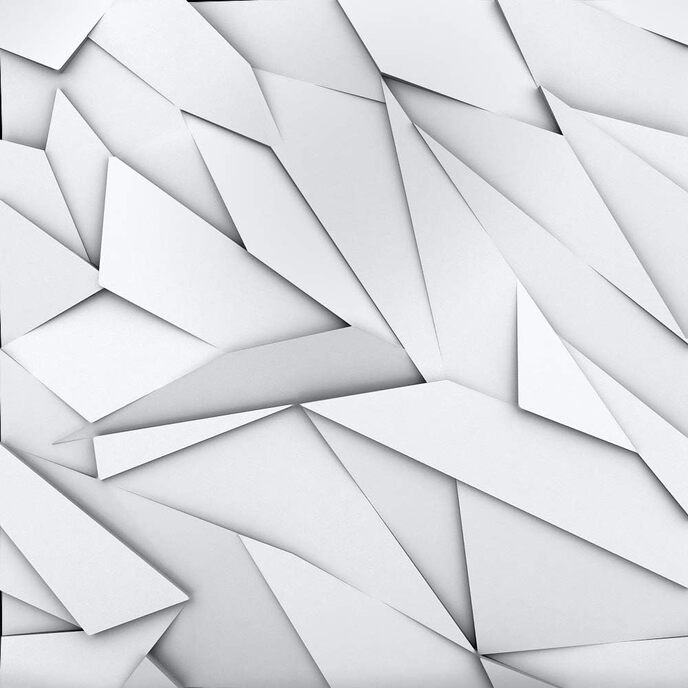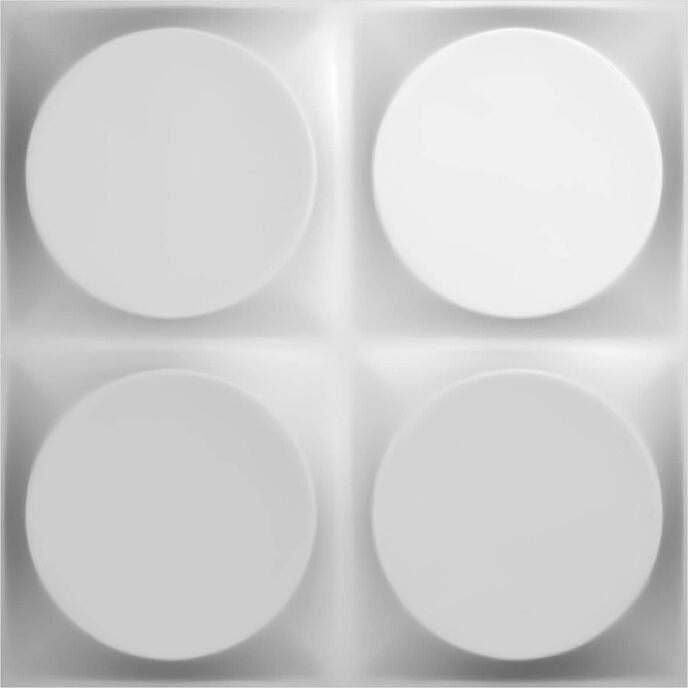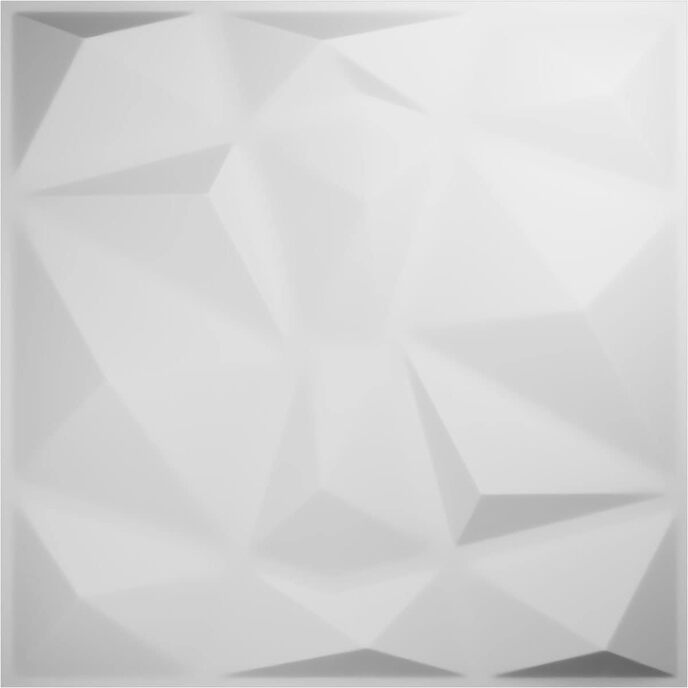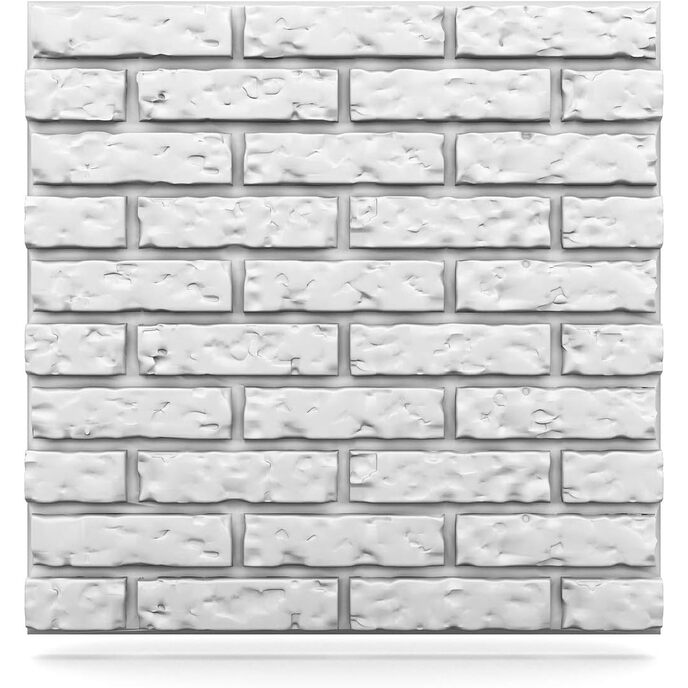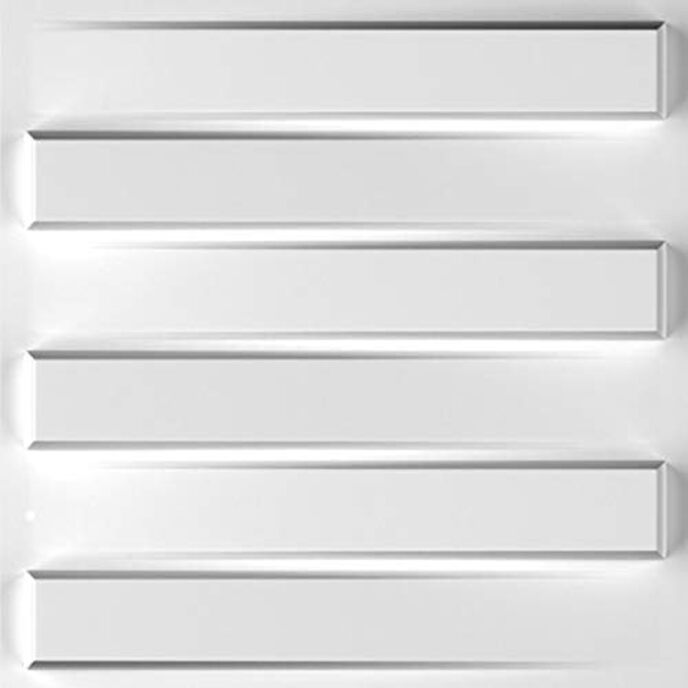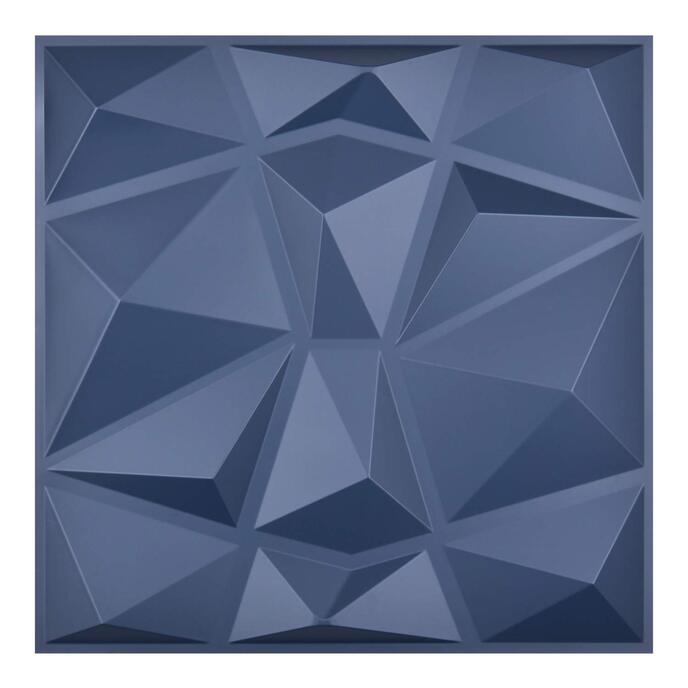


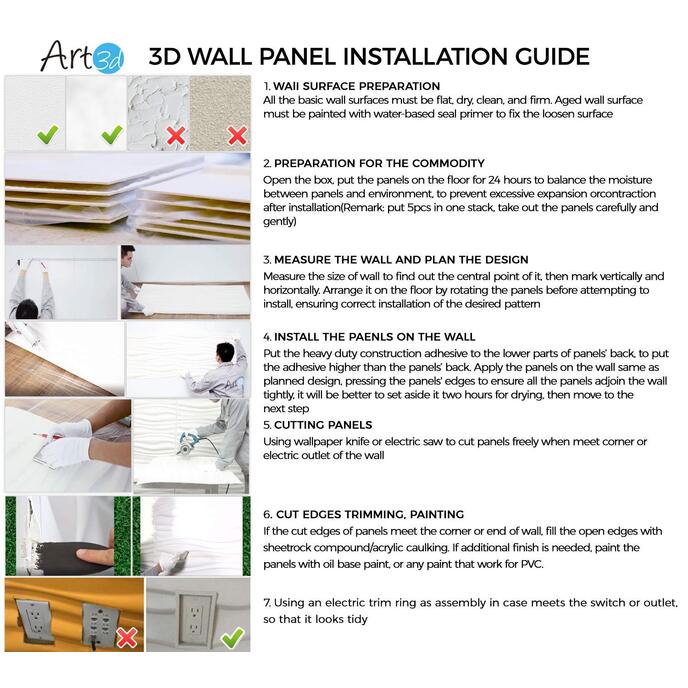


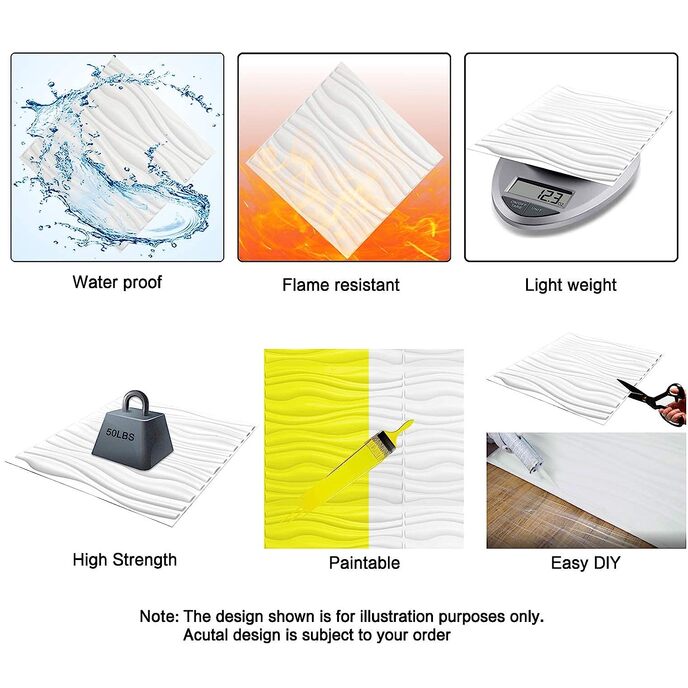
Uso consigliato: soggiorno/camera da letto/cucina/sfondo TV/pareti caratteristiche/soffitto ecc. Realizzato in PVC, leggero e resistente al fuoco. Dimensioni: 19,7 x 19,7 (500 mm x 500 mm); Colore: grigio. Vieni in una scatola da 12 pannelli, copre 32 piedi quadrati. Pannelli murali 3d in PVC di alta qualità, leggeri e resistenti al fuoco, facili fai-da-te.
EAN: 6975129500264
Categories: Strumenti e miglioramento della casa, Vernici, trattamenti per pareti e forniture, Forniture per carta da parati e tappezzeria, Pannelli murali 3D,
| Brand | Art3d |
| Color | Matt Blue |
| Item model number | A10038BL |
| Item Weight | 1 Pounds |
| Manufacturer | Art3d |
| Material | Polyvinyl Chloride |
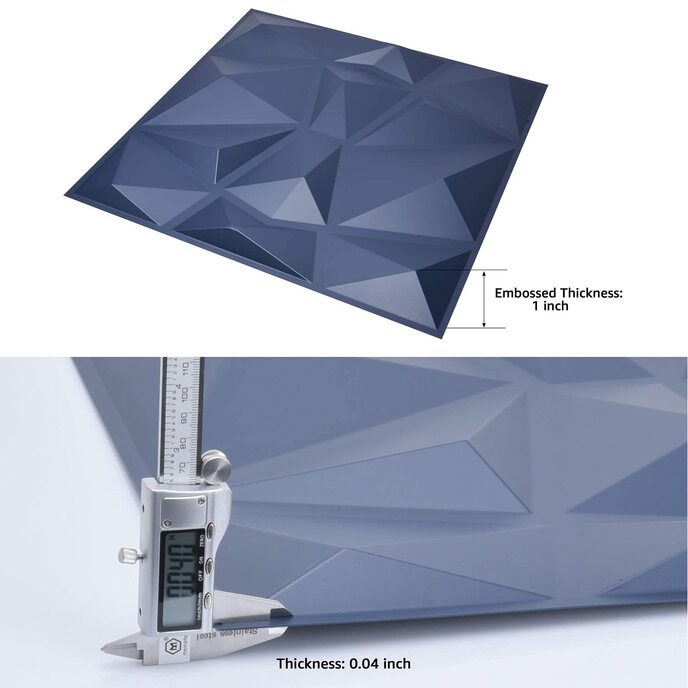
| Product Dimensions | 19.7 x 19.7 x 1 inches; 1 Pounds |
| Style | Modern |