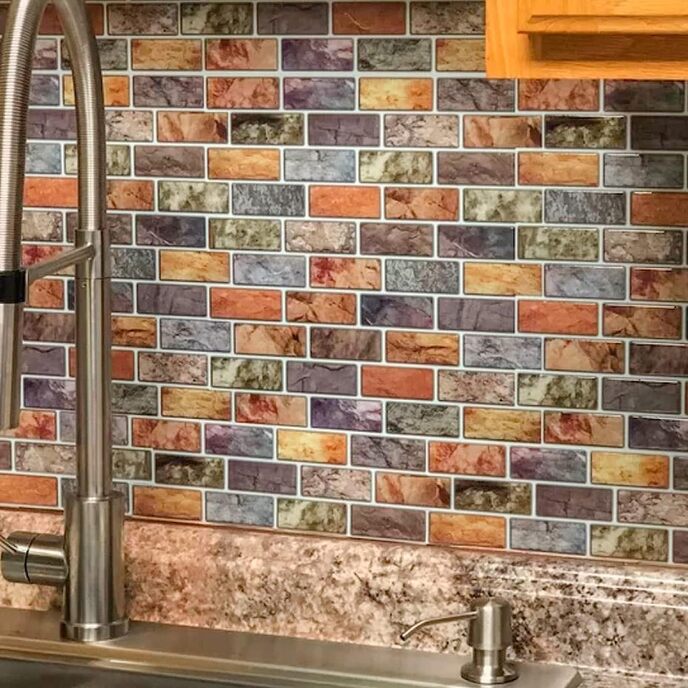
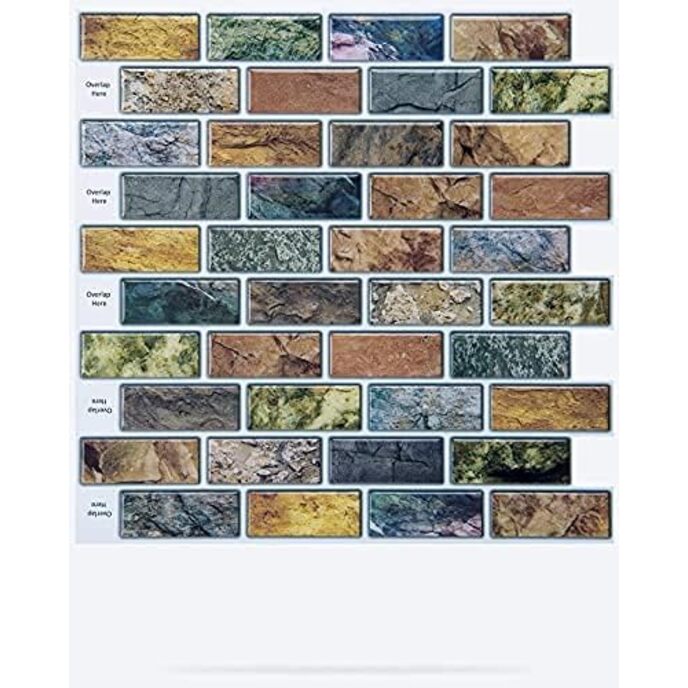
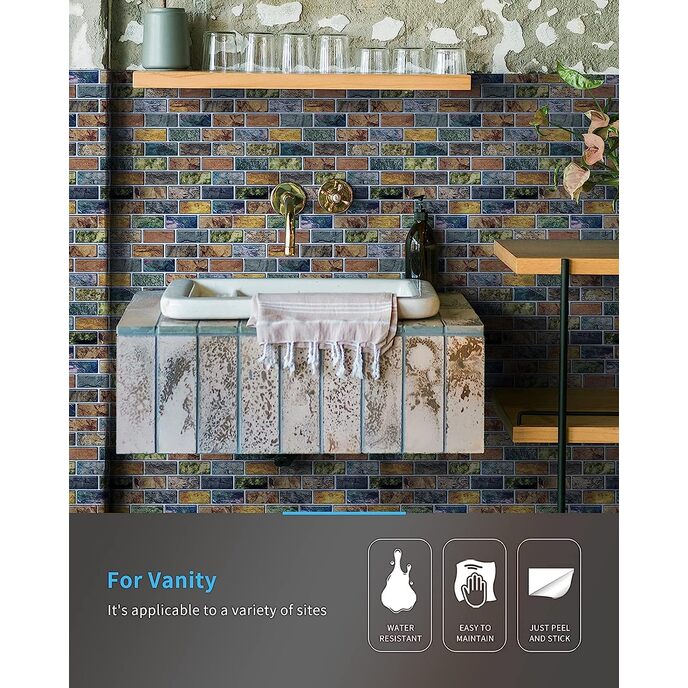
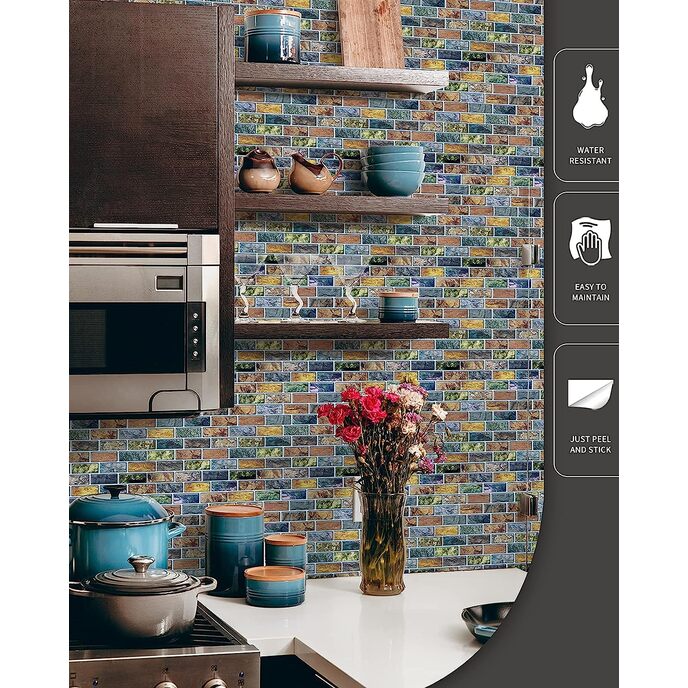
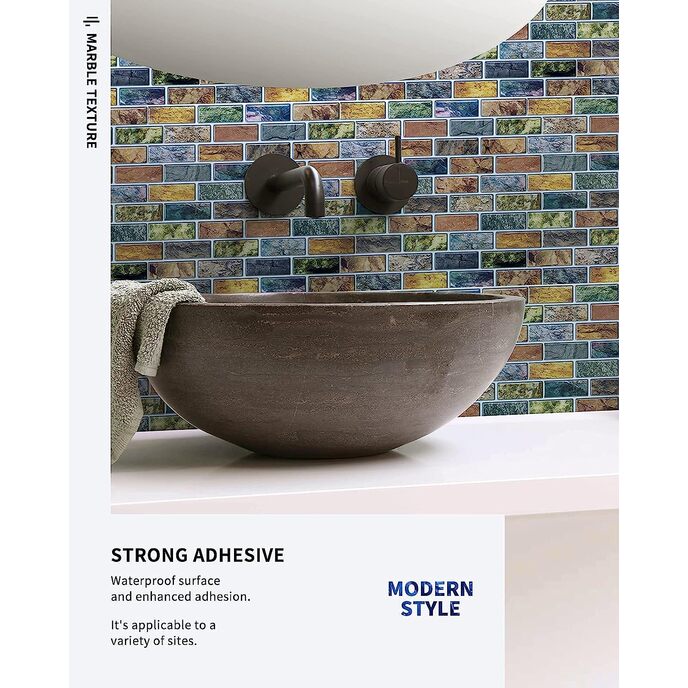
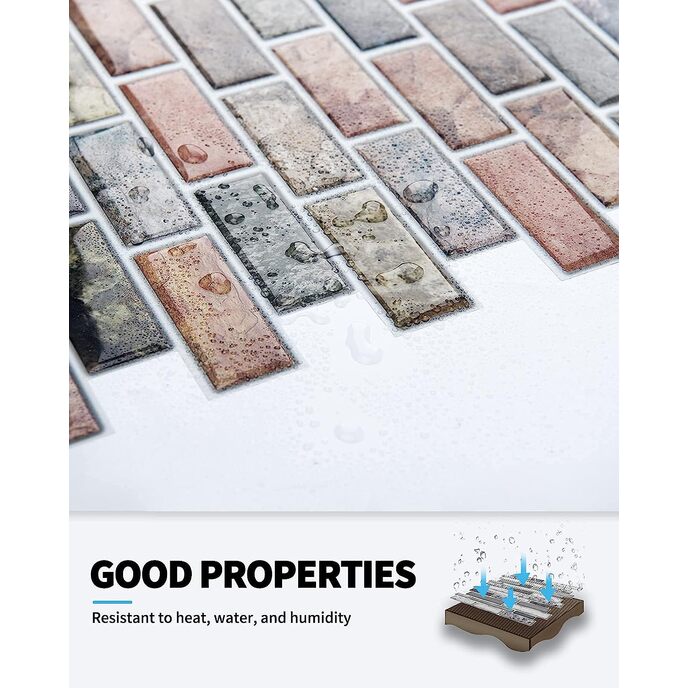
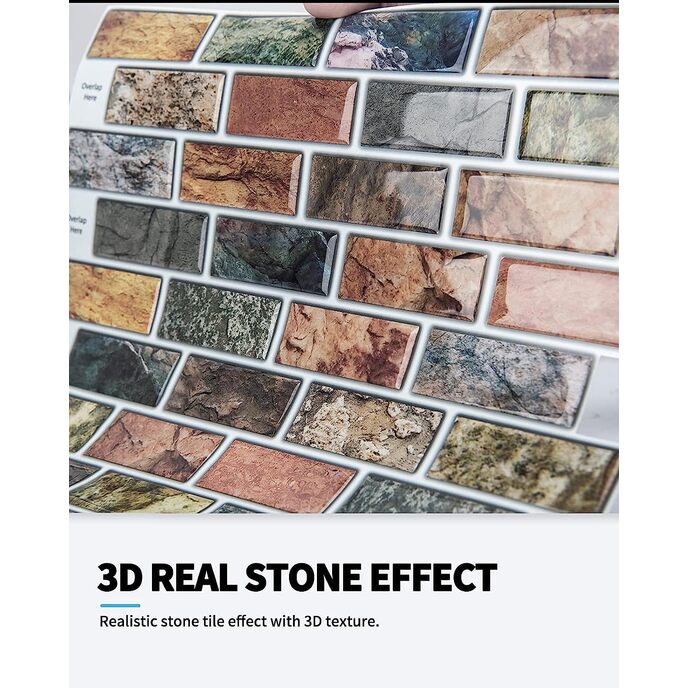
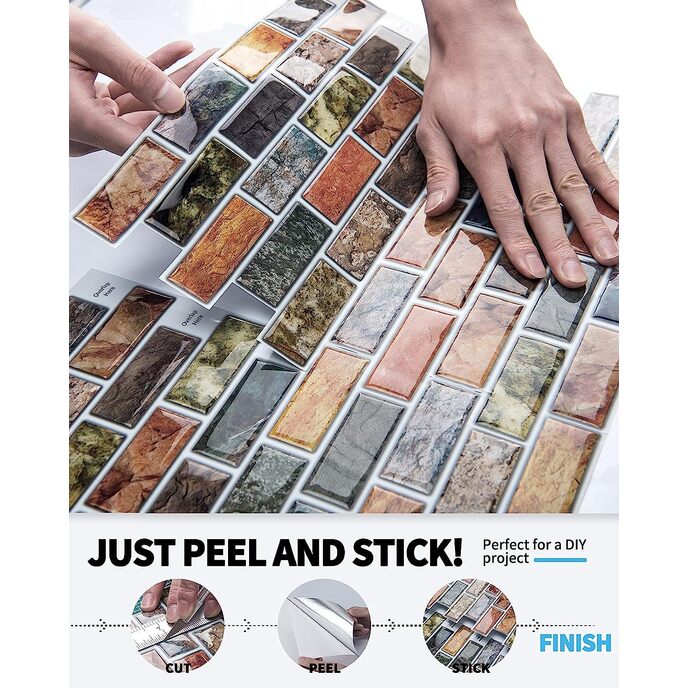
Uso consigliato: pareti dell'isola della cucina, paraspruzzi del bagno, pareti della camera da letto, lavanderie, ecc. Flessibile e resistente all'umidità. Facile fai da te, sbucciare e incollare l'installazione. Sbucciare e incollare l'adesivo per alzatina per piastrelle, appositamente progettato per alzatina cucina e alzatina bagno. Aree di copertura 1,4 volte: la dimensione della piastrella è 12x12, che copre il 40% in più di area rispetto alle coperture delle piastrelle 10x10.
EAN: 0739810973128
Categories: Strumenti e miglioramento della casa, Vernici, trattamenti per pareti e forniture, Adesivi murali e murales,
| Batteries Included? | No |
| Batteries Required? | No |
| Brand | Art3d |
| Brand | Art3d |
| Color | A17014-12"x12" |
| Color | A17014-12"x12" |
| Country of Origin | China |
| Coverage | 5.40 Square Feet |
| Customer Reviews | 4.4 4.4 out of 5 stars 3,729 ratings 4.4 out of 5 stars |
| Edge Style | Square Edge |
| Finish | Painted |
| Finish Type | Painted |
| Finish Type | Painted |
| Included Components | No |
| Installation Method | Peel and Stick |
| Installation Method | Peel and Stick |
| Is Discontinued By Manufacturer | No |
| Item Display Dimensions | 12 x 12 x 12 x 0.06 inches |
| Item model number | A17014P6 |
| Item Package Quantity | 1 |
| Item Weight | 1.3 Pounds |
| Item Weight | 1.3 Pounds |
| Manufacturer | Art3d |
| Material | Vinyl |
| Material | Vinyl |
| Part Number | A17014P6 |
| Pattern | Solid |
| Pattern | Solid |
| Product Dimensions | 12 x 12 x 0.08 inches |
| Shape | Rectangular |
| Shape | Rectangular |
| Size | 6 sheets |
| Size | 6 sheets |
| Style | Classic |
| Style | Classic |
| Thickness | 0.08 Inches |
| Unit Count | 6.0 Sq Ft |
| Usage | A17014P6 |