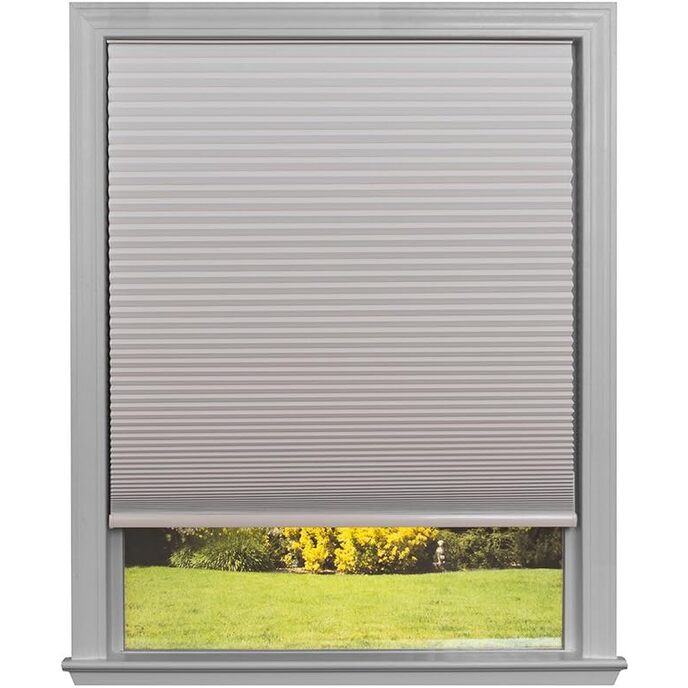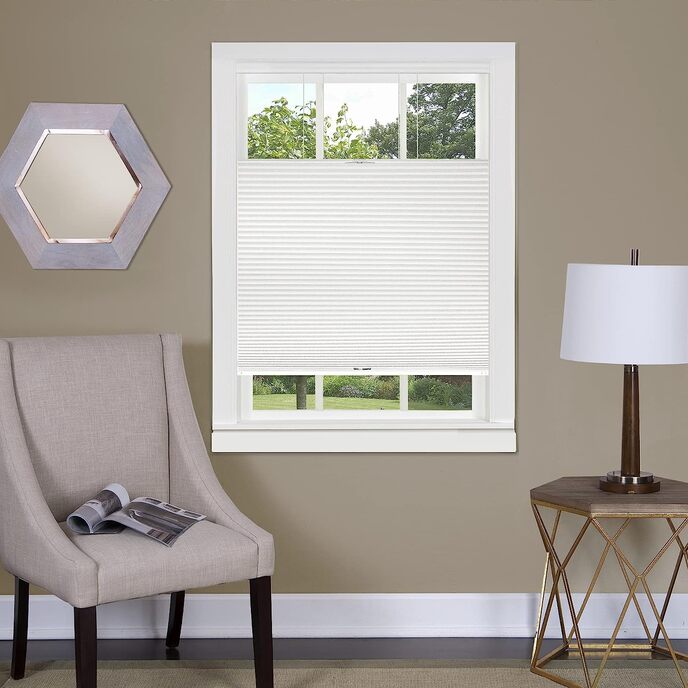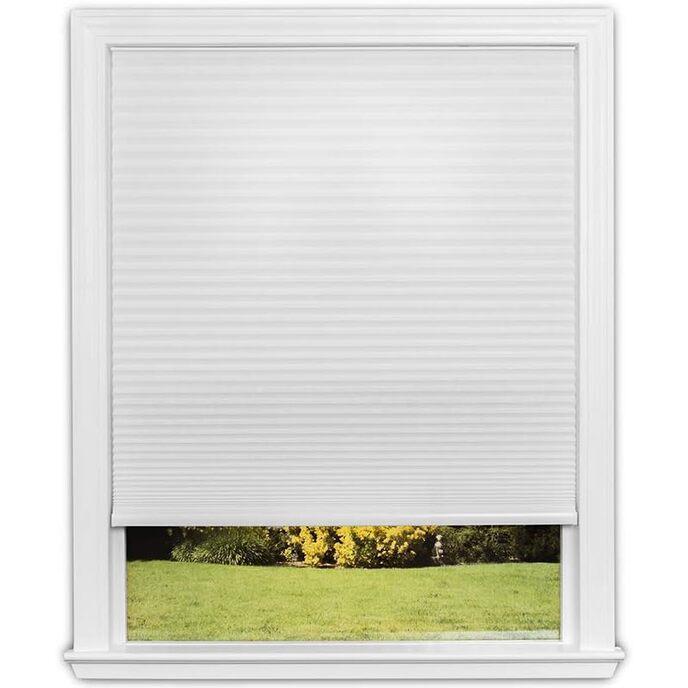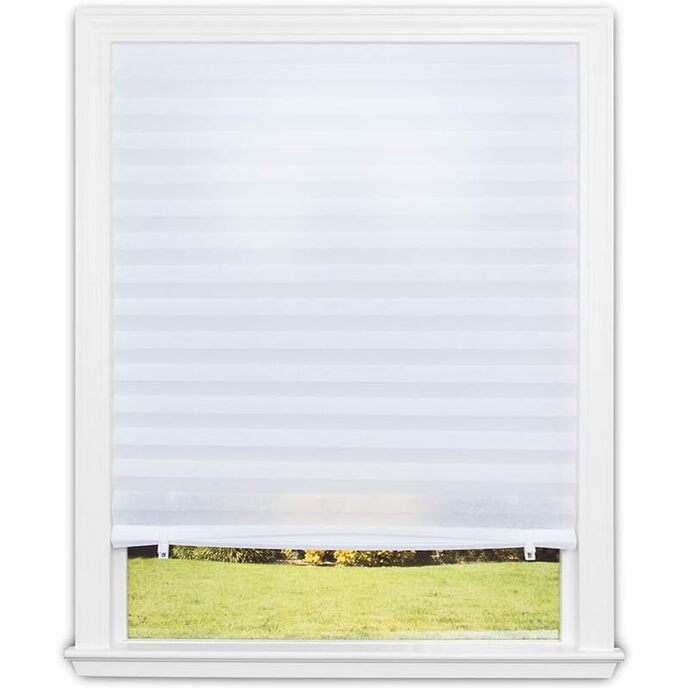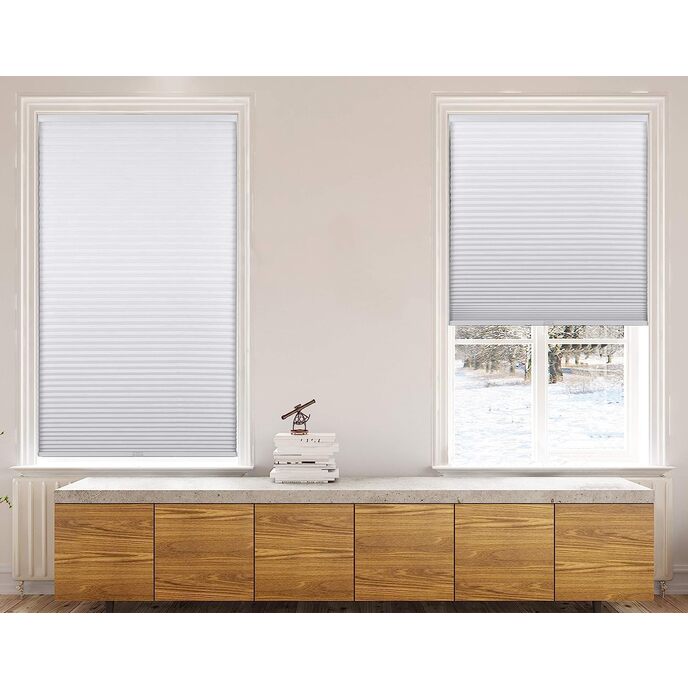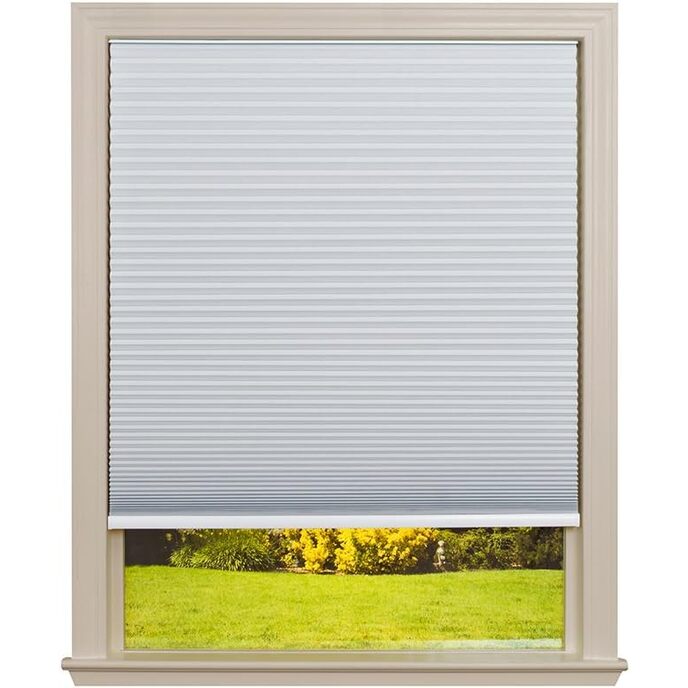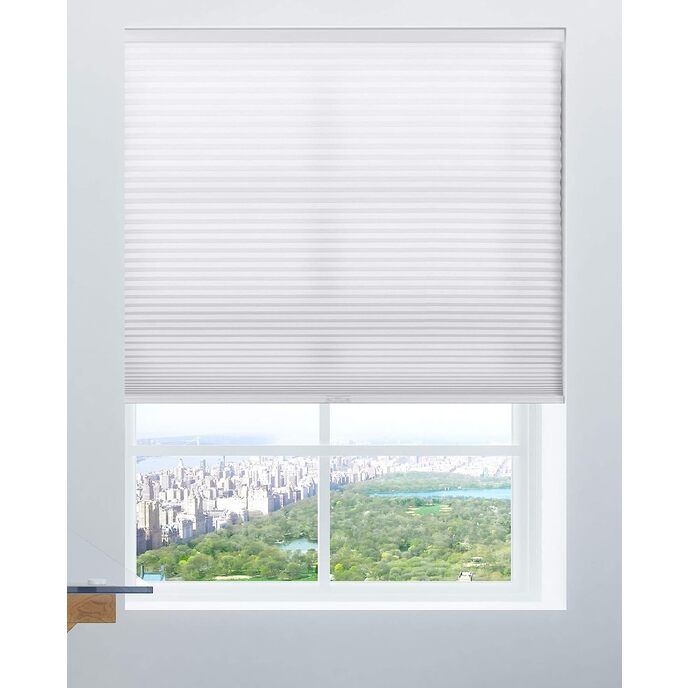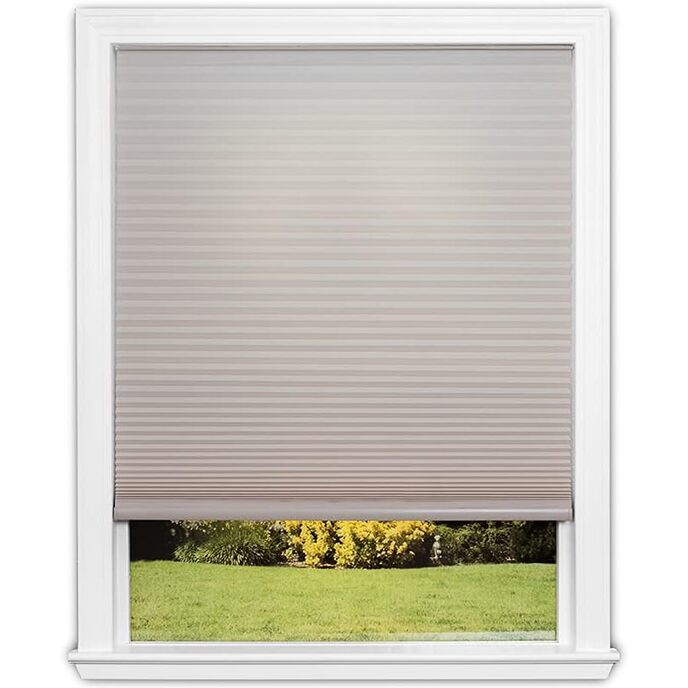
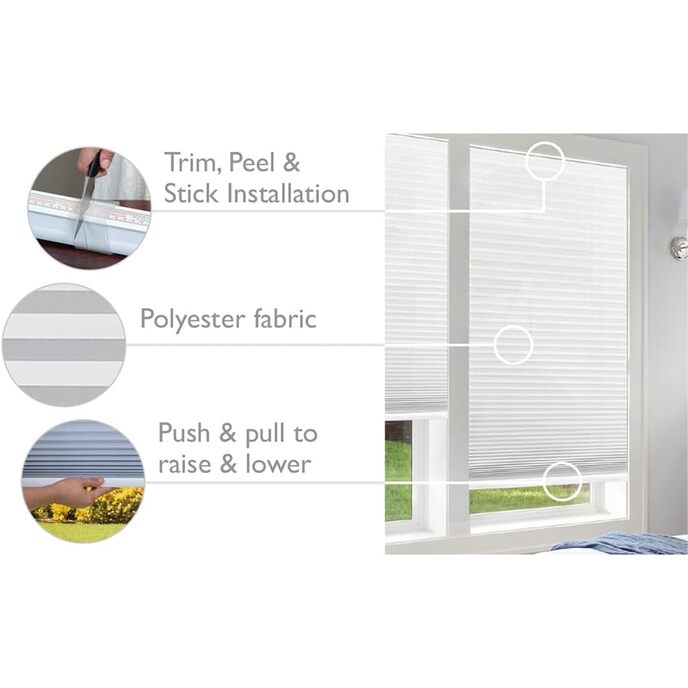

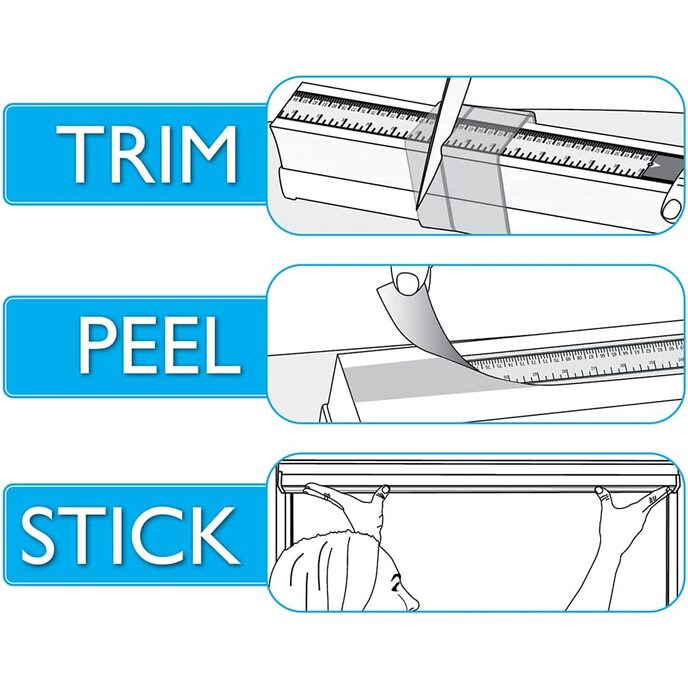
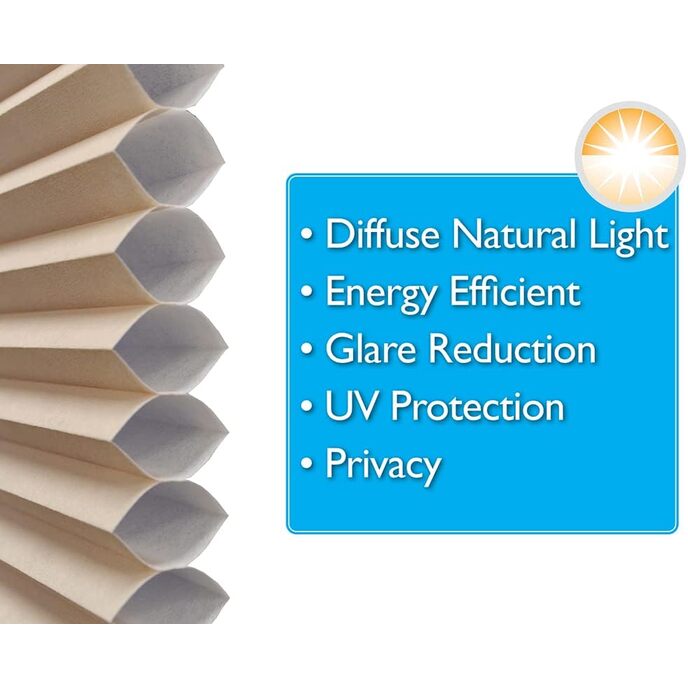
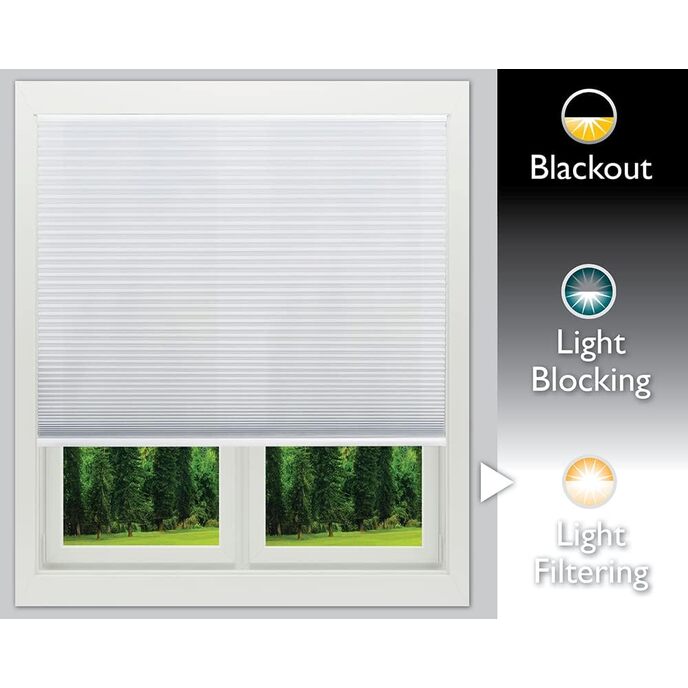
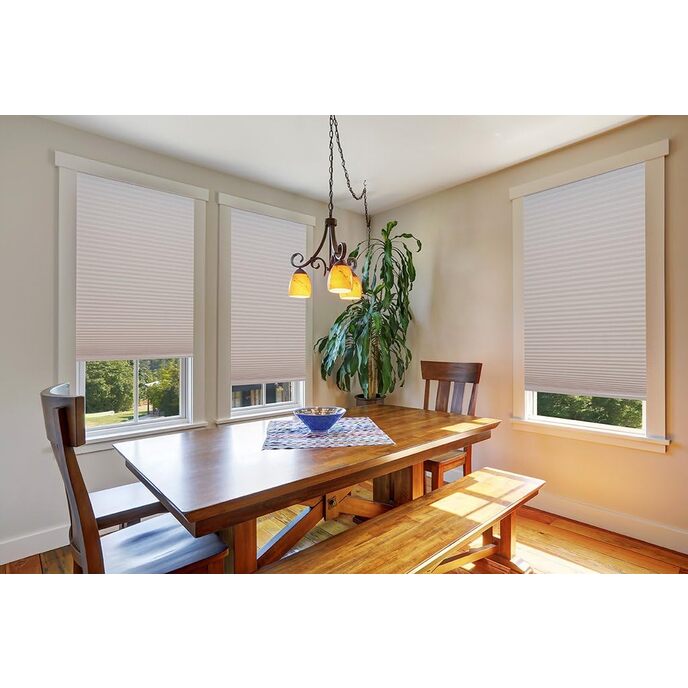
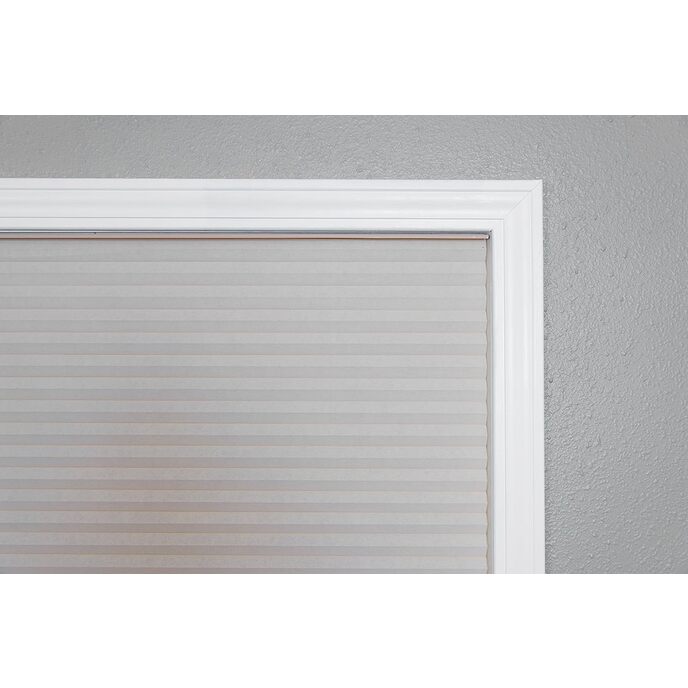
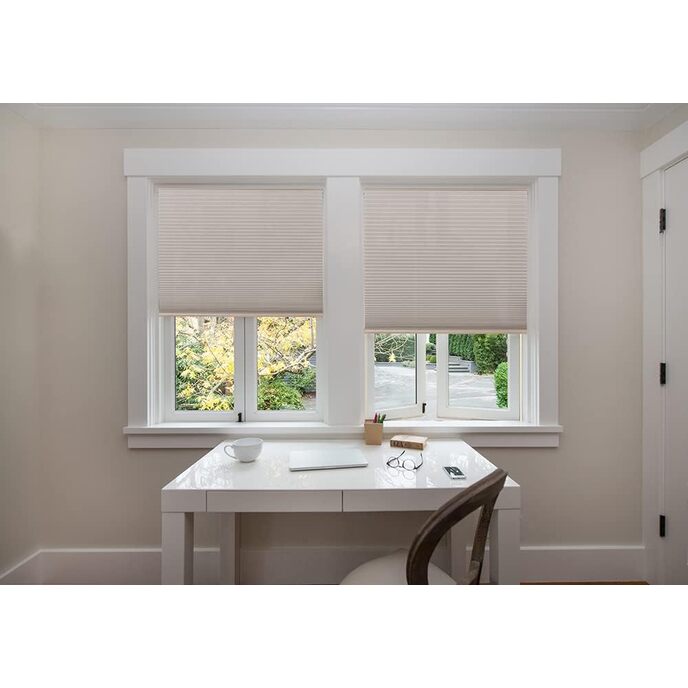
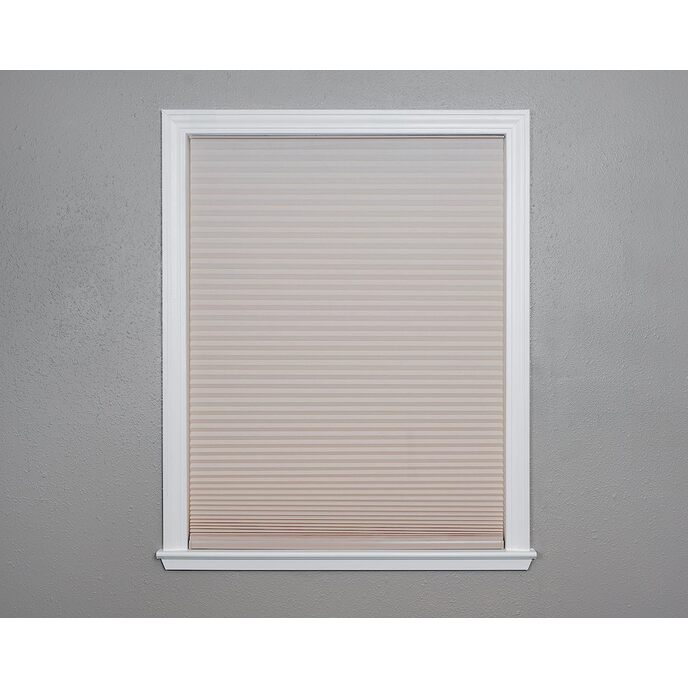
La tua soluzione di copertura per finestre No Tools da oltre 30 anni: il nostro morbido tessuto in pizzo filato filtra delicatamente la luce fornendo privacy, con binario inferiore arrotondato e tappi terminali rifiniti per un aspetto nitido. Le celle in tessuto a nido d'ape da 9/16 pollici ad alta efficienza energetica intrappolano l'aria per aiutare a mantenere le stanze più calde nei climi più freddi. Meccanismo di sollevamento cordless per un funzionamento semplice e un aspetto pulito — sicuro per bambini e animali domestici; le tonalità naturali sono bianche sul lato strada. Taglia la tua ombra con un coltello da cucina a lama dritta utilizzando la scala e la guida di taglio brevettate incluse; quindi installalo in modo permanente in pochi secondi con l'applicazione peel-and-place Simple Stick No Tools. Taglia a casa per una vestibilità perfetta quindi, installa senza attrezzi: nessun trapano, viti o staffe necessarie per l'installazione; il montaggio interno richiede una profondità minima della finestra di 1 ¼ di pollice.
EAN: 0750227512052
Categories: Casa e cucina, Home decor, Trattamenti per finestre, Persiane e tende, Tonalità a nido d'ape,
| Batteries Included? | No |
| Batteries Required? | No |
| Brand | Redi Shade |
| Brand | Redi Shade |
| Color | Natural |
| Color | Natural |
| Country of Origin | Malaysia |
| Customer Reviews | 4.0 4.0 out of 5 stars 3,318 ratings 4.0 out of 5 stars |
| Included Components | |
| Is Discontinued By Manufacturer | No |
| Item model number | 3512059 |
| Item Package Quantity | 1 |
| Item Weight | 1.54 Pounds |
| Manufacturer | Redi Shade |
| Material | Polyester |
| Material | Polyester |
| Mounting Type | Inside Mount |
| Number of Items | 1 |
| Number Of Panels | 1 |
| Number Of Pieces | 1 |
| Opacity | Light Filtering |
| Opacity | Light Filtering |
| Operation Mode | Cordless Lift |
| Part Number | 3512059 |
| Pattern | Light Filtering Fabric |
| Product Dimensions | 64"L x 30"W |
| Product Dimensions | 64"L x 30"W |
| Recommended Uses For Product | Window Covering |
| Room Type | Kitchen |
| Shape | Rectangular |
| Size | 30 Inch x 64 Inch |
| Special Feature | No Tools Install |
| Special Features | No Tools Install |
| Style | Easy Lift Trim-at-Home Cordless Cellular Light Filtering Fabric Shade Natural, 30 in x 64 in, |
| Usage | Window Covering |
| Water Resistance Level | Not Water Resistant |