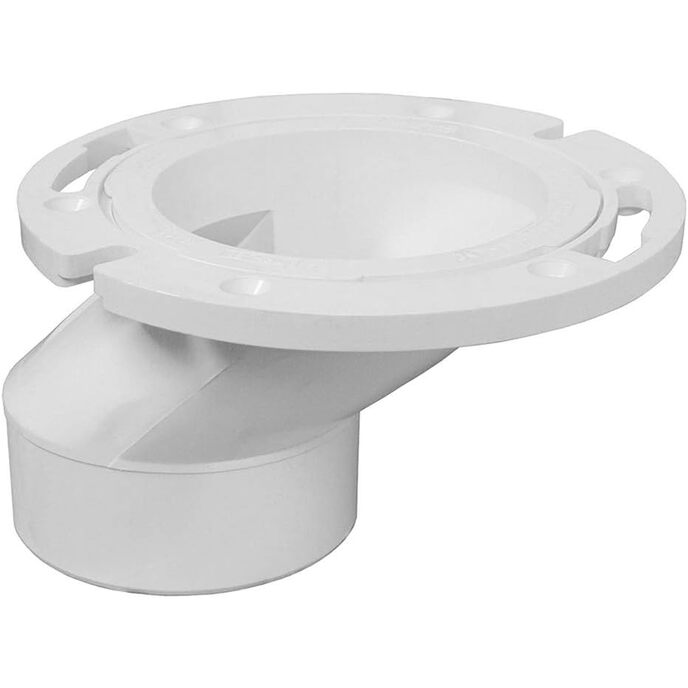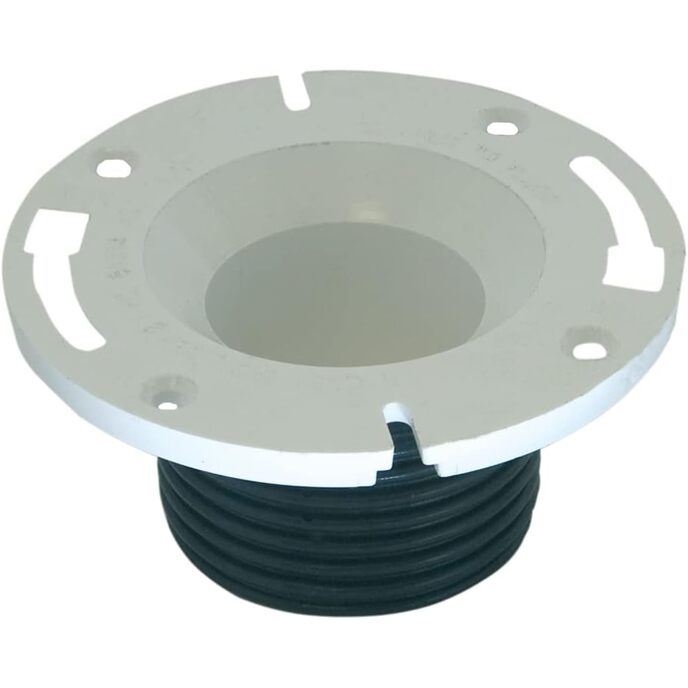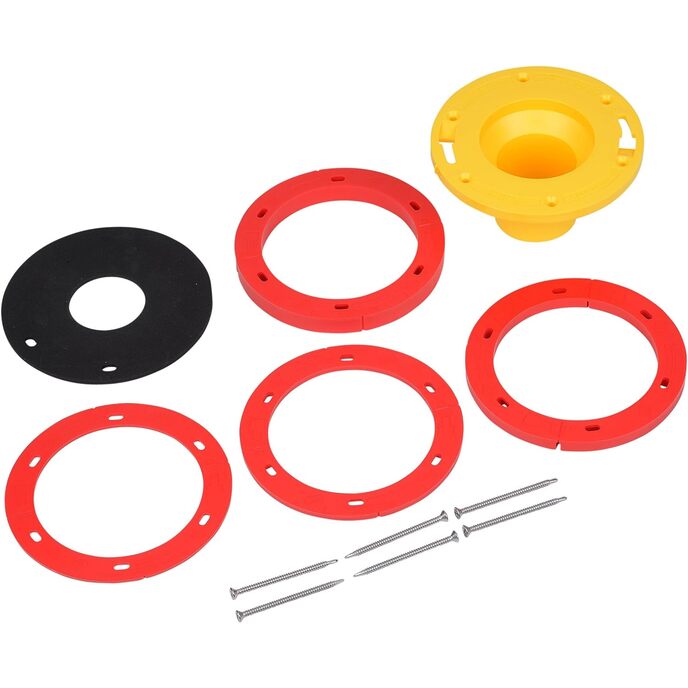
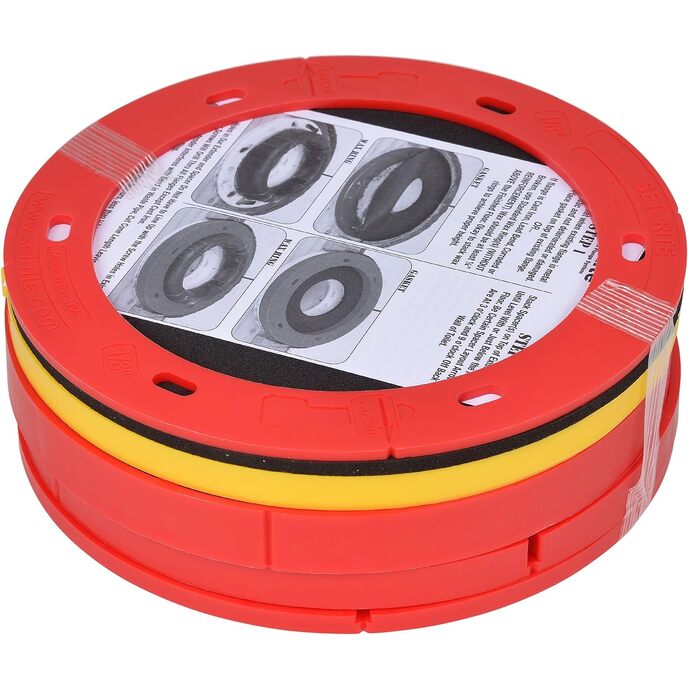
Corregge l'altezza della flangia da 1/4 di pollice a 1-5/8 di pollice. Crea una tenuta ottimale con un anello di cera standard. Per flangia ad anello esistente in PVC, ABS, ghisa o acciaio inossidabile. Corregge l'altezza errata della flangia durante riparazioni e rimodellamenti. Il kit Set-Rite estende la superficie della flangia del WC sopra il pavimento finito.
EAN: 0038753434001
Categories: Strumenti e miglioramento della casa, Impianto idraulico grezzo, Parti del rubinetto, Flange del rubinetto,
| Batteries Included? | No |
| Batteries Required? | No |
| Brand | Oatey |
| Brand | Oatey |
| Certification | |
| Color | Red and Yellow |
| Color | Red and Yellow |
| Country of Origin | China |
| Customer Reviews | 4.6 4.6 out of 5 stars 1,011 ratings 4.6 out of 5 stars |
| Finish | Waxed |
| Finish Type | Waxed |
| Finish Type | Waxed |
| Included Components | Power Tool Accessory |
| Is Discontinued By Manufacturer | No |
| Item model number | 43400 |
| Item Package Quantity | 1 |
| Item Weight | 1 Pounds |
| Manufacturer | Oatey |
| Material | Polyvinyl Chloride |
| Material | Polyvinyl Chloride (PVC), Stainless Steel, Cast Iron |
| Material | Polyvinyl Chloride |
| Number of Items | 1 |
| Part Number | 43400 |
| Product Dimensions | 7.25"L x 7.25"W |
| Roll Quantity | 4 |
| Roll Quantity | 4 |
| Size | 1/4 in. to 1-5/8 in. |
| Style | Spacer |